")
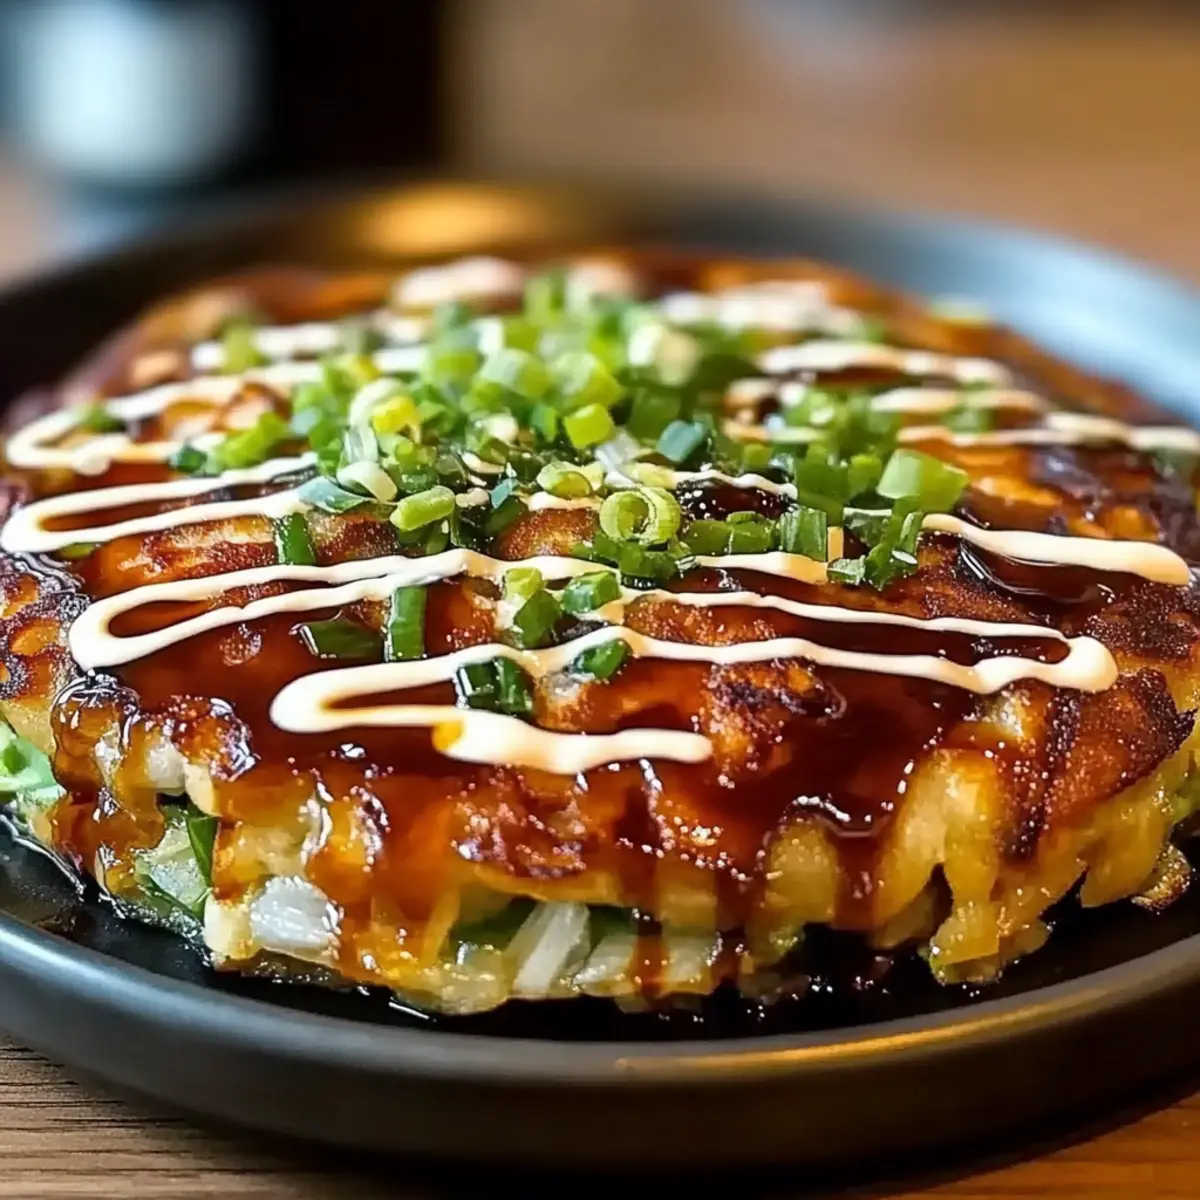
The aroma of sizzling batter fills the air as I stand in my kitchen, flipping the most savory Japanese pancake—Okonomiyaki. Often dubbed as “Japanese street food” for good reason, this dish invites creativity like no other. With its delectable, crispy exterior and fluffy interior, my Okonomiyaki Recipe is not just quick to whip up but also incredibly customizable, allowing you to mix in your favorite seafood, meat, or vegetables. Whether you’re hosting friends or enjoying a cozy night in, this fun and interactive cooking experience brings everyone together around the stove. Plus, it’s perfect for accommodating dietary preferences, making it a versatile choice for any meal! Are you ready to dive into this delicious adventure?
Why is Okonomiyaki a Must-Try?
Customization, this savory pancake invites you to be the chef! Mix in your choice of seafood, meat, or veggies for a unique flavor explosion. Shared experience, gather friends and family around the skillet for an interactive cooking session, making memories while you flip pancakes. Texture triumph, achieve a perfect contrast of crispy outside and fluffy inside that delights every bite! Plus, easy prep means you can whip up this meal in no time, just like my Comforting All Ages recipe. You’ll love how versatile it is and can adapt it to suit any dietary preference, making it an exciting dinner option for everyone!
Okonomiyaki Recipe Ingredients
Get ready to create a delicious Okonomiyaki that’s uniquely yours!
For the Batter
- Cabbage – Provides bulk and a slightly crunchy texture; feel free to use Nappa or green cabbage as substitutes.
- All-Purpose Flour – Acts as the structure for the pancake; use a gluten-free flour blend for a gluten-free Okonomiyaki recipe.
- Egg – Binds the ingredients together; swap with a flaxseed meal mixture for a vegan option.
- Dashi (or stock) – Adds umami flavor to the batter; water or vegetable stock make great lighter substitutes.
- Green Onions – Adds fresh flavor and a pop of color; chives work well as an alternative.
For the Protein
- Meat/Seafood (pork belly, shrimp, etc.) – Delivers richness and protein; feel free to substitute with tofu or your choice of protein for a vegetarian version.
For Topping
- Okonomi Sauce – A delicious sweet and savory sauce; a mix of Worcestershire sauce and ketchup can be used if needed.
- Mayonnaise (optional) – Adds creaminess when drizzled on top; use vegan mayo to keep it plant-based.
- Bonito Flakes (optional) – Contributes to an umami flavor; simply skip for vegetarian versions.
- Aonori (seaweed flakes, optional) – Enhances flavor and presentation; omit if you can’t find them.
Dive into this fun Okonomiyaki recipe and create a custom pancake that delights everyone at your table!
Step‑by‑Step Instructions for Okonomiyaki Recipe
Step 1: Prepare the Batter
In a large mixing bowl, combine all-purpose flour, dashi (or stock), and an egg. Whisk together until you achieve a smooth and lump-free batter, which should have a thick pancake-like consistency. This should take about 2-3 minutes. The batter forms the base of your Okonomiyaki recipe, providing structure, so make sure it’s well-mixed.
Step 2: Add Fresh Ingredients
Fold in the chopped cabbage and green onions into the batter, mixing gently to ensure the vegetables are evenly coated. If you’re adding any proteins like pork belly or shrimp, include them now as well. Continue folding for another minute until everything is combined, creating a colorful and hearty mixture for your savory Okonomiyaki pancakes.
Step 3: Heat the Skillet
Heat a skillet or a griddle over medium heat, and lightly grease it with oil to prevent sticking. Allow it to heat up for about 3 minutes; you can test the pan’s readiness by flicking a little water on it—if the droplets dance, you’re ready to cook! This initial step is crucial for achieving that wonderful crispy exterior on your Okonomiyaki.
Step 4: Cook the Pancake
Spoon a generous portion of the batter into the skillet, and gently spread it out to form a thick pancake about 1-inch high. Cook for 3-4 minutes, or until the edges turn golden brown and the underside is crispy. Use a spatula to check the color; the right hue indicates it’s time to flip!
Step 5: Flip and Finish Cooking
Carefully flip the pancake using two spatulas to help maintain its shape, and cook the other side for another 3-4 minutes. You want it to be golden brown and firm, so keep an eye on it. If you’re unsure, check for doneness by inserting a toothpick into the center; it should come out clean when fully cooked.
Step 6: Repeat with Remaining Batter
Transfer the cooked pancake to a warm plate or keep it in a low oven while you repeat the process with the remaining batter. Grease the skillet again lightly if needed for the next batch. With each pancake, maintain that delightful rhythm as you create more delicious Okonomiyaki, filling your kitchen with its tantalizing aroma.
Step 7: Serve Hot with Toppings
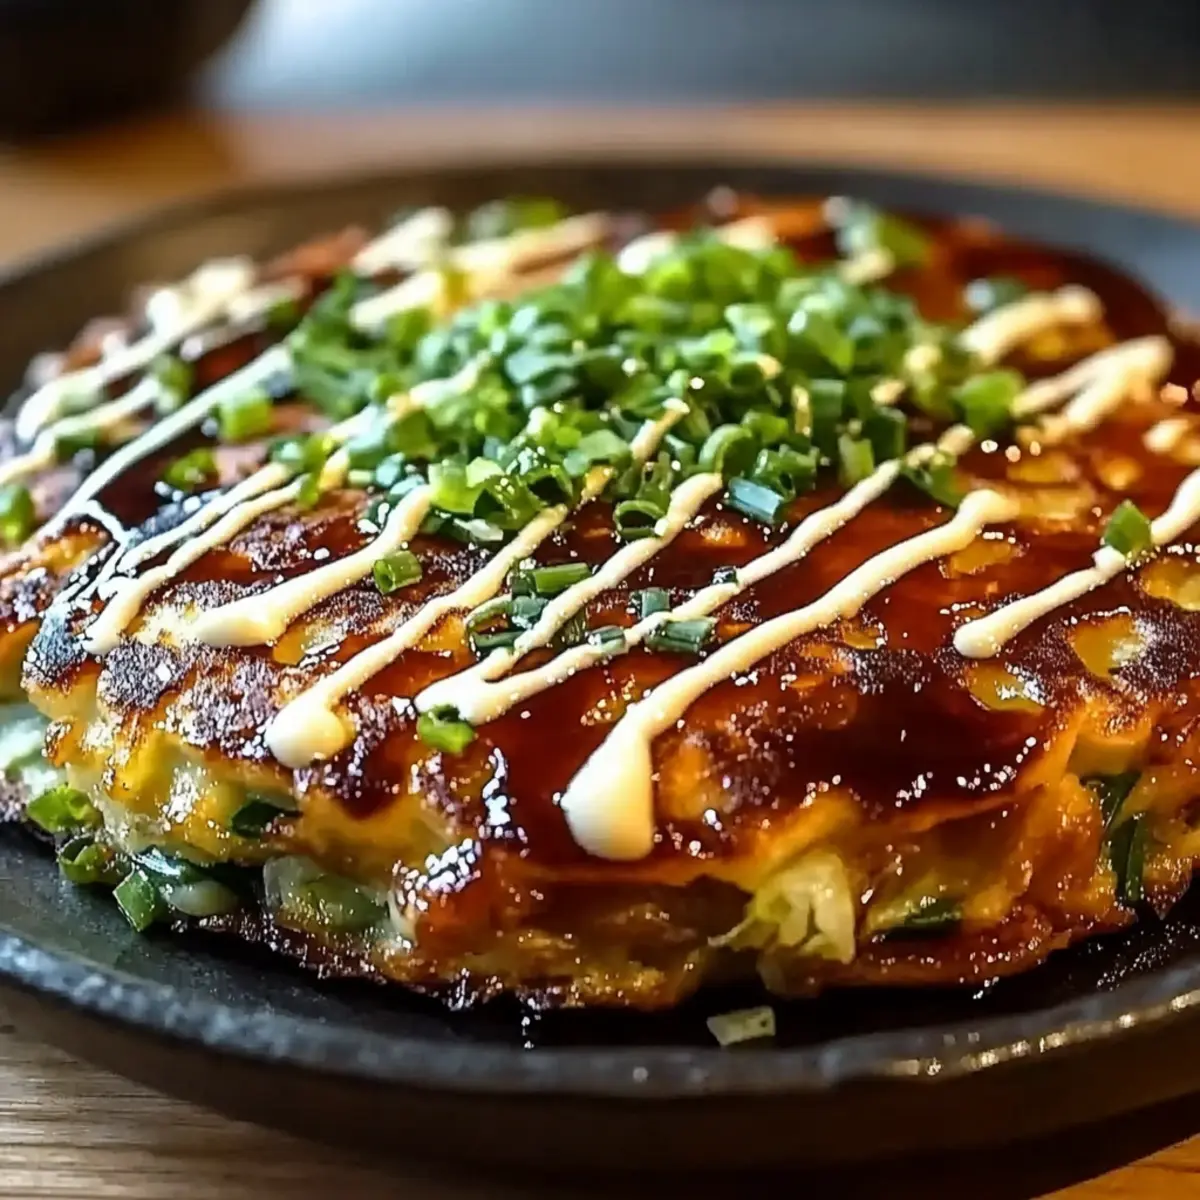
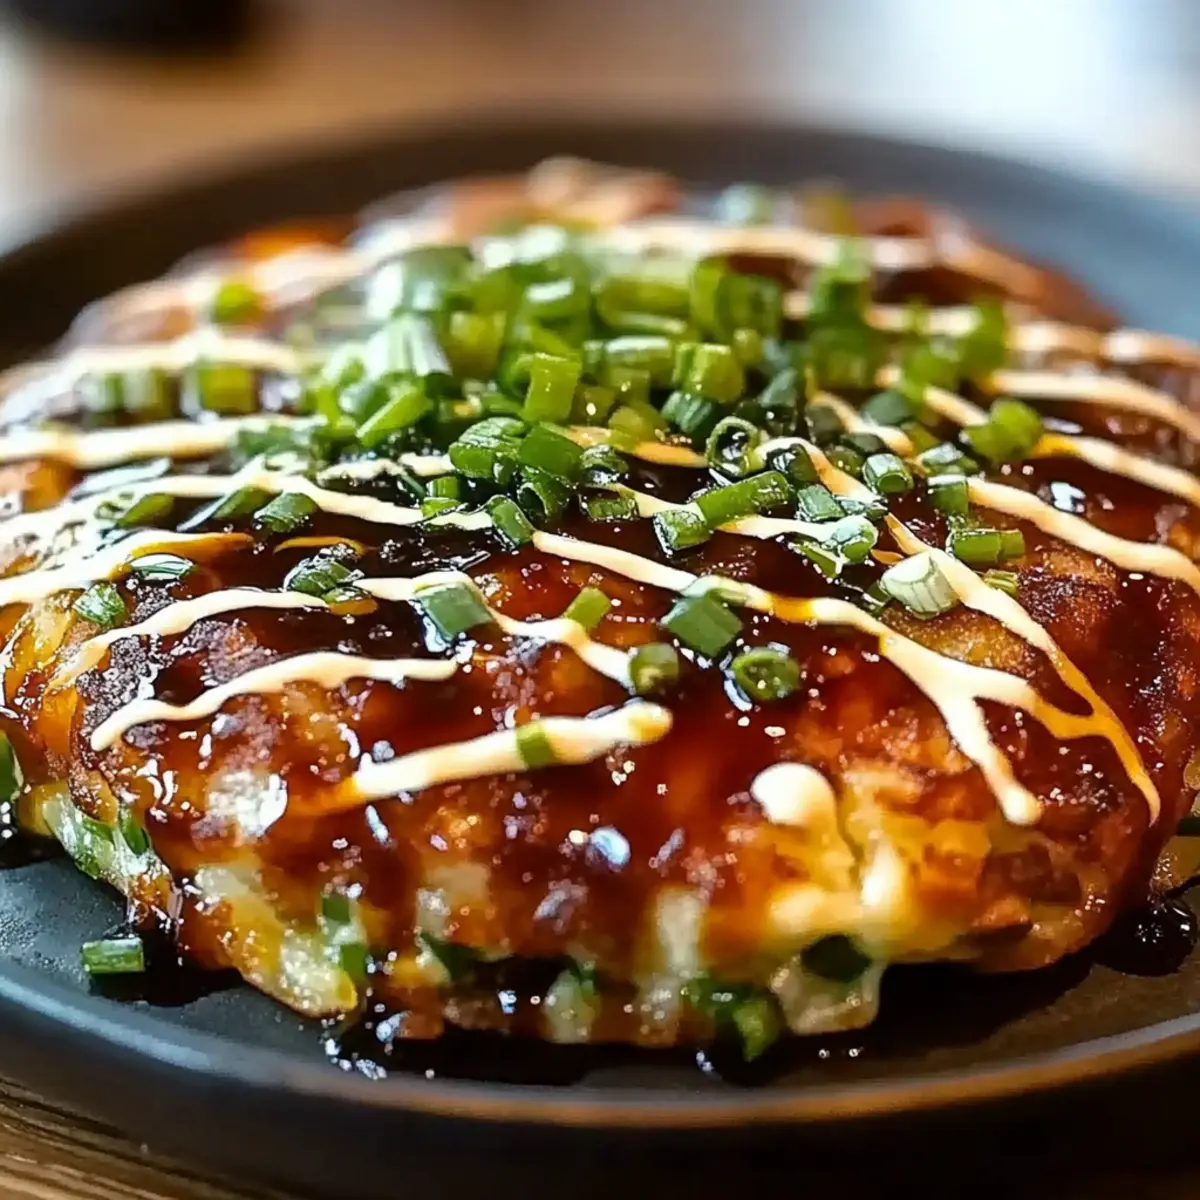
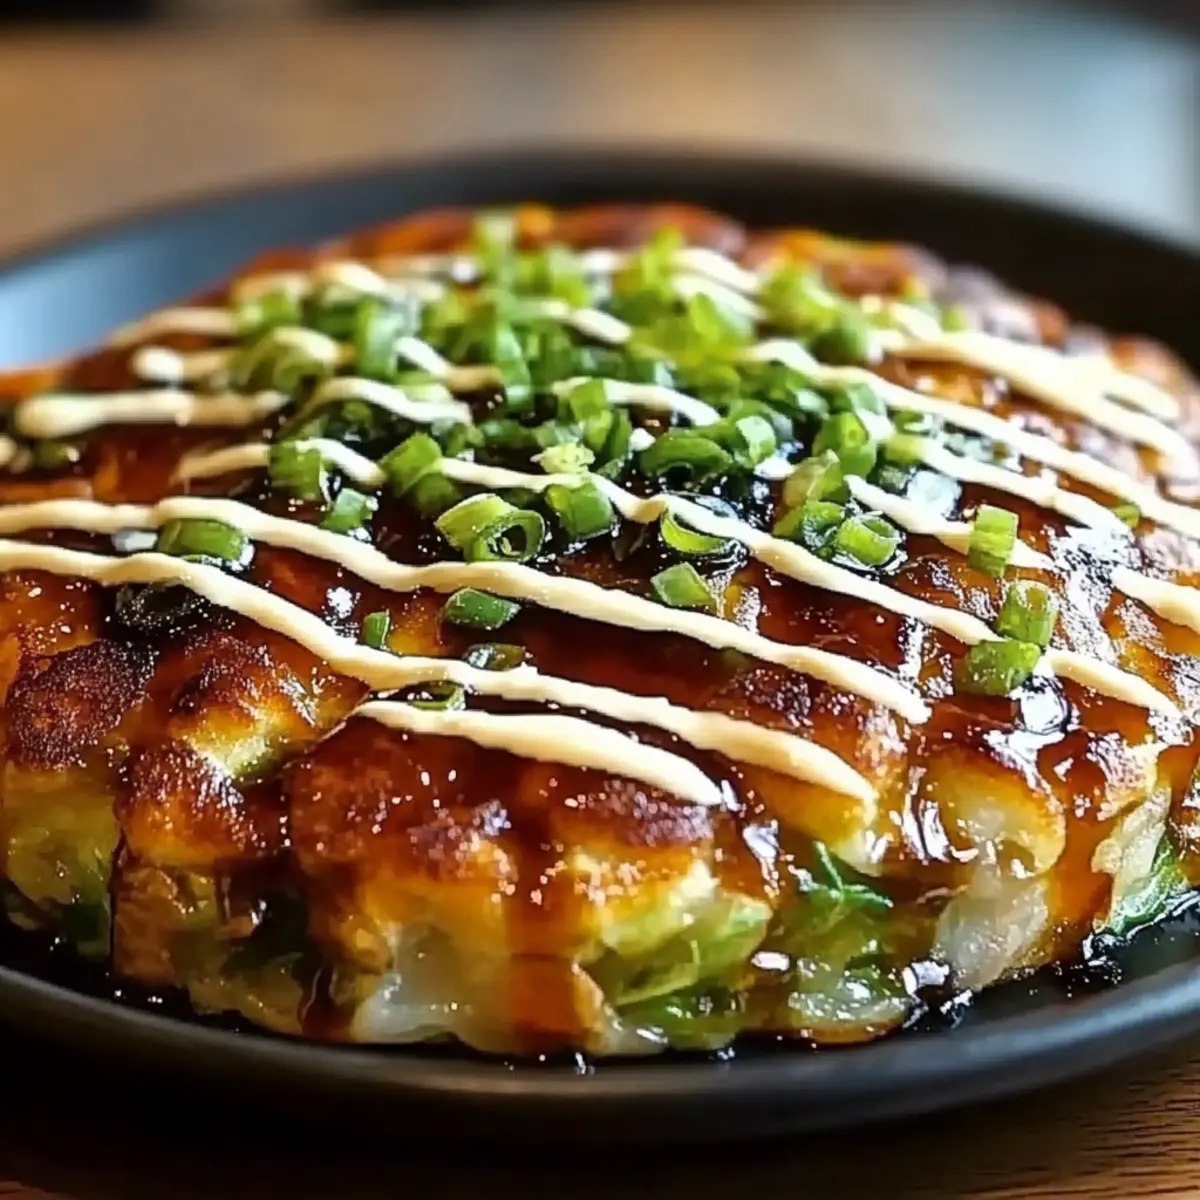
Once all your Okonomiyaki pancakes are cooked, plate them hot and drizzle with okonomi sauce and mayonnaise for that extra flavor punch. If desired, sprinkle bonito flakes and aonori on top for a traditional touch. Enjoy these crispy, savory pancakes immediately while they’re still warm, and let every bite bring joy to your table!
What to Serve with Savory Okonomiyaki Pancakes
The delightful layers of flavor in these pancakes create a symphony on your plate that’s begging for complementary dishes.
- Crispy Tempura Vegetables: Lightly battered and fried, tempura adds a crunchy contrast to the fluffy pancakes, enhancing your meal’s texture.
- Fresh Green Salad: Tossed with a citrus vinaigrette, a salad brings a refreshing burst of flavor and brightness, balancing the savory okonomiyaki beautifully.
- Pickled Daikon: The tangy zing of pickled daikon cuts through the richness, providing a delightful palate cleanse with every bite.
- Sushi Rolls: Soft sushi rolls filled with fresh ingredients can create a fun fusion meal, adding variety and a delightful contrast in flavors.
- Soy-Glazed Brussels Sprouts: The umami-rich sweetness pairs wonderfully, making for a satisfying and hearty addition to your meal.
- Chilled Sake or Green Tea: These beverages can enhance the dining experience, providing a warming contrast or refreshing cleanse between bites.
- Miso Soup: A comforting bowl of miso soup offers warmth and depth, elevating the entire meal with its rich, savory notes.
- Fruit Sorbet: For dessert, a light fruit sorbet can refresh your palate, ending your meal on a sweet and fruity note.
Let each pairing shine alongside your savory okonomiyaki recipe, creating a well-rounded and memorable dining experience!
Make Ahead Options
These Okonomiyaki pancakes are ideal for meal prep, making your busy weeknights a breeze! You can prepare the batter up to 24 hours in advance by mixing the flour, dashi, and egg, then refrigerating it in an airtight container. For a more convenient option, chop the cabbage and green onions ahead of time; just store them in the fridge, ensuring they remain crispy. When you’re ready to cook, simply fold the prepped ingredients into the batter and follow the cooking instructions as usual. This way, you can enjoy delicious, homemade Okonomiyaki with minimal effort and just as much flavor—perfect for those nights when time is tight!
Expert Tips for Okonomiyaki Recipe
- Preheat Properly: Ensure the skillet is heated adequately to achieve that perfect crispy exterior. A hot pan is key to a golden brown crust!
- Check Doneness: Use a toothpick to test the center of the pancake; if it comes out clean, your Okonomiyaki is ready!
- Uniform Portions: Scoop the batter with a large spoon to ensure even-sized pancakes, which cook uniformly and look delightful on the plate.
- Customize Gently: While you can add a variety of ingredients, avoid overcrowding the batter to keep a balanced flavor and texture in your Okonomiyaki.
- Warm Storage: If making multiple pancakes, keep them warm in a low oven until ready to serve. This ensures every bite is hot and delicious!
Storage Tips for Okonomiyaki Recipe
-
Room Temperature: Okonomiyaki is best enjoyed fresh, but if left at room temperature, it’s safe for up to 2 hours before needing refrigeration.
-
Fridge: Store leftover okonomiyaki in an airtight container for up to 2 days. Place parchment paper between layers to maintain crispness.
-
Freezer: Freeze individual pancakes by wrapping them tightly in plastic wrap and then placing in a freezer bag. They can last up to 2 months.
-
Reheating: To reheat, thaw in the fridge overnight if frozen. Warm the pancakes on a skillet over medium heat for a few minutes on each side until heated through and crisp again.
Okonomiyaki Recipe Variations
Feel free to get creative with your okonomiyaki pancakes; every twist adds to the joy of this dish!
-
Seafood Splash: Add diced squid or crab meat for an ocean-fresh flavor. This variation not only enhances the taste but also brings a delightful texture to your bite.
-
Vegan Swap: Use a flaxseed meal mixture instead of egg and skip the bonito flakes. Your vegan okonomiyaki will still be rich and satisfying.
-
Crunchy Veggies: Substitute cabbage with shredded carrots or zucchini for a crunchy and refreshing change. This tweak adds a vibrant color and a unique flavor profile.
-
Spicy Kick: Incorporate chopped jalapeños or a sprinkle of red pepper flakes into your batter for a zesty twist. The heat can create a fantastic contrast with the creamy toppings.
-
Cheesy Delight: Mix in shredded cheese directly into the batter for a gooey, cheesy goodness. Try using mozzarella or cheddar for a comforting twist that everyone will love!
-
Herb Infusion: Add finely chopped fresh herbs like cilantro or basil for an aromatic enhancement. It will give your okonomiyaki a fresh and vibrant note.
-
Kimchi Surprise: For a tangy and spicy version, mix in finely chopped kimchi. This adds depth and a wonderful flavor twist, making for an adventurous topping experience.
-
Pineapple Surprise: Sweet and savory lovers can toss in some diced pineapple for a tropical flavor explosion. This intriguing fusion of sweet and protein will delight your taste buds!
Embrace the versatility of your okonomiyaki and explore these options! And speaking of delicious customization, the warmth of my Alice Springs Chicken recipe may also inspire you to experiment. Perhaps you’d like to pair your savory pancakes with a hearty soup? Try my Hearty Cowboy Soup for a meal that meets every craving!
Okonomiyaki Recipe FAQs
How do I choose the right cabbage for my Okonomiyaki?
Absolutely! When selecting cabbage for Okonomiyaki, look for heads that are firm and have vibrant green leaves, as they lend the best flavor and texture. If you see any dark spots, it’s a sign of age. I typically prefer Nappa cabbage for its mild flavor, but regular green cabbage works just as well!
How should I store leftover Okonomiyaki?
Very easily! Leftover Okonomiyaki can be stored in an airtight container in the refrigerator for up to 2 days. If you’re worried about sogginess, place parchment paper between stacked pancakes to help maintain their crispness. Simply reheat in a skillet to bring back that wonderful texture!
Can I freeze Okonomiyaki? If so, how?
Yes, you can! To freeze your Okonomiyaki, first let them cool completely. Wrap the pancakes tightly in plastic wrap, ensuring no air is trapped inside, and then place them in a freezer-safe bag. They can last up to 2 months in the freezer. When you’re ready to enjoy, simply thaw in the fridge overnight and reheat on the skillet!
What dietary alternatives can I use for this Okonomiyaki Recipe?
Great question! For a vegan Okonomiyaki, simply substitute the egg with a flaxseed meal mixture—mix 1 tablespoon of flaxseed meal with 2.5 tablespoons of water and let it sit until it becomes gelatinous. You can also replace Dashi with vegetable stock for a lighter option. For gluten-free, opt for a gluten-free flour blend. This way, everyone can partake in the delicious experience!
What should I do if my Okonomiyaki isn’t cooking evenly?
No worries! If you find your Okonomiyaki isn’t cooking evenly, it might be due to uneven heat distribution on your skillet. Make sure your pan is preheated well, and you could try adjusting the temperature. If they’re browning too quickly, lower the heat slightly to give the pancake time to cook through while achieving that golden exterior.
How can I make my Okonomiyaki more flavorful?
The more the merrier! To boost the flavor of your Okonomiyaki, consider adding a splash of soy sauce to the batter or incorporating flavored stocks in place of plain water. Additionally, experimenting with toppings like kimchi, cheese, or different sauces can create that much more of a taste explosion in every bite!
Delicious Okonomiyaki Recipe: Your Custom Japanese Pancake Adventure
Ingredients
Equipment
Method
- In a large mixing bowl, combine all-purpose flour, dashi (or stock), and an egg. Whisk until smooth and lump-free.
- Fold in the chopped cabbage and green onions, mixing gently. If adding proteins, include them now.
- Heat a skillet over medium heat and lightly grease it. Allow it to heat up for 3 minutes.
- Spoon a generous portion of the batter into the skillet, forming a thick pancake about 1-inch high. Cook for 3-4 minutes until edges are golden brown.
- Carefully flip the pancake using two spatulas and cook the other side for another 3-4 minutes until golden brown.
- Transfer cooked pancake to a warm plate and repeat with remaining batter, greasing the skillet if needed.
- Plate the pancakes hot and drizzle with okonomi sauce and mayonnaise. Optionally sprinkle with bonito flakes and aonori.
")