")
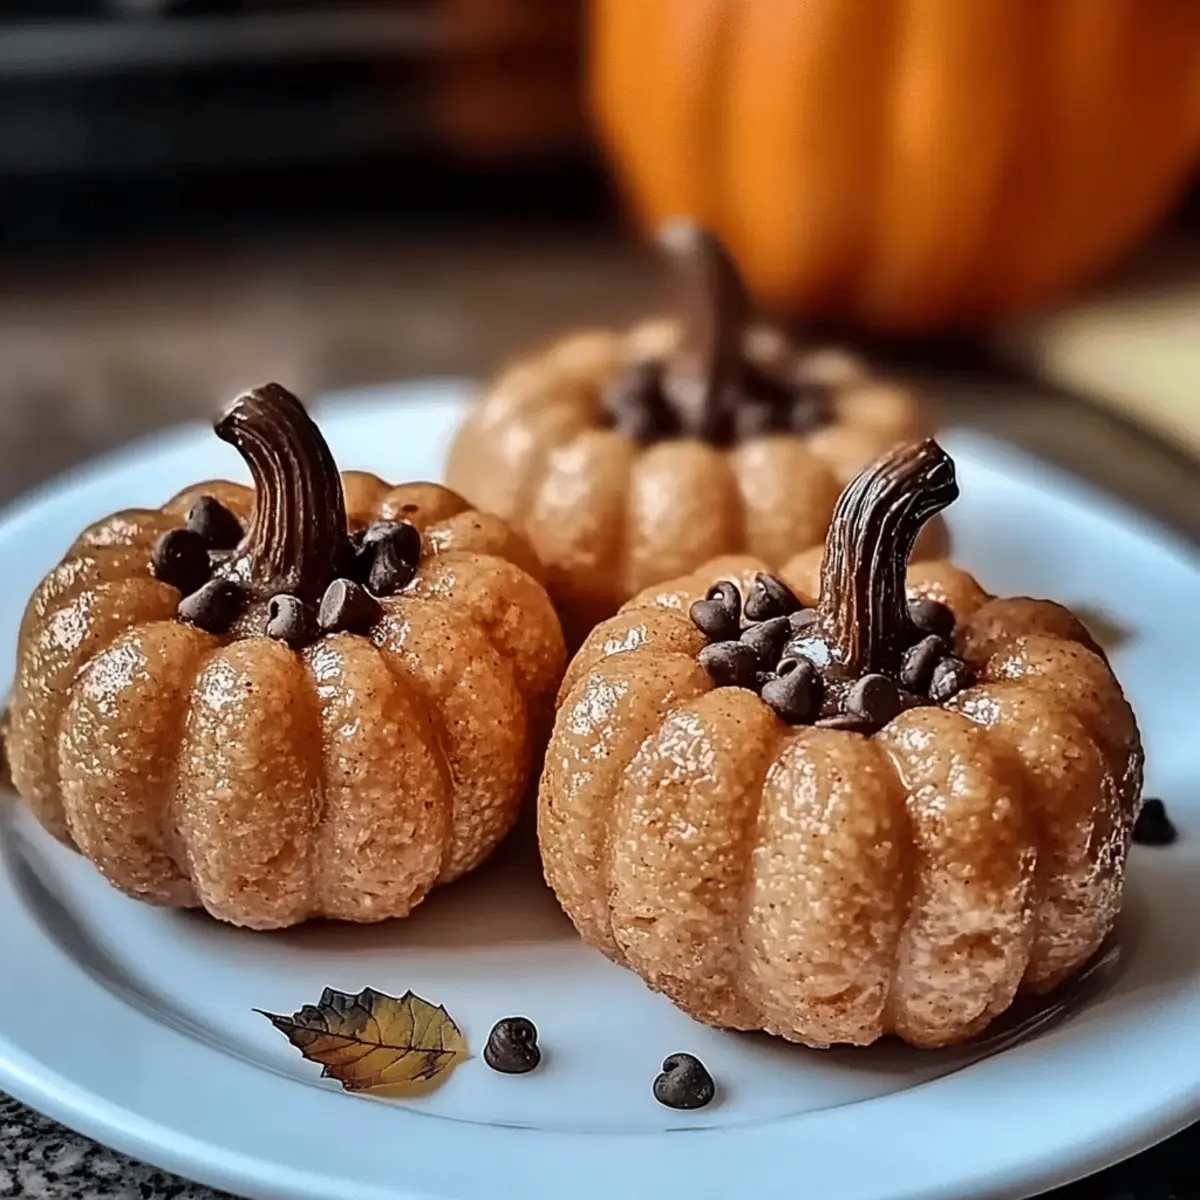
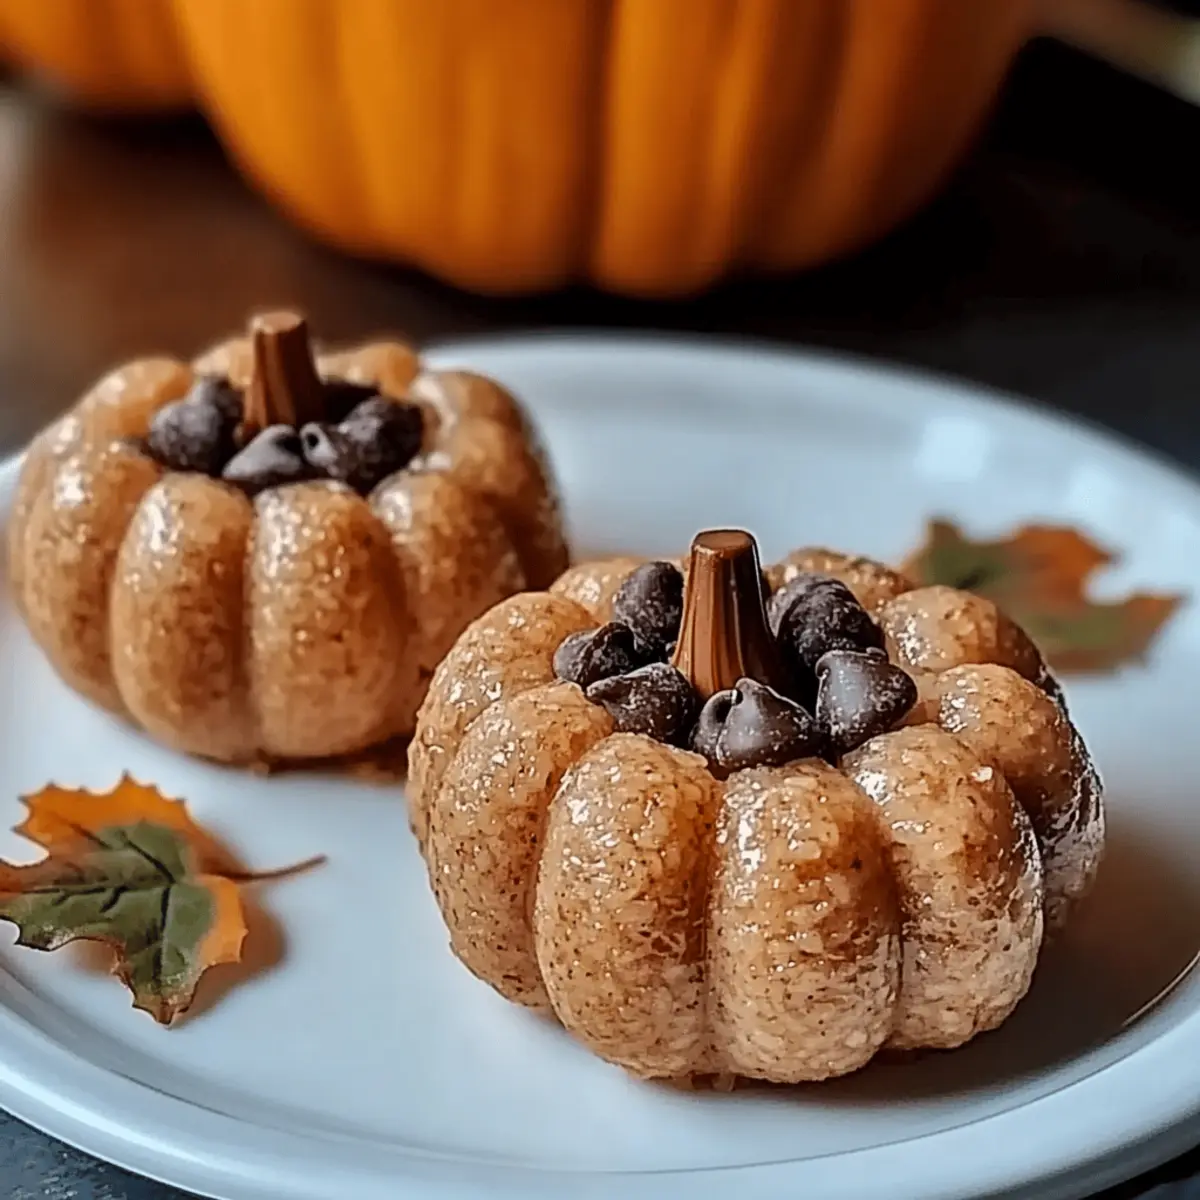
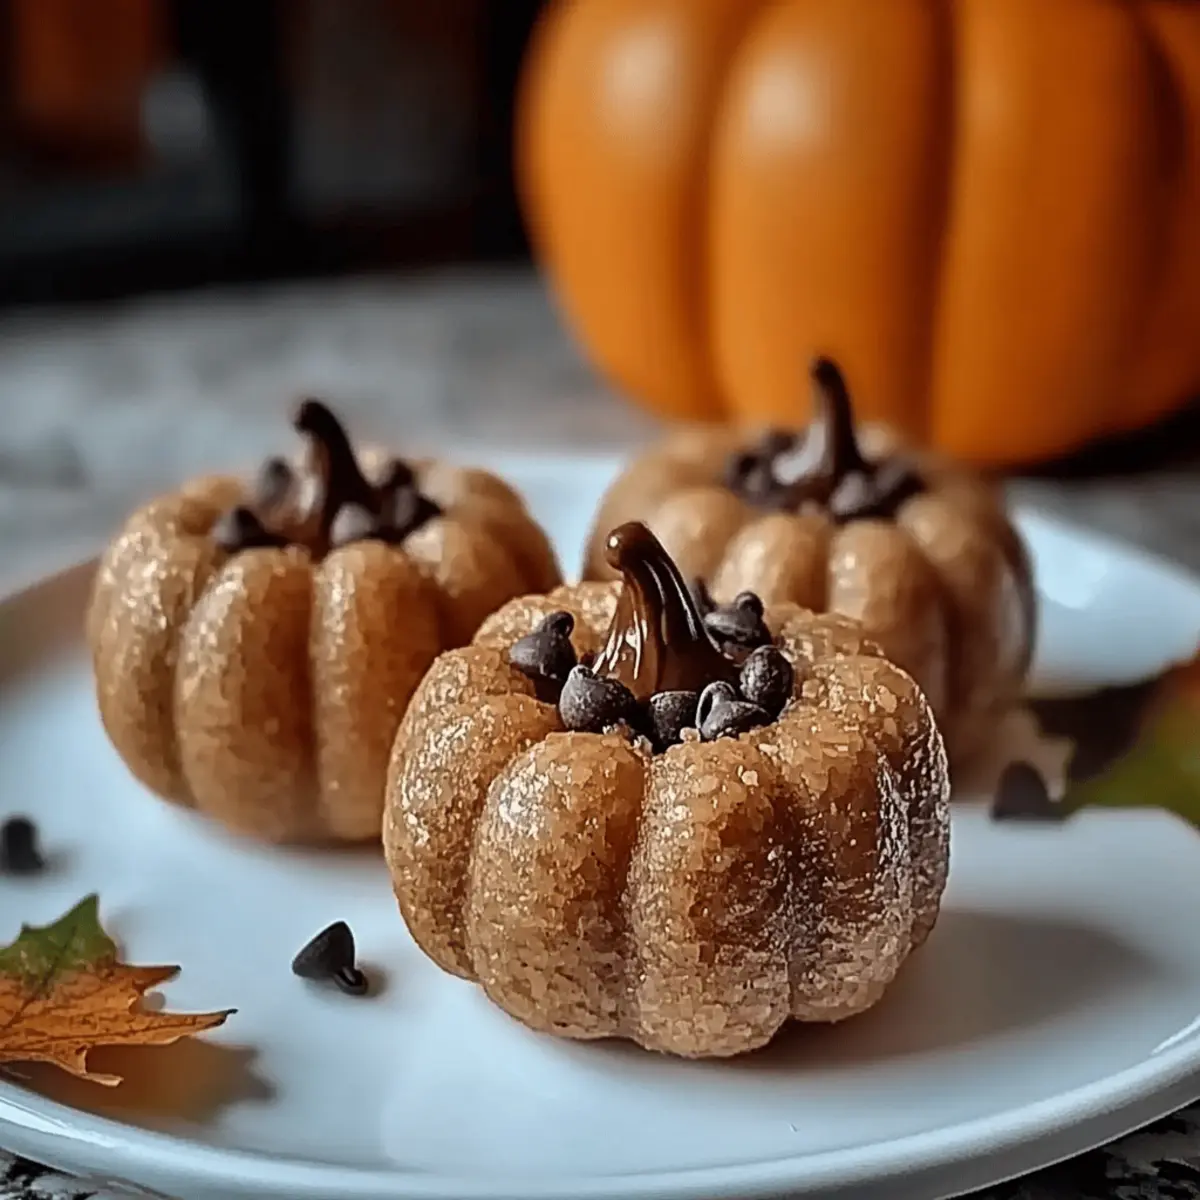
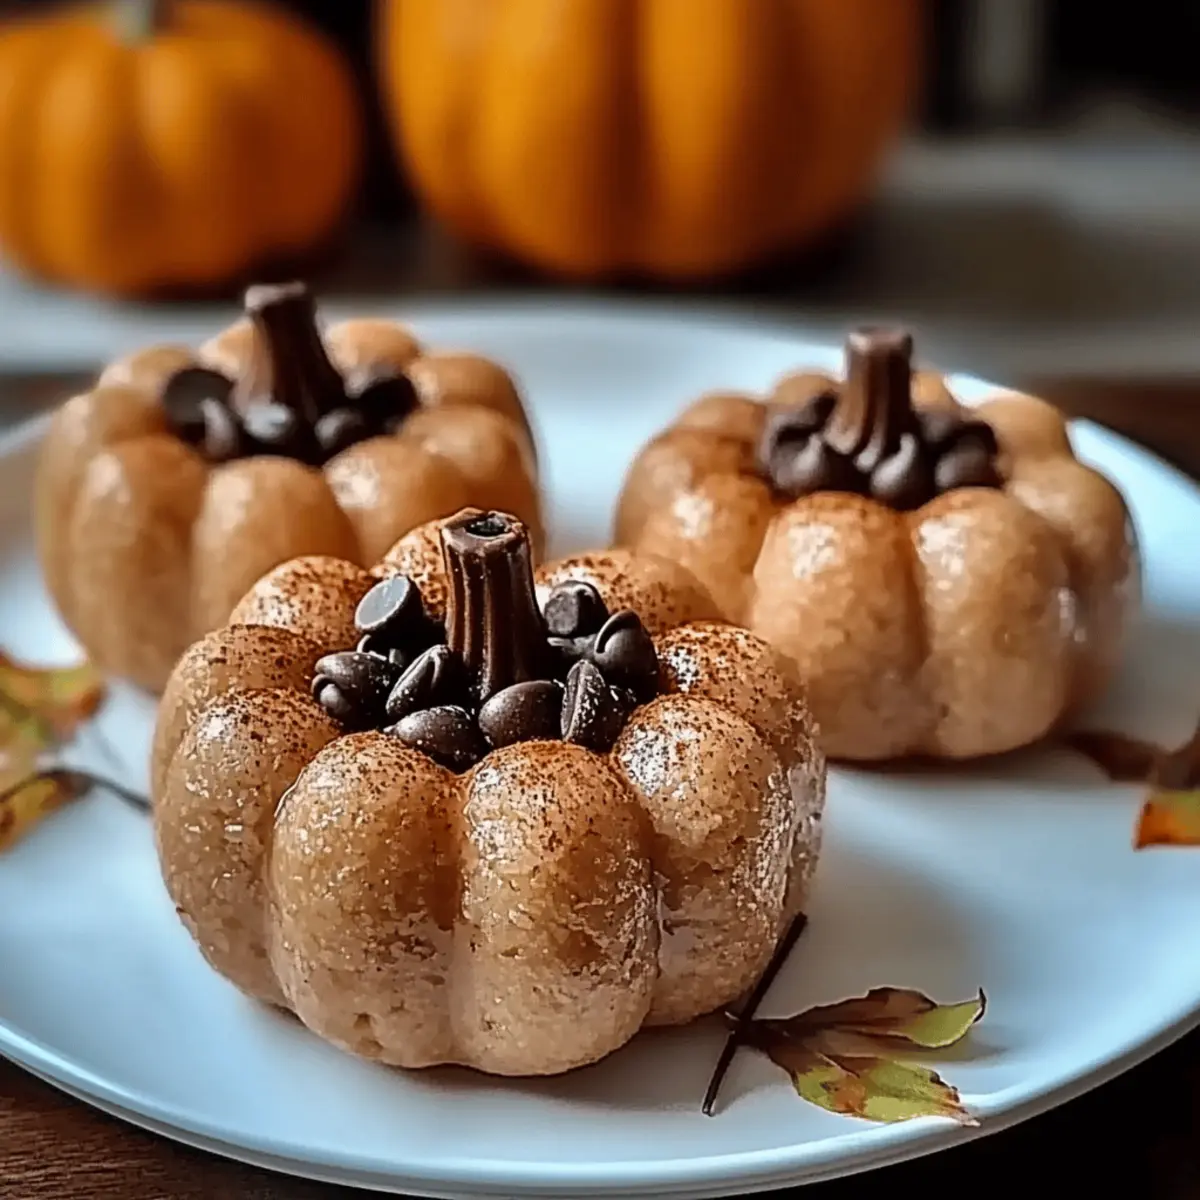
As the leaves turn vibrant shades of orange and gold, my kitchen transforms into a cozy haven of autumn aromas. One delightful treat that captures this season’s spirit is Peanut Butter Pumpkins. These fun, kid-friendly snacks combine creamy peanut butter with a satisfying crunch, making them perfect for Halloween gatherings or simply enjoying at home. Not only are they quick to whip up, but they also offer a healthier twist on traditional sweets. With no baking required and easy-to-find ingredients, anyone from novice to expert can create these festive bites. Are you ready to surprise your family with a fun culinary project that will have everyone smiling?
Why You’ll Love Peanut Butter Pumpkins
Irresistible Fun: These adorable snacks bring a smile to everyone’s face, making them a hit at Halloween parties and fall gatherings!
Quick and Easy: With no baking required, you’ll have these delightful treats ready in no time, perfect for busy schedules.
Healthier Delight: Made with peanut butter and cereal, they offer a satisfying crunch without the guilt, a fantastic alternative to candy.
Customizable Creations: Try out variations like chocolate dipped or nut butter blends to put your unique spin on this festive treat!
Kid-Friendly Fun: Involving the little ones in rolling and decorating the pumpkins is an entertaining activity that sparks creativity.
Pair these with a refreshing drink or serve them alongside other seasonal favorites like Caramel Kentucky Butter for a delightful autumn spread!
Peanut Butter Pumpkins Ingredients
• Simple, delicious ingredients await!
For the Peanut Butter Mixture
- Creamy Peanut Butter – Provides a rich and creamy base; opt for natural for the best flavor.
- Powdered Sugar – Sweetens the mix and helps bind everything together.
- Vanilla Extract – Enhances the flavor profile, making it irresistibly tasty.
For the Crunch
- Crispy Rice Cereal – Adds a delightful crunch; ensure it’s gluten-free if needed.
For Coating and Decoration
- Orange Candy Melts – Gives the pumpkins their festive hue; chocolate can be a sweet alternative.
- Vegetable Oil – Use to thin the candy melts for easy dipping.
- Green Candy Melts – Perfect for creating cute leaves on top of the pumpkins.
- Mini Chocolate Chips – Add these for adorable little eyes that bring your pumpkins to life!
Step-by-Step Instructions for Peanut Butter Pumpkins
Step 1: Prep Workspace
Begin by clearing a clean workspace to roll and decorate your Peanut Butter Pumpkins. Lay out parchment paper on a baking sheet for easy placement of the formed pumpkins. Gather all ingredients, including a mixing bowl, a spatula, and a microwave-safe bowl, so everything is within reach for a smooth workflow.
Step 2: Mix Peanut Butter Mixture
In a large mixing bowl, combine the creamy peanut butter, powdered sugar, and vanilla extract. Stir vigorously until the mixture is smooth and well-blended, typically around 2-3 minutes. The end result should be thick yet easily spreadable, forming the delicious base for your peanut butter pumpkins.
Step 3: Add Cereal
Gently fold in the crispy rice cereal until it is evenly coated with the peanut butter mixture. Be careful not to crush the cereal; you want to maintain its crunch. Continue folding until the cereal is fully incorporated, which should take about 1-2 minutes, resulting in a textured and cohesive mixture perfect for shaping.
Step 4: Form Pumpkins
Using your hands, take portions of the mixture and roll them into 1-2 inch balls. Place each rolled ball on the lined baking sheet, ensuring they are spaced apart to allow for decorating. This step will yield about 12-15 pumpkin treats, depending on your portion size.
Step 5: Chill
Cover the baking sheet with plastic wrap and refrigerate for about 30 minutes. This chilling time allows the peanut butter pumpkins to firm up, making them easier to handle and dip later. You’ll know they’re ready when they feel solid to the touch yet soft enough to bite into.
Step 6: Melt Coating
While the pumpkins are chilling, prepare the orange candy melts by placing them in a microwave-safe bowl with a splash of vegetable oil. Microwave in 30-second intervals, stirring in between, until completely melted and smooth. The melted mixture should be glossy, indicating it’s ready for coating.
Step 7: Coat Pumpkins
Once the peanut butter pumpkins are firm, dip each one into the melted orange candy mixture, ensuring they are fully coated. Allow any excess coating to drip off before placing them back on the parchment-lined baking sheet. Repeat this process for each pumpkin, working quickly to avoid the coating setting too soon.
Step 8: Add Decorations
While the orange coating is still wet, press mini chocolate chips into each pumpkin for eyes and shape small leaves using green candy melts. Be creative with the decoration, and let your Peanut Butter Pumpkins take on their festive autumn charm.
Step 9: Set
Allow the coated pumpkins to set at room temperature until the candy coating hardens completely, which usually takes about 30 minutes. If you prefer a quicker set, you can refrigerate them for a short time. Once hardened, these Peanut Butter Pumpkins are ready to be enjoyed or served at your autumn gatherings!
What to Serve with Peanut Butter Pumpkins
As you bring the delightful taste of autumn to your table, consider these perfect pairings to create a wholesome and festive meal!
- Hot Apple Cider: Its warm, spiced flavors complement the sweetness of the pumpkins, enhancing the cozy fall vibe.
- Caramel Sauce: Drizzling some caramel sauce over the pumpkins adds an irresistible touch that takes them to the next level of indulgence.
- Frosty Milkshake: A creamy vanilla or chocolate milkshake provides a refreshing contrast that is both fun and satisfying.
- Pumpkin Spice Muffins: The familiar fall spices in these muffins resonate beautifully with the peanut butter flavors, making for a delightful combination.
- Fresh Fruit Platter: Include slices of crisp apples and juicy pears to brighten the palate, offering a refreshing and crunchy counterbalance.
- Cinnamon Sugar Tortilla Chips: These crispy, sweet chips create a fun textural contrast while echoing the autumnal flavors in an exciting way.
- Orange Juice: Serve chilled fresh-squeezed orange juice to enhance the seasonal theme with its bright, tart flavor profile.
- Chocolate-Covered Pretzels: This sweet and salty treat harmonizes wonderfully with the sweetness of the Peanut Butter Pumpkins, creating a delicious medley of tastes.
These pairings will help you craft a memorable meal that celebrates the joys of the season!
Make Ahead Options
Peanut Butter Pumpkins are perfect for meal prep, allowing busy home cooks to create these delightful treats with ease! You can prepare the peanut butter mixture and form the pumpkin balls up to 24 hours in advance; simply store them in an airtight container in the refrigerator. When ready to finish, just chill them for 30 minutes if they’ve lost some firmness, then dip in the melted orange candy coating and decorate as desired. This way, you’ll enjoy the same sweet crunch without the last-minute rush, making your gatherings even more enjoyable and stress-free!
How to Store and Freeze Peanut Butter Pumpkins
Room Temperature: Store these delightful treats at room temperature for up to 2 days in an airtight container to maintain their freshness and flavor.
Fridge: Keep your Peanut Butter Pumpkins in the refrigerator for up to 1 week. Use an airtight container to prevent them from becoming too soft or absorbing odors.
Freezer: For longer storage, freeze uncoated peanut butter balls for up to 3 months. Just roll them, freeze until solid, and then transfer to a freezer bag.
Reheating: If you want to enjoy them again, simply let the frozen pumpkins thaw in the fridge overnight before serving.
Peanut Butter Pumpkins Variations
Customize your Peanut Butter Pumpkins to suit every taste, adding a bit of your creative flair!
-
Chocolate Dipped: Swap the orange candy melts for dark or milk chocolate for a decadent twist. Once dipped, they’ll take on a rich flavor that chocolate lovers adore.
-
Nut Butter Blend: Incorporate almond or cashew butter instead of peanut butter for a unique taste profile. These alternatives will give your pumpkins a different depth, delighting your guests with each bite.
-
Stuffed Pumpkins: Surprise everyone by inserting a piece of chocolate or caramel in the center of each ball. This delightful hidden treat adds an exciting burst of flavor that turns each pumpkin into a sweet adventure.
-
Pumpkin Spice: Mix a dash of pumpkin spice into your peanut butter mixture for an autumnal touch. It’ll envelop your treats in the warm flavors of fall.
-
Coconut Crunch: Add a handful of shredded coconut to the cereal mixture for a tropical twist. This variation makes your pumpkins not just adorable, but also crunchy and chewy!
-
Spicy Kick: Drizzle a bit of chili chocolate over your coated pumpkins to add a spicy contrast to the sweetness. The combination of heat and sweet will keep them guessing!
-
Decorative Sprinkles: Get creative with colorful sprinkles or edible glitter on top of the coating for an eye-catching garnish. These festive toppings can turn the humble pumpkin into a show-stopping treat.
-
Peanut-Free Version: Use sunflower seed butter as a substitute for peanut butter to make these treats allergy-friendly. They will still be rich and delicious, perfect for school snacks!
Get ready to bring the warmth of autumn right into your home! And if you’re looking for more delightful treats, check out these Peanut Butter Crackers for more fun family-friendly recipes.
Expert Tips for Peanut Butter Pumpkins
Chill Before Dipping: Ensure the peanut butter balls are fully chilled before dipping. This helps prevent cracking in the candy coating.
Choose Natural Peanut Butter: Opt for natural peanut butter without added sugars or oils for the best flavor and texture in your Peanut Butter Pumpkins.
Fold Gently: When adding cereal, fold it gently into the peanut butter mixture to maintain its crunch, avoiding a soggy texture.
Experiment with Decor: Don’t hesitate to add festive toppings like sprinkles or nuts for a personal touch. Let your creativity shine!
Storage Savvy: Store leftovers in an airtight container in the refrigerator for up to one week, or freeze uncoated balls for up to three months.
Peanut Butter Pumpkins Recipe FAQs
How do I select the best peanut butter for this recipe?
Absolutely! For the best flavor and texture in your Peanut Butter Pumpkins, I recommend using natural peanut butter without added sugars or oils. This type of peanut butter not only enhances the creamy flavor but also gives your treats a rich and authentic taste that pairs wonderfully with the sweetness of powdered sugar.
What’s the best way to store Peanut Butter Pumpkins?
You can store your Peanut Butter Pumpkins at room temperature for up to 2 days in an airtight container to keep them fresh. If you wish to extend their freshness, they can be refrigerated for up to 1 week. Just make sure the container is sealed tightly to prevent them from soaking up moisture or fading in flavor!
Can I freeze Peanut Butter Pumpkins?
Very! These delightful treats can be frozen for up to 3 months before coating. To do this, roll the uncoated peanut butter balls and place them on a parchment-lined baking sheet. Freeze until solid, then transfer to a freezer bag or airtight container. When you’re ready to enjoy them, simply thaw overnight in the fridge before coating and decorating.
What should I do if my candy coating is too thick?
If your candy melts seem too thick for dipping, don’t worry! Just add a little more vegetable oil gradually until you achieve a smoother, pourable consistency. Microwave the mixture for an additional 10-15 seconds to ensure it’s warm enough for easy dipping. This will help you achieve that perfect coating for your Peanut Butter Pumpkins.
Are these treats kid-friendly for school snacks?
Absolutely! Peanut Butter Pumpkins are a fantastic kid-friendly treat since they don’t require baking and can be easily customized to suit dietary needs. Just keep in mind any allergies, particularly to peanuts or any added ingredients like chocolate. If you’re packing them for school, ensure they’re well within your school’s snack policy to keep everyone happy and safe.
Peanut Butter Pumpkins: Your Fun & Festive Fall Treats
Ingredients
Equipment
Method
- Begin by clearing a clean workspace to roll and decorate your Peanut Butter Pumpkins. Lay out parchment paper on a baking sheet for easy placement of the formed pumpkins. Gather all ingredients.
- In a large mixing bowl, combine the creamy peanut butter, powdered sugar, and vanilla extract. Stir vigorously until smooth, around 2-3 minutes.
- Gently fold in the crispy rice cereal until evenly coated, maintaining its crunch, for about 1-2 minutes.
- Roll portions of the mixture into 1-2 inch balls and place them on the lined baking sheet, spacing them apart.
- Cover with plastic wrap and refrigerate for about 30 minutes to firm up.
- Melt the orange candy melts in a microwave-safe bowl with a splash of vegetable oil, until glossy and smooth.
- Dip each firm peanut butter pumpkin into the melted orange candy, allowing excess coating to drip off.
- While the coating is wet, press mini chocolate chips for eyes and shape leaves using green candy melts.
- Allow pumpkins to set at room temperature or refrigerate until the coating hardens completely, about 30 minutes.
")