")
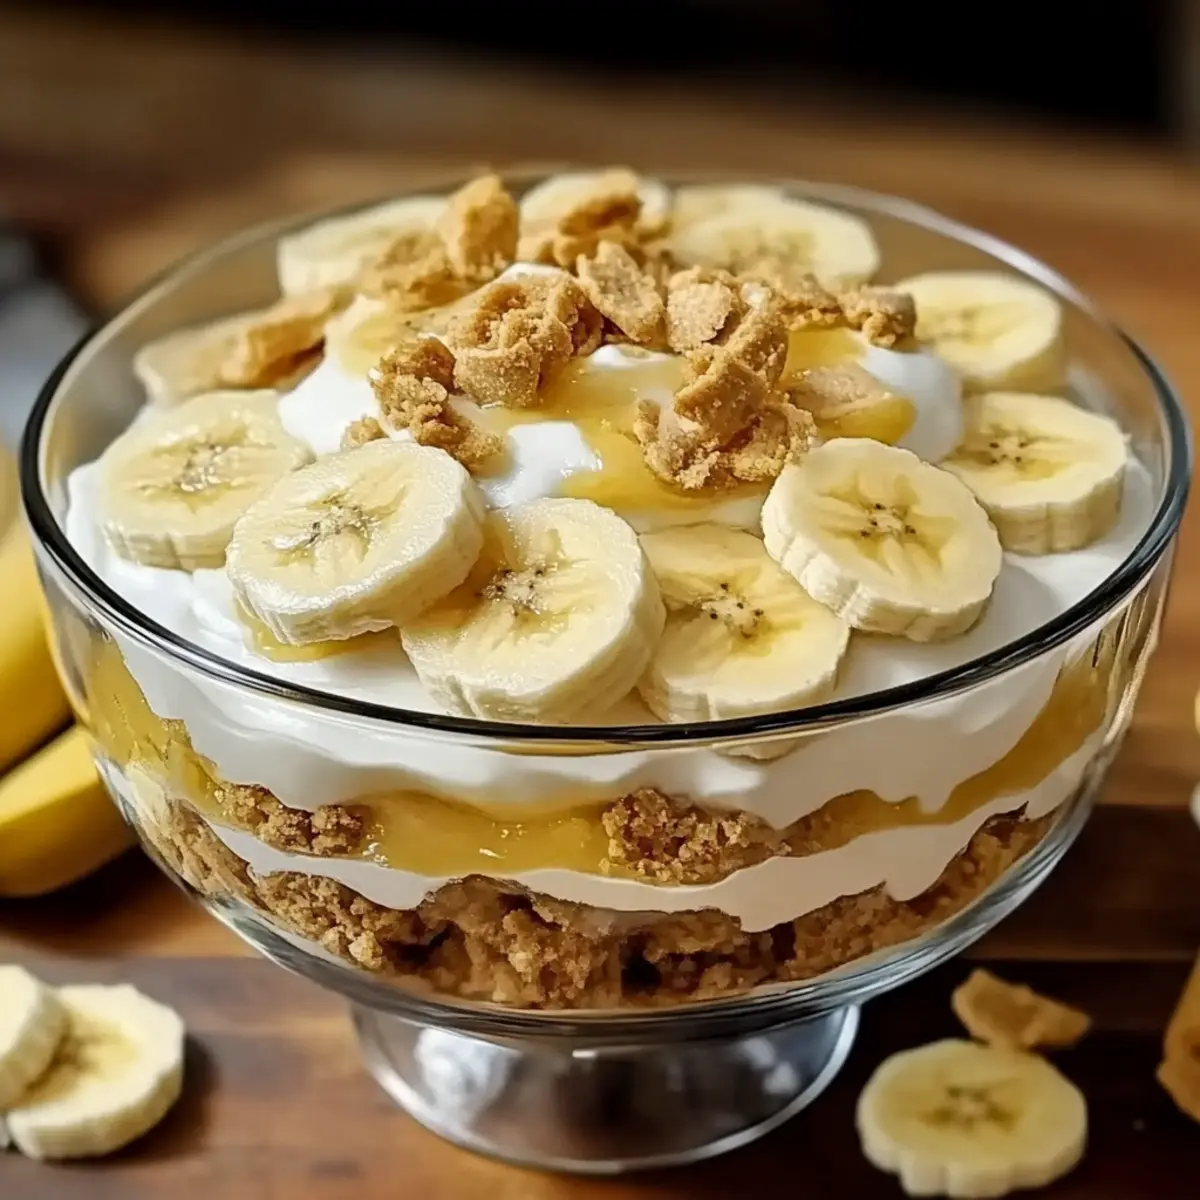
As I stood in my kitchen, the familiar scent of sweet, ripe bananas mingling with comforting vanilla filled the air—it was time to whip up a classic. Old-Fashioned Homemade Banana Pudding has a way of transporting me back, evoking cherished memories of family gatherings where laughter and warmth mingled around the dessert table. This nostalgic dessert is not only a crowd-pleaser but also incredibly simple to prepare, requiring just a handful of ingredients. With its creamy custard, layers of fresh bananas, and crunchy vanilla wafers, it’s a treat that balances ease with delightful satisfaction—perfect for those moments when you want to lovingly create something special, yet don’t have hours to spare. Ready to dive into this comforting delight? Let’s get started!
Why Is This Banana Pudding So Special?
Nostalgic Comfort: This Old-Fashioned Homemade Banana Pudding brings back sweet memories of family gatherings and warm kitchens, making it a cherished dessert.
Simple Ingredients: You only need a few pantry staples to create this delicious treat, proving that great flavor doesn’t require complicated recipes.
Creamy Layers: The smooth custard, fresh bananas, and crunchy vanilla wafers come together in a delightful dance of textures that will leave everyone reaching for seconds.
Versatile Delight: Feel free to customize this classic by swapping in gluten-free wafers or adding your favorite flavors. You could even try a delectable twist with a layer of chocolate pudding!
Time-Saving Perfection: With minimal prep time and just a few hours to chill, you’ll have a crowd-pleaser ready without spending all day in the kitchen. Enjoy it as a standout ending to any meal, or as a surprise treat! If you love homemade delights, don’t forget to check out my Vanilla Creamer Homemade for your coffee!
Old-Fashioned Homemade Banana Pudding Ingredients
For the Pudding Base
- Milk – Whole milk is recommended for that extra creaminess that makes your pudding unforgettable.
- Sugar – Adjust the sweetness to your taste; it’s the magic touch for your custard.
- Cornstarch – This key ingredient thickens the pudding; just ensure it’s certified gluten-free if needed.
- Egg Yolks – They add richness and improve texture; consider an egg replacer for a vegan twist!
- Vanilla Extract – Pure extract gives a deeper flavor; it’s what makes this dessert truly special.
For the Layers
- Bananas – Use ripe bananas; they’re the star of this nostalgic dessert, bringing the right level of sweetness.
- Vanilla Wafers – These add delightful crunch; opt for gluten-free wafers if you want to keep it gluten-free.
For the Topping
- Whipped Cream – Top with homemade or store-bought whipped cream for that perfect finish!
Gather these ingredients, and you’ll be on your way to crafting an irresistible Old-Fashioned Homemade Banana Pudding. Enjoy the sweetness of nostalgia with every creamy bite!
Step‑by‑Step Instructions for Old-Fashioned Homemade Banana Pudding:
Step 1: Prepare the Pudding Base
In a medium saucepan, combine 4 cups of whole milk, 1 cup of sugar, and 1/2 cup of cornstarch over medium heat. Stir constantly with a wooden spoon until the mixture starts to thicken and bubble, which usually takes about 10 minutes. You want a smooth, creamy consistency that coats the back of the spoon.
Step 2: Add Egg Yolks
In a separate bowl, whisk together 4 egg yolks. Once the pudding base is thickened, take about a cup of the hot mixture and gradually mix it with the yolks to temper them. Then, very gently whisk the tempered yolks back into the saucepan, cooking for an additional 2-3 minutes on low heat until the mixture thickens slightly more.
Step 3: Flavor the Custard
Remove the saucepan from heat and stir in 1 tablespoon of pure vanilla extract, blending well. You should see a glossy surface on the pudding as it cools. Allow the mixture to cool for a few minutes while you prepare your serving dish; this helps prevent the bananas from browning later on.
Step 4: Layer the Dessert
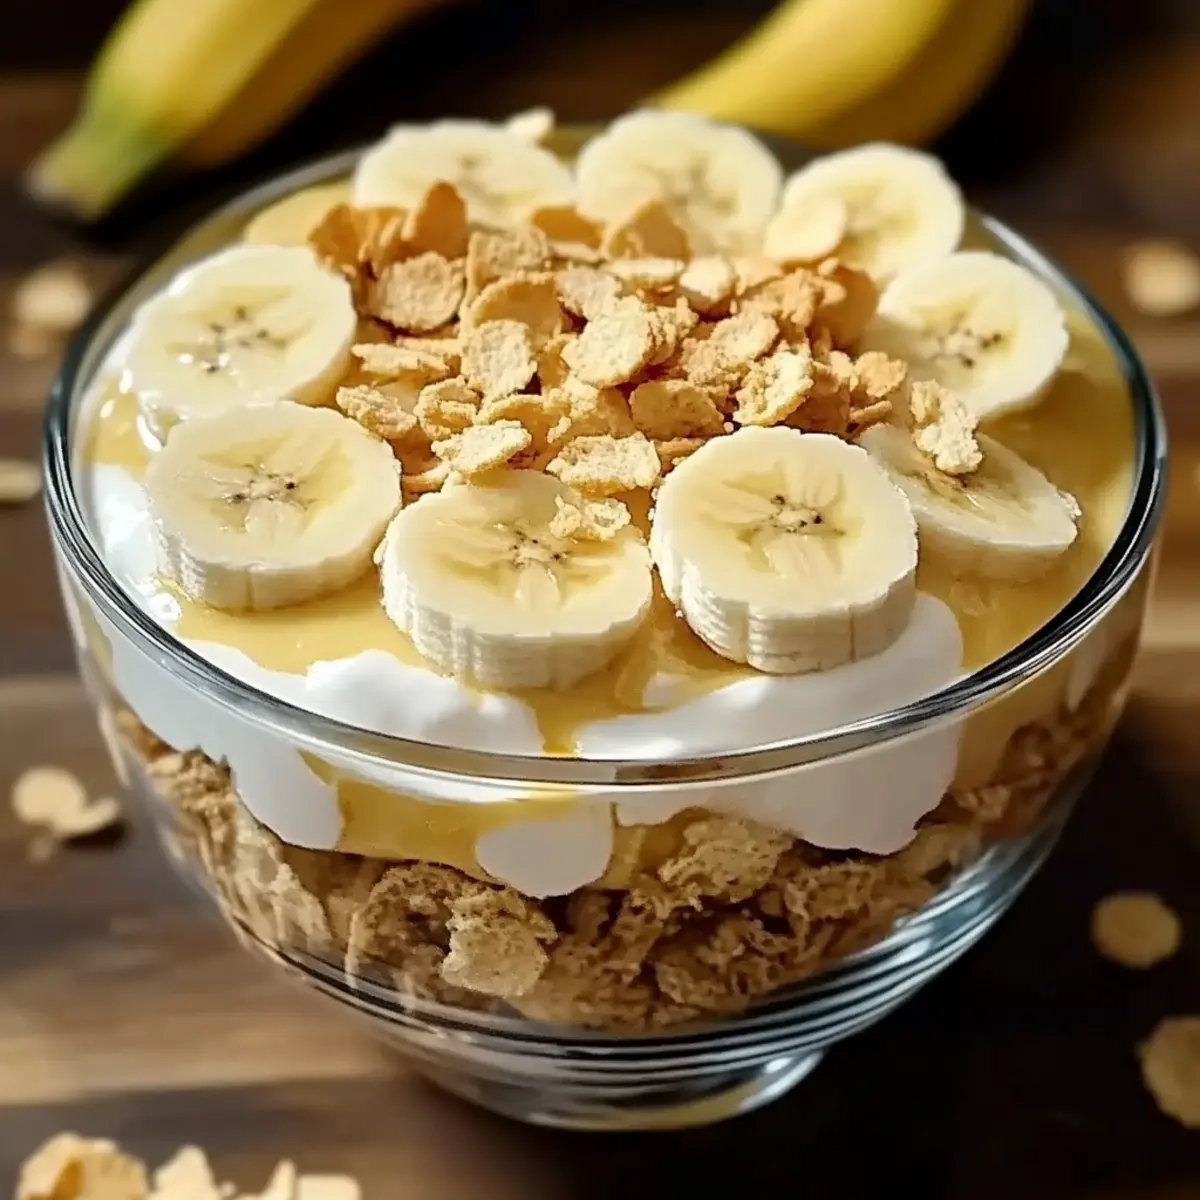
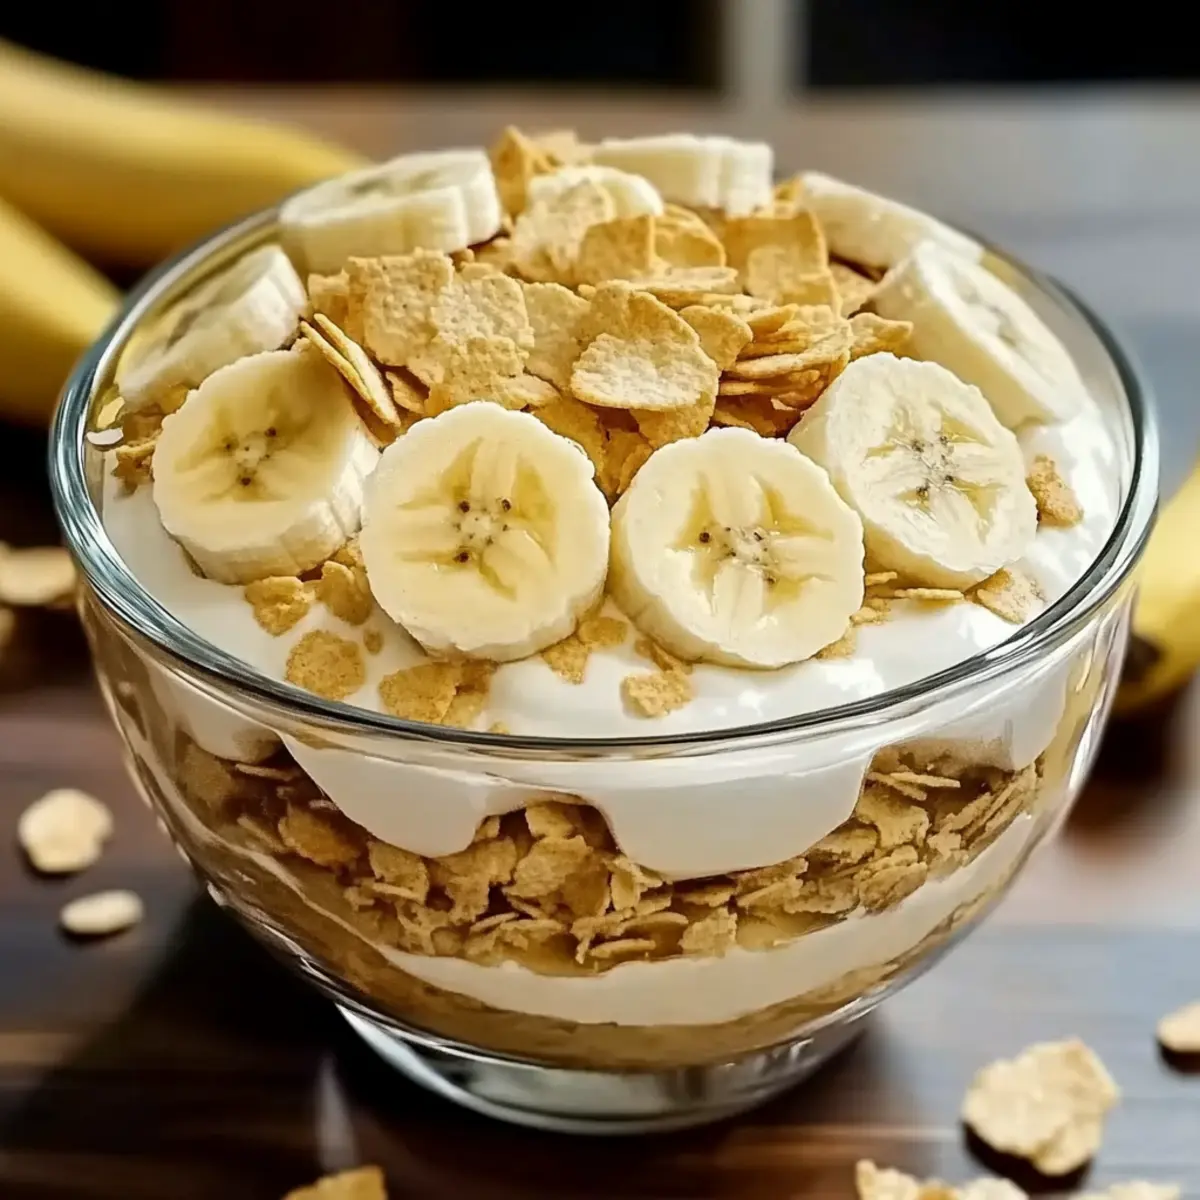
In a glass or ceramic serving dish, start layering by spreading a thin layer of pudding at the bottom. Then, add a layer of sliced ripe bananas, followed by a layer of crunchy vanilla wafers. Repeat the layers until all ingredients are used, finishing with a generous layer of pudding on top for a perfect presentation of your Old-Fashioned Homemade Banana Pudding.
Step 5: Chill
Cover the dish with plastic wrap, making sure it touches the surface of the pudding to prevent a skin from forming. Refrigerate for at least 4 hours, or preferably overnight, to allow the flavors to meld and for the pudding to set properly. You’ll know it’s ready when the pudding is firm but still creamy.
Step 6: Serve
Before serving, gently top your delightful banana pudding with a thick layer of whipped cream. Use a spatula to spread it evenly, and feel free to add fresh banana slices on top for a beautiful touch. Now, dig into the layers of nostalgia and enjoy the comforting flavors of your Old-Fashioned Homemade Banana Pudding!

Expert Tips for Old-Fashioned Homemade Banana Pudding
- Choose Ripe Bananas: Using ripe bananas enhances sweetness and flavor, ensuring your pudding reaches optimal deliciousness.
- Prevent Browning: Toss banana slices in a bit of lemon juice before layering to keep them fresh and vibrant in color.
- Chill Thoroughly: Allow your pudding to chill for at least 4 hours to develop rich flavors and a perfectly creamy texture.
- Layer Presentation: Opt for a clear glass dish to showcase the beautiful layers of your Old-Fashioned Homemade Banana Pudding—it’s just more inviting!
- Thick Custard Check: Make sure your pudding base is thick enough before adding the egg yolks to prevent curdling and ensure a smooth custard.
How to Store and Freeze Old-Fashioned Homemade Banana Pudding
Fridge: Store in an airtight container for up to 3 days. This keeps your pudding fresh while preventing it from absorbing unwanted odors.
Freezer: Avoid freezing, as the texture can break down, leading to a watery pudding that loses its creamy charm.
Reheating: If serving leftovers, gently rewarm in a microwave or on the stovetop, but serve cold for the best experience.
Layering Reminder: For optimal taste and presentation, add fresh whipped cream just before serving; this keeps it fluffy and delicious!
Old-Fashioned Homemade Banana Pudding Variations
Feel free to customize your Old-Fashioned Homemade Banana Pudding and make it uniquely yours with these delightful variations!
-
Graham Cracker Base: Swap vanilla wafers for crushed graham crackers to add a different flavor and texture.
-
Chocolate Layer: Mix in a layer of chocolate pudding for a richer, more decadent dessert that adds layers of surprise.
-
Nutty Crunch: Consider adding crushed pecans or walnuts between the layers for a fun crunch and nutty flavor boost.
-
Vegan Option: Use almond milk and an egg replacer to create a vegan-friendly version of this beloved classic without sacrificing taste.
-
Peanut Butter Twist: Swirl in some creamy peanut butter into the pudding layer to create a nostalgic PB & banana combo that everyone will adore.
-
Coconut Infusion: Add shredded coconut to the pudding and as a topping for an exotic flair that pairs perfectly with the bananas.
-
Warm Banana Delight: Serve your banana pudding warm out of the oven—just bake the layered dessert for 10-15 minutes before chilling for an unexpected twist.
If you’re looking for even more homemade delights, consider making some Homemade Starbucks Sugar to use in your beverages or whip up some Pepper Lunch Homemade dishes alongside your pudding! Enjoy exploring these variations and turning your dessert into a personalized masterpiece.
What to Serve with Classic Old-Fashioned Homemade Banana Pudding
This delightful dessert deserves companions that enhance its comforting flavors and textures, making every bite memorable.
- Fresh Berries: Adds a vibrant, tart contrast to the creamy pudding, elevating the overall flavor experience.
- Coffee or Espresso: A warm beverage perfectly balances the sweetness, providing a satisfying finish to your meal.
Consider serving warm coffee alongside the pudding; the aromas mingle beautifully, setting the perfect scene for relaxation.
- Coconut Macaroons: Their chewy texture and tropical flavor complement the vanilla and banana notes harmoniously.
- Chocolate Chip Cookies: A classic favorite, their soft and gooey texture pairs wonderfully with the firm layers of pudding.
For a true treat, why not offer both the cookies and pudding side by side? Each can be dipped and combined for a delightful dessert experience.
- Caramel Sauce: Drizzling some homemade caramel adds a sweet, buttery richness that enhances each bite of the dessert.
- Mint Iced Tea: A refreshing, herby drink that cleanses the palate and balances the sweetness of the pudding beautifully.
With these perfect pairings, your Classic Old-Fashioned Homemade Banana Pudding will become a centerpiece of joy and comfort in your gathering!
Make Ahead Options
Old-Fashioned Homemade Banana Pudding is perfect for meal prep enthusiasts! You can prepare the custard base up to 24 hours in advance, refrigerating it in an airtight container to keep it fresh. Once cooled, layer the sliced bananas in the serving dish and drizzle with a little lemon juice to prevent browning before adding the vanilla wafers and pudding. For optimum quality, assemble the layers but wait to add the whipped cream until just before serving to maintain its fluffy texture. This way, you can impress your family with a delicious, homemade dessert that’s ready with minimal effort, allowing you to savor every comforting bite!
Old-Fashioned Homemade Banana Pudding Recipe FAQs
What type of bananas should I use for this recipe?
Absolutely, using ripe bananas is key! Look for bananas that are slightly speckled with brown spots, as these are the sweetest and will provide the best flavor for your Old-Fashioned Homemade Banana Pudding.
How should I store leftover banana pudding?
To keep your delectable pudding fresh, store it in an airtight container in the refrigerator for up to 3 days. This ensures it maintains its creamy texture and doesn’t absorb any unwanted odors from your fridge. Just a tip: if you have a glass dish, cover it tightly with plastic wrap to avoid any skin forming on top.
Can I freeze Old-Fashioned Homemade Banana Pudding?
It’s best to avoid freezing this dessert. The creamy texture can break down during freezing, which might leave you with a watery pudding upon thawing. If you must store it long-term, consider freezing the pudding base alone (without bananas and whipped cream) and then layering fresh ingredients upon thawing to keep that delightful texture.
What do I do if my pudding is too runny?
No worries! If your pudding is runny, it could be due to not cooking it long enough to thicken or not using enough cornstarch. As a remedy, you can return the pudding to the saucepan over medium heat, and whisk in a little more cornstarch dissolved in a bit of milk until it thickens to your liking. Just be careful to stir continuously to prevent lumps!
Is this banana pudding suitable for those with gluten allergies?
Yes! You can make this dessert gluten-free with minimal effort. Simply ensure that the cornstarch and vanilla wafers you use are certified gluten-free. If you can’t find gluten-free wafers, you might opt to layer it without them or use crushed gluten-free graham crackers instead for that extra crunch.
Can I make this dessert ahead of time?
Absolutely! In fact, making your Old-Fashioned Homemade Banana Pudding a day in advance allows the flavors to meld beautifully. Just be sure to store it in the refrigerator and cover it well to maintain freshness for when you’re ready to serve!
Irresistible Old-Fashioned Homemade Banana Pudding Recipe
Ingredients
Equipment
Method
- In a medium saucepan, combine 4 cups of whole milk, 1 cup of sugar, and 1/2 cup of cornstarch over medium heat. Stir constantly until thickened, about 10 minutes.
- In a separate bowl, whisk together 4 egg yolks. Gradually mix a cup of the hot mixture with the yolks to temper them, then whisk back into the saucepan and cook for an additional 2-3 minutes on low heat.
- Remove from heat and stir in 1 tablespoon of vanilla extract. Allow to cool for a few minutes.
- Layer pudding, sliced bananas, and vanilla wafers in a serving dish, finishing with pudding on top.
- Cover with plastic wrap to prevent skin formation and refrigerate for at least 4 hours.
- Before serving, top with whipped cream and add fresh banana slices if desired.
")