")
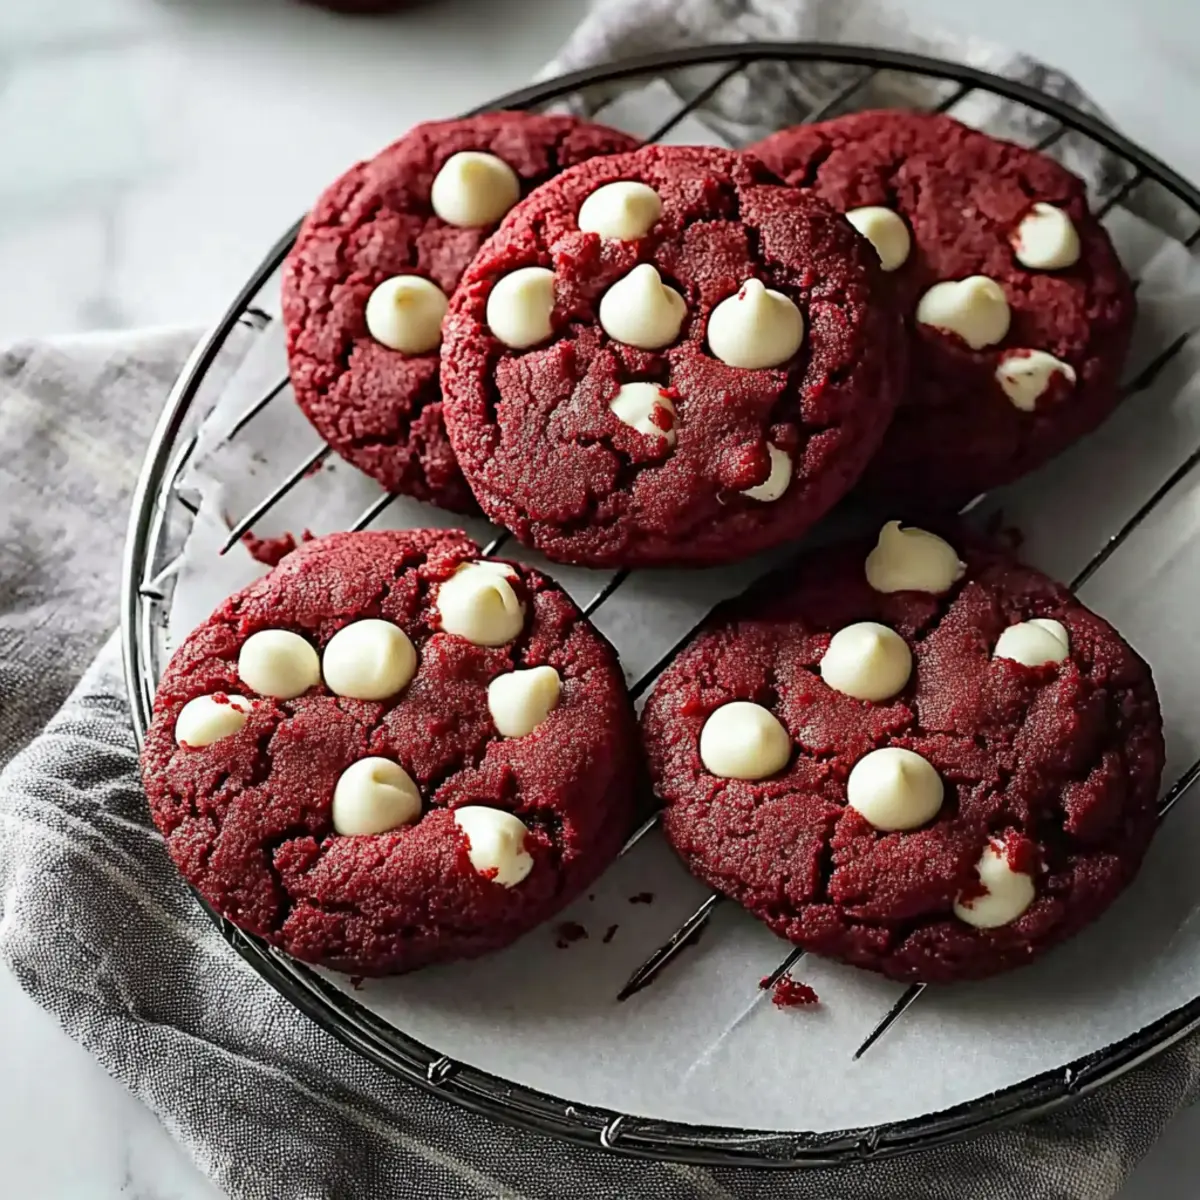
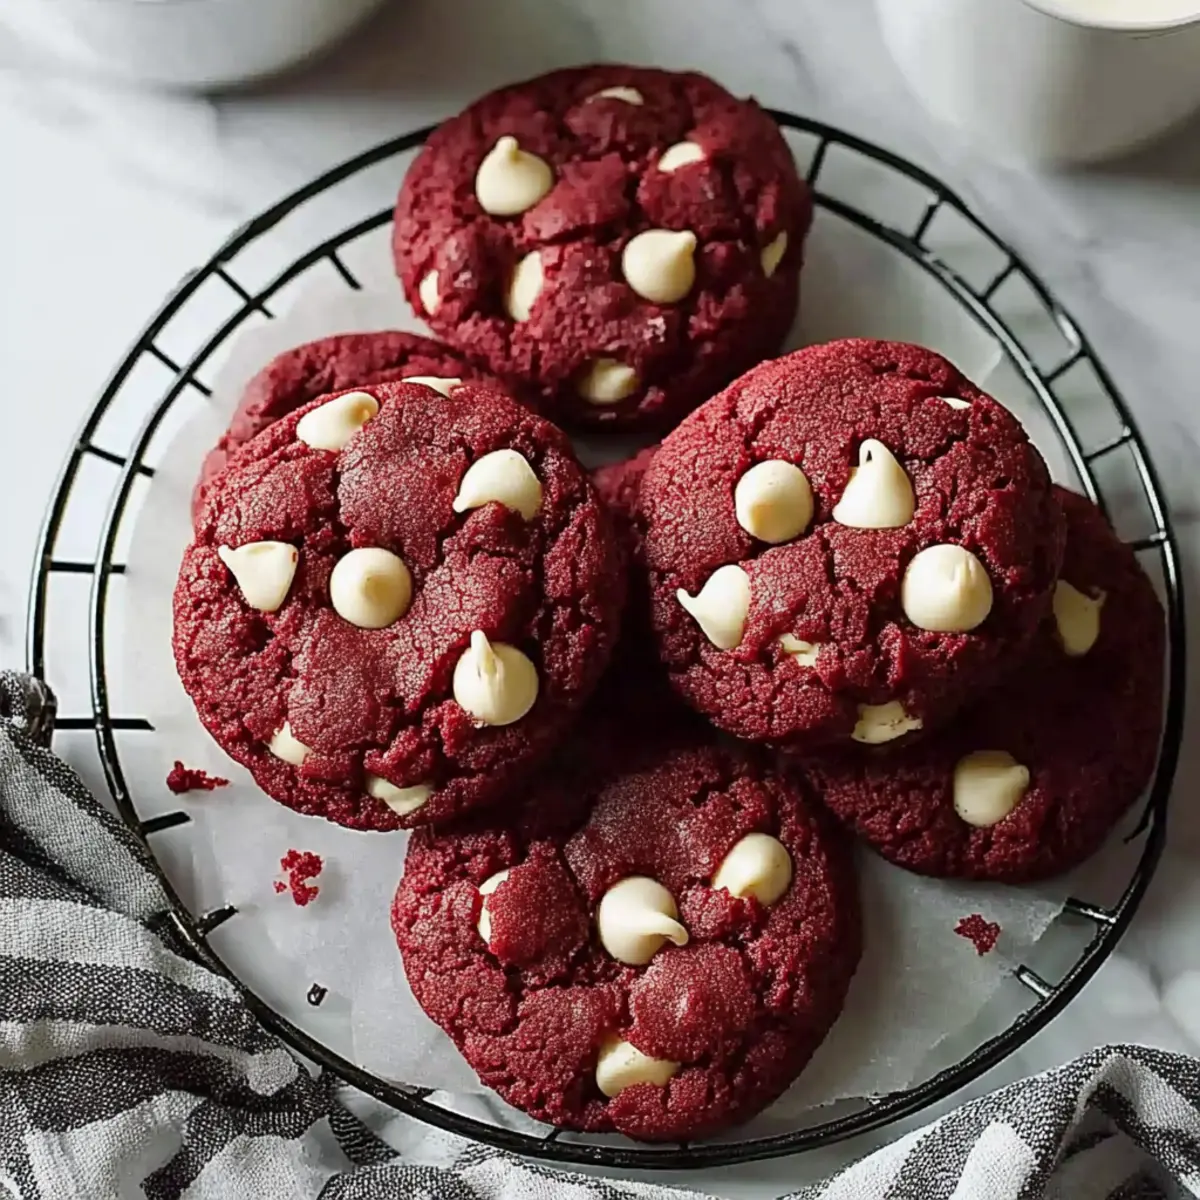
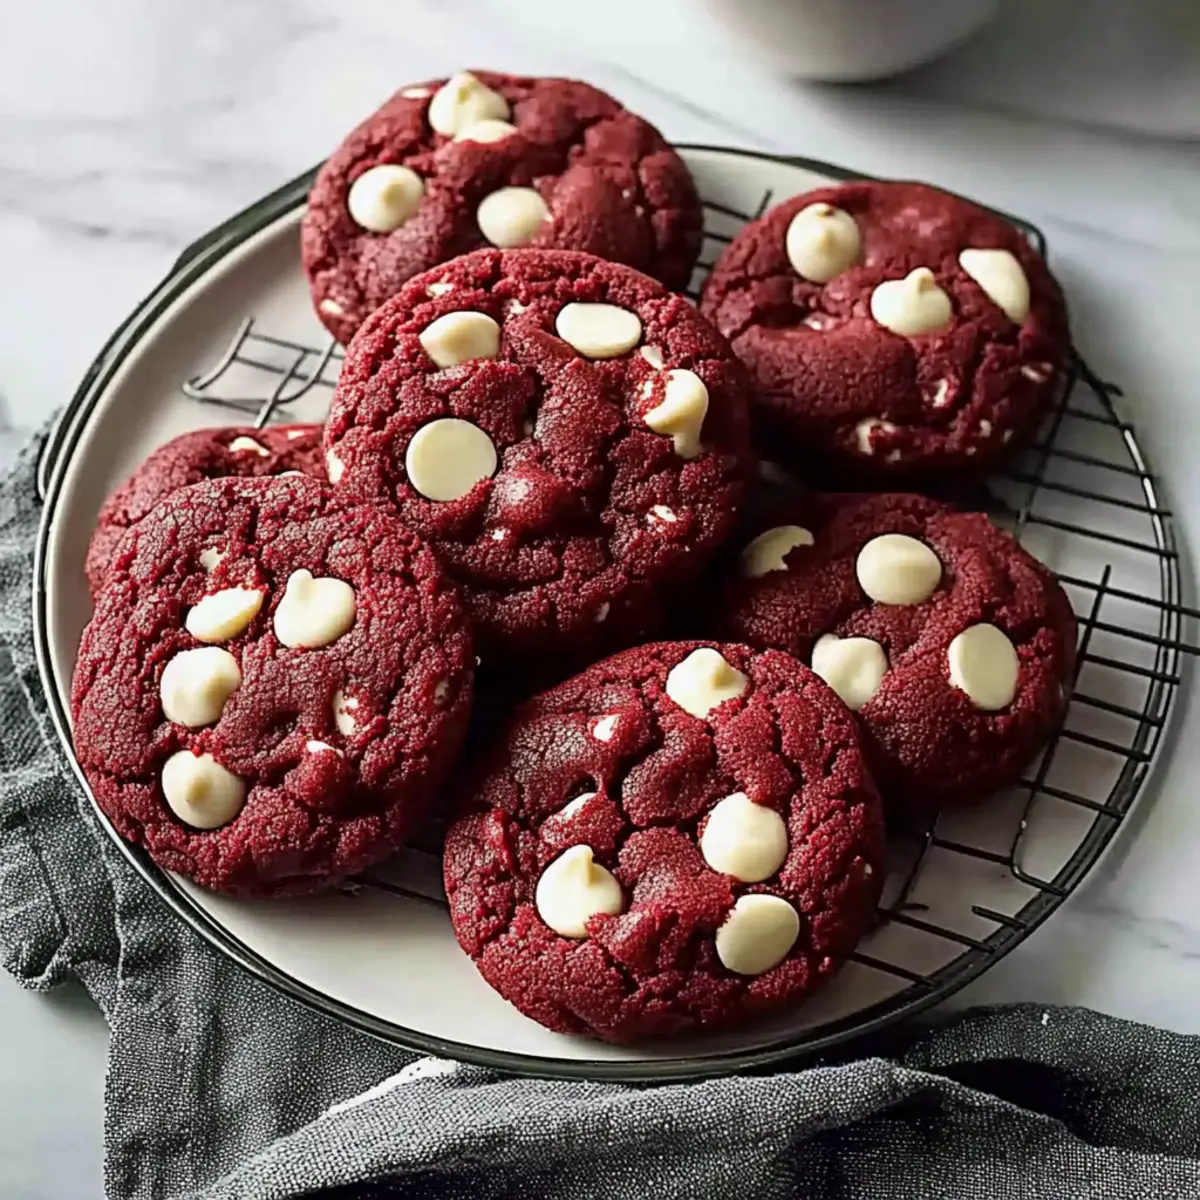
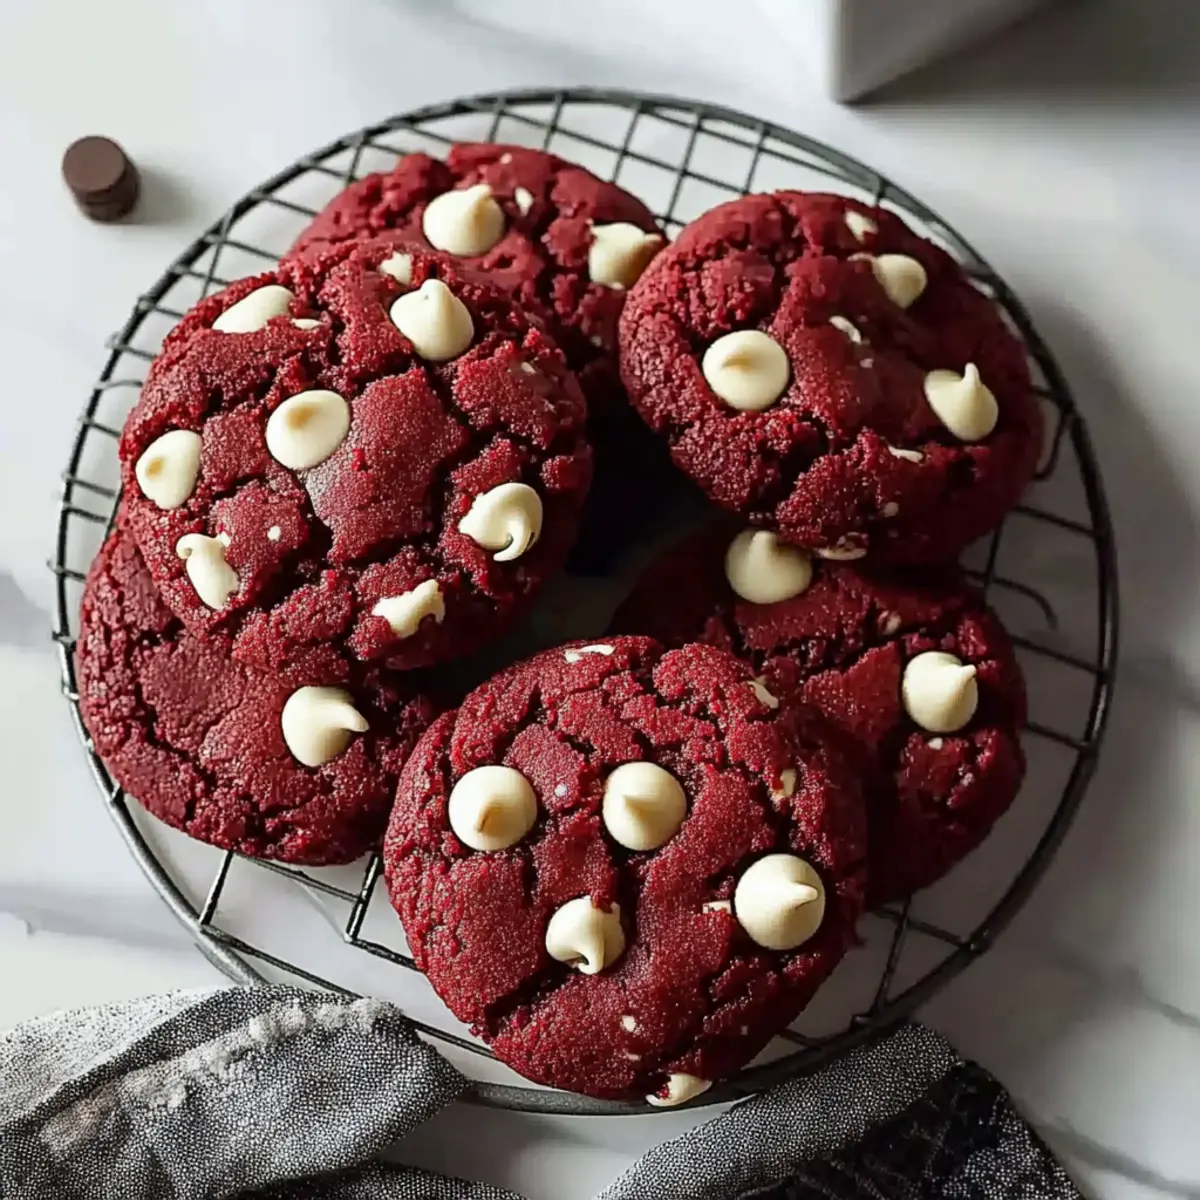
The aroma of freshly baked cookies wafted through my kitchen like a warm hug, instantly transporting me back to my favorite corner bakery in NYC. These NYC-style red velvet cookies with white chocolate chips are not your average treat; their loaded sweetness and soft, chewy texture make them an indulgent delight. Embracing the rich heritage of red velvet, I’ve reimagined this classic by skipping the frosting while adding creamy white chocolate chips for that extra oomph. Plus, they’re super easy to whip up, making them the perfect showstopper for any gathering or cozy night in. While I can’t promise they’ll last long, I can guarantee they’ll leave every cookie lover in bliss. Ready to create a batch that brings the city’s sweetest vibes to your home? Let’s dive into this delicious adventure!
Why are NYC Red Velvet Cookies so special?
Unique Flavor: These cookies marry soft, chewy chocolate with a hint of vanilla, delivering a flavor explosion that’s simply unforgettable.
White Chocolate Magic: With creamy white chocolate chips, you get delightful pockets of sweetness in every bite—no frosting needed!
Easy to Make: Just a few simple steps and basic ingredients transform into decadent cookies, making this a perfect recipe for both novice and experienced bakers alike.
Perfect for Any Occasion: Whether it’s a gathering with friends or a cozy night in, these cookies impress every time, ensuring they’re a hit with everyone.
Versatile Variations: Feel free to swap out chocolate types or add some nuts, allowing you to customize each batch to suit your taste. Check out my recipe for Chocolate Chip Cookies for more inspiration!
NYC Red Velvet Cookies Ingredients
For the Dough
• Unsalted Butter – Provides richness and moisture; use room temperature for best results.
• Brown Sugar – Adds sweetness and depth of flavor; light or dark can be used interchangeably.
• Sugar – Increases overall sweetness; combining with brown sugar creates a balanced flavor profile.
• Egg – Binds all ingredients together; ensure it’s at room temperature for proper incorporation.
• Vanilla Extract – Enriches the dough with aromatic sweetness; always choose pure for the best flavor.
• Red Food Coloring – Gives that iconic vibrant hue characteristic of NYC red velvet cookies; gel colors yield the brightest results.
• All-Purpose Flour – Forms the structure of the cookies; be careful not to overmix to keep them tender.
• Cocoa Powder – Enhances the chocolate flavor; opt for Dutch-process cocoa for a richer taste.
• Baking Powder & Baking Soda – Essential leaveners that ensure these cookies rise perfectly.
• Salt – Balances sweetness and elevates the overall flavor.
• Espresso Powder (optional) – Intensifies the chocolate flavor without imparting a strong coffee taste.
• White Chocolate Chips – Adds creamy sweetness and beautiful melting pockets; use high-quality chips for the best results.
Step‑by‑Step Instructions for NYC Red Velvet Cookies
Step 1: Preheat the Oven
Begin by preheating your oven to 350°F (175°C). While the oven warms up, line a baking sheet with parchment paper to prevent the cookies from sticking. This little preparation will pave the way for a smooth baking experience, ensuring the perfect base for your NYC Red Velvet Cookies.
Step 2: Combine the Dry Ingredients
In a large mixing bowl, whisk together the all-purpose flour, cocoa powder, baking powder, baking soda, salt, and optional espresso powder. This will add depth to the rich chocolate flavor. Mix until fully incorporated, and set the bowl aside, allowing the dry ingredients to mingle and create a flavorful blend.
Step 3: Cream the Butter and Sugars
In a separate bowl, cream together room temperature unsalted butter, brown sugar, and regular sugar using a hand mixer on medium speed for 2-3 minutes. Beat until the mixture appears light and fluffy, with a pale color that signals it’s ready for the next step, creating a rich base for your NYC Red Velvet Cookies.
Step 4: Add Egg and Flavors
Next, incorporate one room temperature egg, pure vanilla extract, and red food coloring into the creamed mixture. Beat everything together until it’s fully blended and uniform in color. The vibrant red hue coupled with the sweet aroma signals that your base is transforming into a luscious dough.
Step 5: Mix in the Dry Ingredients
Gradually add the dry ingredients to the wet mixture, folding them carefully with a spatula until just combined. Be cautious not to overmix, as you want your NYC Red Velvet Cookies to remain soft and chewy. The dough should be slightly sticky but cohesive, indicating it’s ready for the next step.
Step 6: Fold in White Chocolate Chips
Gently fold the white chocolate chips into the dough, distributing them evenly to ensure delightful pockets of sweetness in each cookie. The creamy chocolate will melt beautifully as they bake, complementing the rich flavors in your NYC Red Velvet Cookies.
Step 7: Shape the Dough
Divide the dough into 8 equal portions, rolling each into a ball. Space these dough balls approximately 2 inches apart on the prepared baking sheet. This spacing ensures they have room to spread while baking, creating the ideal shape and texture for your NYC Red Velvet Cookies.
Step 8: Chill the Dough
Place the formed dough balls in the freezer for 30 minutes. Chilling the dough is a crucial step; it helps prevent excessive spreading, resulting in beautifully thick, chewy cookies. While you wait, take a moment to clean up your workspace and savor the anticipation.
Step 9: Bake the Cookies
Once chilled, transfer the baking sheet to the preheated oven. Bake the NYC Red Velvet Cookies for 12-14 minutes, or until the edges are set, and the centers are still soft. The tops will look crackly and slightly domed, ensuring a perfect blend of textures in each bite.
Step 10: Let Cool
After baking, allow the cookies to cool on the baking sheet for 5-10 minutes. This resting period enables them to firm up, making it easier to transfer without breaking. Finally, gently move the cookies to a wire rack to cool completely, where the final flavors will meld beautifully.
How to Store and Freeze NYC Red Velvet Cookies
Room Temperature: Store cookies in an airtight container at room temperature for up to 5 days. To maintain moisture, add a piece of bread inside the container.
Fridge: If you live in a warm climate, consider refrigerating the cookies in an airtight container for up to a week to keep them fresh longer.
Freezer: For longer storage, freeze cookies for up to 3 months. Place them in a single layer on a baking sheet, freeze until solid, then transfer to an airtight container or freezer bag.
Dough Freezing: You can also freeze the dough. Shape it into balls, then freeze. When you’re ready to bake, simply bake straight from the freezer, adding a few extra minutes to the baking time. Enjoy the convenience of fresh NYC Red Velvet Cookies whenever you desire!
What to Serve with NYC-Style Red Velvet Cookies
Indulging in these decadent cookies opens the door to delightful pairing possibilities that elevate your dessert experience.
-
Cold Milk:
The classic pairing! A glass of cold milk balances the sweetness and complements the rich texture of the cookies. -
Fresh Berries:
Sweet and tart, berries add a refreshing contrast that cuts through the creaminess of the white chocolate chips. -
Vanilla Ice Cream:
A scoop of vanilla ice cream makes for a heavenly cookie sandwich, enhancing the experience with creamy indulgence. -
Espresso:
Rich, bold espresso brings depth to the dessert experience, enhancing the cocoa flavors while keeping things perfectly balanced. -
Cheesecake:
A small slice of cheesecake offers creamy smoothness, creating a delightful interplay with the cookie’s chewy texture. -
Chocolate Sauce:
Drizzling chocolate sauce over your cookies adds a rich, decadent touch, making each bite even more indulgent. -
Iced Coffee:
An iced coffee pairs beautifully, as the chilled brew complements the warm cookies, offering a refreshing taste contrast.
Enjoy experimenting with these pairings that not only enhance but also deepen the flavor experience of your NYC-style red velvet cookies.
Expert Tips for NYC Red Velvet Cookies
• Chilling is Key: Don’t skip chilling the dough! This prevents excessive spreading and ensures your cookies remain thick and chewy.
• Room Temperature Ingredients: Make sure your butter and egg are at room temperature. This helps create an even, fluffy texture in your NYC Red Velvet Cookies.
• Careful Mixing: Avoid overmixing when combining the wet and dry ingredients. This keeps your cookies tender and prevents a cakey texture.
• Watch the Baking Time: Be cautious not to overbake. Remove cookies when the edges are set, and the centers are still soft to achieve that perfect chewy bite.
• Quality Chocolate Matter: Use high-quality white chocolate chips for the best melting results. This will enhance the creamy pockets of sweetness in every bite.
NYC Red Velvet Cookies Variations & Substitutions
Feel free to let your creativity shine by customizing these delightful cookies to suit your taste buds!
- Dark Chocolate: Substitute dark chocolate chips for a richer flavor with a deep cocoa essence.
- Nuts Galore: Add chopped pecans or walnuts to introduce a delightful crunch and nutty flavor.
- Milk Chocolate: Replace white chocolate chips with milk chocolate for a sweet twist that still melts in your mouth.
- Gluten-Free: Use a 1:1 gluten-free flour blend to make these cookies suitable for gluten-sensitive friends while keeping the same sumptuous texture.
- Minty Fresh: Incorporate a few drops of peppermint extract for a subtle mint flavor that freshens every bite, perfect for the holiday season!
- Spiced Delight: Add a pinch of cinnamon or nutmeg to give your cookies a warm spice note, enhancing the overall richness.
- Choco-Raspberry: Enhance sweetness with a handful of dried raspberry pieces or chocolate-covered raspberries for a fruity flair. Their tartness balances the cookie’s sweetness beautifully.
- Miniature Cookies: For bite-sized treats, use a teaspoon of dough instead of a tablespoon, adjusting the baking time to 8-10 minutes for a more fun, snackable cookie.
Whichever variation you choose, each bite will bring a unique twist that delights cookie lovers! For even more ideas, check out these scrumptious recipes: Red Velvet Brownies, or enjoy a cozy classic with these irresistible Millies Cookies. Happy baking!
Make Ahead Options
These NYC Red Velvet Cookies are perfect for meal prep! You can prepare the cookie dough up to 24 hours in advance. Simply follow the instructions through Step 6, then wrap the bowl tightly with plastic wrap and refrigerate. When you’re ready to bake, remove the dough from the fridge and allow it to sit for about 10-15 minutes to soften slightly before shaping and chilling the dough balls in the freezer for 30 minutes. This method not only saves you time but ensures the cookies are just as delicious as if they were baked fresh right away. Enjoy the convenience of having wonderful homemade cookies ready for any occasion!
NYC-Style Red Velvet Cookies Recipe FAQs
How do I choose the right red food coloring?
Absolutely! When selecting red food coloring for your NYC Red Velvet Cookies, I recommend using gel-based options. Gel colors are more concentrated and provide a vibrant hue without adding extra liquid to your dough, ensuring the perfect red shade that’s visually appealing and iconic to red velvet treats.
What’s the best way to store leftovers?
To maintain the softness of your NYC Red Velvet Cookies, store them in an airtight container at room temperature for up to 5 days. For added moisture, place a piece of bread inside the container. If you find yourself in a warm climate, the refrigerator is a good alternative, keeping them fresh for up to 7 days. It’s all about keeping that delightful chewiness intact!
Can I freeze these cookies?
Definitely! You can freeze your NYC Red Velvet Cookies for up to 3 months. Allow the cookies to cool completely, then arrange them in a single layer on a baking sheet. Freeze until solid, then transfer them to an airtight container or a freezer bag. If you’re craving freshly baked cookies, dough can also be frozen—simply shape it into balls, freeze, and bake straight from the freezer, adding a couple of extra minutes to the baking time.
What should I do if my cookies spread too much?
If your NYC Red Velvet Cookies spread excessively while baking, it might be due to the dough being too warm or not chilled enough before baking. Make sure you chill the formed dough for at least 30 minutes as mentioned in the instructions. If they still spread, consider placing them back in the freezer for an additional 15 minutes before baking. And don’t forget to check the temperature of your butter—it should be soft, not melted!
Are these cookies suitable for people with nut allergies?
Yes! This recipe for NYC Red Velvet Cookies is naturally nut-free since none of the ingredients include nuts. However, always double-check any brands of chocolate chips you use, as they may be processed in facilities that handle nuts. If you want to include nuts for added texture, consider pecans or walnuts—just make sure to comply with allergy requirements for your guests!
How can I make the cookies less sweet?
If you’re looking to dial back the sweetness in your NYC Red Velvet Cookies, consider reducing the amount of sugar in the recipe. You can decrease the white sugar or brown sugar by about a quarter. Alternatively, using dark chocolate chips instead of white chocolate chips can balance the sweetness with a more intense chocolate flavor, creating a delicious contrast.
Decadent NYC Red Velvet Cookies with White Chocolate Delight
Ingredients
Equipment
Method
- Preheat your oven to 350°F (175°C) and line a baking sheet with parchment paper.
- In a mixing bowl, whisk together the flour, cocoa powder, baking powder, baking soda, salt, and optional espresso powder.
- Cream together the butter, brown sugar, and sugar using a hand mixer on medium speed for 2-3 minutes until light and fluffy.
- Add the egg, vanilla extract, and red food coloring to the creamed mixture and beat until fully blended.
- Gradually mix in the dry ingredients until just combined.
- Fold in the white chocolate chips until evenly distributed.
- Divide the dough into 8 equal portions, rolling each into a ball and spacing them 2 inches apart on the baking sheet.
- Chill the dough balls in the freezer for 30 minutes.
- Bake the cookies for 12-14 minutes, until the edges are set and the centers are soft.
- Let the cookies cool on the baking sheet for 5-10 minutes before transferring them to a wire rack.
")