")
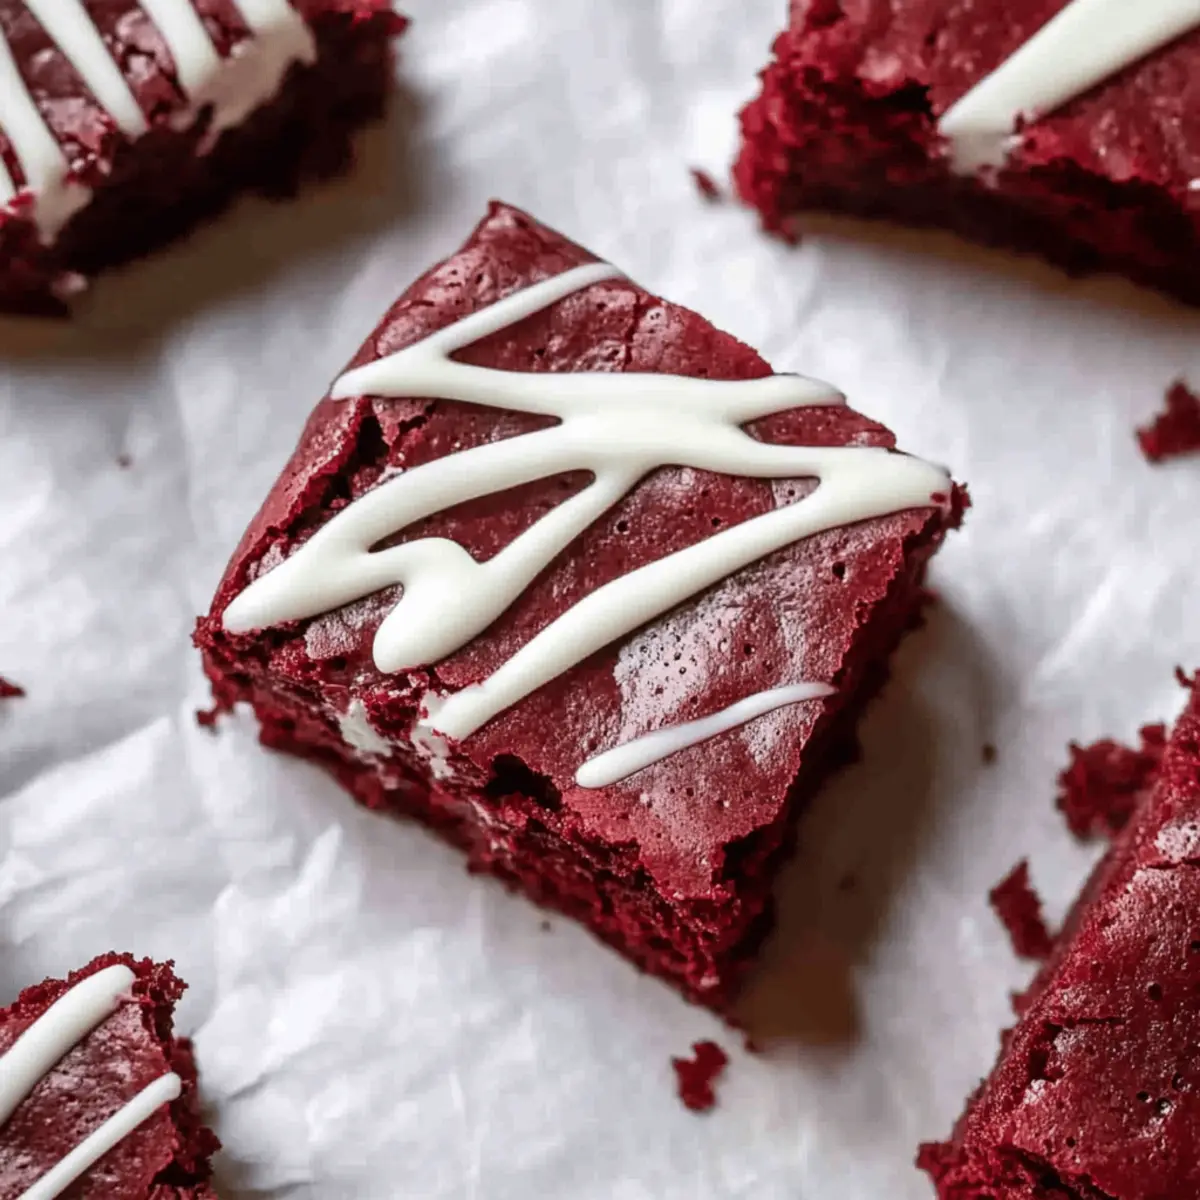
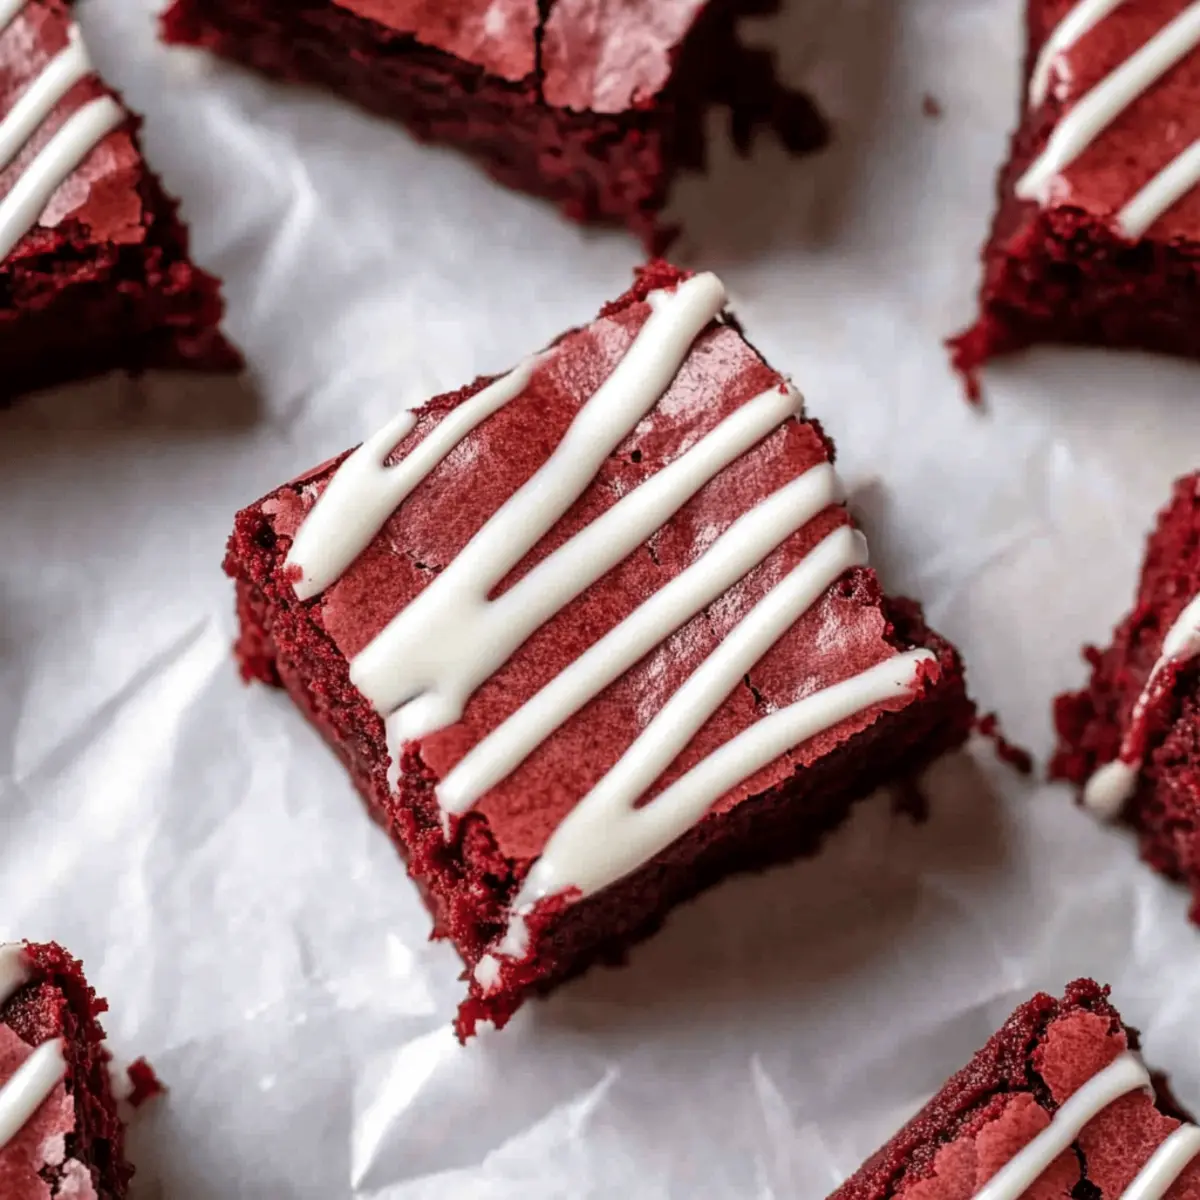
As the scent of melted chocolate wafts through my kitchen, I can’t help but feel a wave of nostalgia. These Fudgy Red Velvet Brownies are more than just a dessert; they’re a celebration in every bite. Rich, moist, and impossibly fudgy, they bring a delightful twist to any gathering, whether it’s a cozy Valentine’s Day or a festive Christmas dinner. Plus, their simple preparation means you can whip them up in no time, making them the perfect go-to for a last-minute treat. Imagine them cooling on your counter, drizzled with white chocolate or sprinkled with festive decorations, ready to impress! Are you ready to dive into the world of easy baking and create something truly special?
Why Choose These Red Velvet Brownies?
Irresistible Flavor: Each bite combines the deep richness of chocolate with the unique tang of red velvet, making them a truly special treat.
Quick to Prepare: With minimal prep time, you can bake these fudgy delights in just over half an hour, perfect for those unexpected gatherings.
Celebration Ready: Their vibrant red hue makes them an eye-catching dessert for any occasion, from romantic dinners to holiday feasts.
Versatile Variations: Play around by adding white chocolate chips or nuts, or even switch to dark chocolate for a bolder flavor—your creation, your way!
Crowd-Pleasing Appeal: Whether you’re serving friends or family, these brownies will quickly become a favorite, leaving everyone asking for the recipe!
Why not serve them alongside a scoop of vanilla ice cream or with a dusting of powdered sugar for that extra touch? For more decadent treats, check out my easy recipe for Red Velvet Brownies or indulge in the richness of Milk Brownies Fudgy.
Fudgy Red Velvet Brownies Ingredients
For the Batter
- Unsalted Butter – Provides richness and moisture; substitute with margarine or coconut oil for a dairy-free option.
- Chopped Semi-Sweet Chocolate Bar – Enhances chocolate flavor and contributes to a fudge-like texture; can use chocolate chips if preferred.
- Granulated Sugar – Adds sweetness and structure; alternative sweeteners (like coconut sugar) may alter texture.
- Large Eggs – Acts as a binder for moisture and structure; use flax eggs for a vegan alternative.
- Vanilla Extract – Adds depth of flavor; consider almond extract for a different taste profile.
- White Vinegar – Contributes to the tangy flavor characteristic of red velvet; substitute with lemon juice if needed.
- Red Gel Food Coloring – Gives brownies their signature color; omit for a natural version but expect a different color.
- Unsweetened Cocoa Powder – Adds chocolate flavor and aids in texture; Dutch-processed cocoa can be used for a milder taste.
- All-Purpose Flour – Provides structure to the brownies; a gluten-free blend can substitute if necessary.
- Salt – Enhances overall flavor; avoid if using salted butter.
- White Chocolate Chips (optional) – Adds extra sweetness and a creamy texture; can be omitted.
Now you have the ingredients ready to create the most delightful Fudgy Red Velvet Brownies that will sweep everyone off their feet!
Step‑by‑Step Instructions for Fudgy Red Velvet Brownies
Step 1: Preheat and Prepare
Begin by preheating your oven to 350°F (175°C). While the oven warms up, take an 8×8 inch baking pan and line it with parchment paper, allowing some overhang for easy removal later. This will ensure your fudgy red velvet brownies come out perfectly from the pan after baking.
Step 2: Melt Butter and Chocolate
In a microwave-safe bowl, combine unsalted butter and chopped semi-sweet chocolate. Heat in the microwave in 30-second increments, stirring between each session until the mixture is completely smooth and glossy. This rich melted base is essential for achieving that luscious fudge-like texture in your brownies.
Step 3: Mix in Sugar and Eggs
Once the chocolate mixture has cooled slightly, stir in granulated sugar until fully combined. Then add the large eggs one at a time, whisking thoroughly after each addition. This process helps to create a beautifully rich and cohesive batter for your fudgy red velvet brownies.
Step 4: Add Flavor and Color
Next, mix in the vanilla extract, followed by white vinegar, and red gel food coloring. Stir well to ensure the red color is evenly distributed throughout the batter, and the vinegar complements the chocolate flavor, giving your brownies their signature tangy profile.
Step 5: Combine Dry Ingredients
In a separate bowl, sift together unsweetened cocoa powder, all-purpose flour, and salt. This step not only helps to aerate the dry ingredients but also ensures a lump-free brownie batter. It’s crucial that these dry ingredients are well mixed to blend seamlessly with the wet mixture.
Step 6: Blend Wet and Dry Mixtures
Gradually add the sifted dry ingredients to the wet mixture, folding gently with a spatula. Mix just until combined, taking care not to overmix; this will ensure your fudgy red velvet brownies remain wonderfully moist and dense. You want to see a few flour streaks still visible.
Step 7: Optional White Chocolate Chips
If you’re feeling indulgent, now’s the time to fold in optional white chocolate chips for an extra layer of sweetness and creamy texture. Gently incorporate them into the batter until evenly distributed, giving your fudgy brownies that delightful surprise in every bite.
Step 8: Pour and Spread
Pour the brownie batter into your prepared baking pan, using a spatula to spread it evenly in the pan. Make sure the batter is level, which will help the brownies bake uniformly, allowing that fudgy texture to shine through in every delicious piece.
Step 9: Bake to Perfection
Place the pan in your preheated oven and bake for 30 to 35 minutes. To check for doneness, insert a toothpick into the center; it should come out with a few moist crumbs attached, indicating that your fudgy red velvet brownies are perfectly baked and not overdone.
Step 10: Cool and Serve
Once baked, remove the pan from the oven and let it cool completely in the pan on a wire rack. This cooling period is essential for the brownies to set. When ready, use the parchment overhang to lift them out, slice, and serve. Optionally, drizzle with melted white chocolate for an extra treat!
Storage Tips for Fudgy Red Velvet Brownies
Room Temperature: Store your fudgy red velvet brownies in an airtight container at room temperature for up to 3 days to keep them fresh and delicious.
Fridge: If you want them to last longer, place the brownies in the fridge, where they can stay good for up to 1 week—just remember to keep them covered tightly to prevent drying out.
Freezer: For longer storage, wrap the brownies individually in plastic wrap and then place them in a freezer-safe container. They can be frozen for up to 2 months.
Reheating: To enjoy your brownies warm, simply microwave them for about 10-15 seconds before serving, bringing back that fudgy goodness!
Expert Tips for Fudgy Red Velvet Brownies
Avoid Overmixing: Ensure that you mix the batter just until combined. Overmixing can lead to cake-like brownies instead of the desired fudgy texture.
Temperature Matters: Allow the melted butter and chocolate to cool slightly before adding eggs to prevent them from cooking. This keeps your fudgy red velvet brownies rich and moist.
Use Quality Chocolate: Always opt for a good-quality semi-sweet chocolate bar for the best flavor. It significantly enhances the chocolate richness in your brownies.
Measuring Flour: When measuring flour, avoid packing it into the cup. Spoon it into your measuring cup and level off with a knife for accurate quantities and the perfect brownie consistency.
Check Doneness Carefully: Insert a toothpick into the center of the brownies; it should come out with a few moist crumbs. If it comes out clean, it’s overbaked!
Cool Completely: Let your fudgy red velvet brownies cool in the pan before slicing. This helps them maintain their moist and fudgy texture, making them easier to cut.
Fudgy Red Velvet Brownies Variations
Feel free to explore these delightful twists that’ll take your fudgy red velvet brownies to the next level!
- Dairy-Free: Substitute unsalted butter with coconut oil or vegan margarine to keep it dairy-free without losing richness.
- Nuts Galore: Fold in crushed walnuts or pecans for added crunch and a delightful flavor contrast to the soft brownie texture.
- Chocolate Overload: Replace semi-sweet chocolate with chunks of dark chocolate for a deeper, more intense cocoa flavor in your brownies.
- Vegan-Friendly: Swap eggs for flax eggs and use dairy-free chocolate to create a completely vegan version of these fudgy delights.
- Spice It Up: Add a teaspoon of espresso powder or a dash of cinnamon to the batter for an intriguing flavor boost.
- Fruit Fusion: Incorporate swirls of raspberry or cherry preserves into the batter before baking for a fruity twist that complements the chocolate.
- Sugar Alternative: Use coconut sugar instead of granulated sugar for a lower glycemic option, adding a hint of caramel flavor as well.
- Chili Kick: For those who like heat, sprinkle a pinch of cayenne pepper into the batter for a surprising and tasty contrast.
These variations not only change up the flavor but can make your brownies suitable for different dietary preferences too. For an easy and delightful treat, you might also like to check out my recipe for Slutty Brownies Layers!
Make Ahead Options
These Fudgy Red Velvet Brownies are perfect for busy home cooks looking to save time! You can prepare the brownie batter up to 24 hours in advance. Simply combine the wet ingredients and dry ingredients as instructed, but hold off on baking. Store the mixed batter in an airtight container in the refrigerator to maintain its rich flavor and fudgy goodness. When you’re ready to indulge, let the batter sit at room temperature for about 30 minutes before pouring it into the baking pan and baking as directed. This ensures they bake evenly, giving you deliciously fudgy brownies with just a bit of prep work. Enjoy the convenience of a delightful dessert in no time!
What to Serve with Fudgy Red Velvet Brownies?
These delightful treats are perfect for creating a festive spread that will astound your guests and satisfy your sweet tooth!
- Vanilla Ice Cream: The creamy sweetness of ice cream complements the rich chocolate flavor perfectly, creating a decadent bite of contrast.
- Whipped Cream: Fluffy and light, whipped cream adds a delightful texture, balancing the dense fudginess of the brownies.
- Fresh Berries: Strawberries or raspberries provide a burst of freshness and acidity that cuts through the richness, brightening each mouthful.
- Chocolate Sauce: Drizzling warm chocolate sauce over the brownies amplifies the chocolate flavor, making every bite an indulgence.
- Coffee: A rich cup of coffee enhances the chocolatey taste while providing a lovely, cozy warm drink option for your dessert.
- Mint Tea: A refreshing mint tea can cleanse the palate, allowing the unique flavors of fudge and red velvet to shine through.
- Powdered Sugar Dusting: A light dusting of powdered sugar offers a sweet and appealing finish, adding an elegant touch to every serving.
- Cookie Crumbles: Crushed cookies on top give a delightful textural contrast, bringing extra flavor nuances that blend beautifully with the brownies.
- Cheesecake Mousse: Serve a dollop of cheesecake mousse to introduce a tangy sweetness that pairs marvelously with the chocolatey goodness of the brownies.
Fudgy Red Velvet Brownies Recipe FAQs
How do I choose the right ingredients for my fudgy red velvet brownies?
Absolutely! For the best results, look for high-quality unsalted butter and chopped semi-sweet chocolate bars. When selecting your cocoa powder, go for unsweetened options for that rich chocolatey flavor. Ensure your red gel food coloring is fresh to achieve that striking red hue, and always check your eggs for freshness!
How should I store my fudgy red velvet brownies?
You can store your brownies in an airtight container at room temperature for up to 3 days. For longer freshness, transfer them to the fridge where they can last for up to a week. Make sure they’re well-covered to prevent them from drying out—nobody wants a dry brownie!
Can I freeze fudgy red velvet brownies? How do I do it?
Yes, you can! To freeze your brownies, first, let them cool completely. Then wrap them individually in plastic wrap and place them in a freezer-safe container. They can be stored for up to 2 months. When you’re ready to enjoy them, thaw in the fridge or microwave for 10-15 seconds to revive their fudgy texture!
What if my brownies turn out dry or cake-like?
Oh no! This typically happens if the batter is overmixed or the brownies are overbaked. Make sure to mix just until combined and check for doneness by inserting a toothpick into the center—it should come out with a few moist crumbs. If that happens, don’t fret! You could also serve them warm with a scoop of ice cream to mask dryness.
Are fudgy red velvet brownies suitable for all diets, including vegan or gluten-free?
Very! You can easily adapt this recipe for dietary needs. Substitute the large eggs with flax eggs (1 tablespoon of flaxseed meal mixed with 2.5 tablespoons of water per egg, let sit until gelatinous) for a vegan alternative. For gluten-free brownies, simply swap the all-purpose flour with a gluten-free baking blend that you trust. Everyone deserves a delicious treat!
Fudgy Red Velvet Brownies That Brighten Any Celebration
Ingredients
Equipment
Method
- Preheat your oven to 350°F (175°C) and line an 8x8 inch baking pan with parchment paper.
- In a microwave-safe bowl, melt the unsalted butter and chopped semi-sweet chocolate together, heating in 30-second increments until smooth.
- Once cooled slightly, stir in granulated sugar, followed by eggs one at a time, whisking thoroughly after each addition.
- Mix in vanilla extract, white vinegar, and red gel food coloring until well distributed.
- In a separate bowl, sift together cocoa powder, flour, and salt.
- Gradually fold in the dry ingredients into the wet mixture until just combined.
- If desired, fold in the white chocolate chips for extra sweetness.
- Pour the batter into the prepared baking pan and spread evenly.
- Bake for 30 to 35 minutes, checking doneness with a toothpick.
- Let cool completely in the pan before lifting out and slicing.
")