")
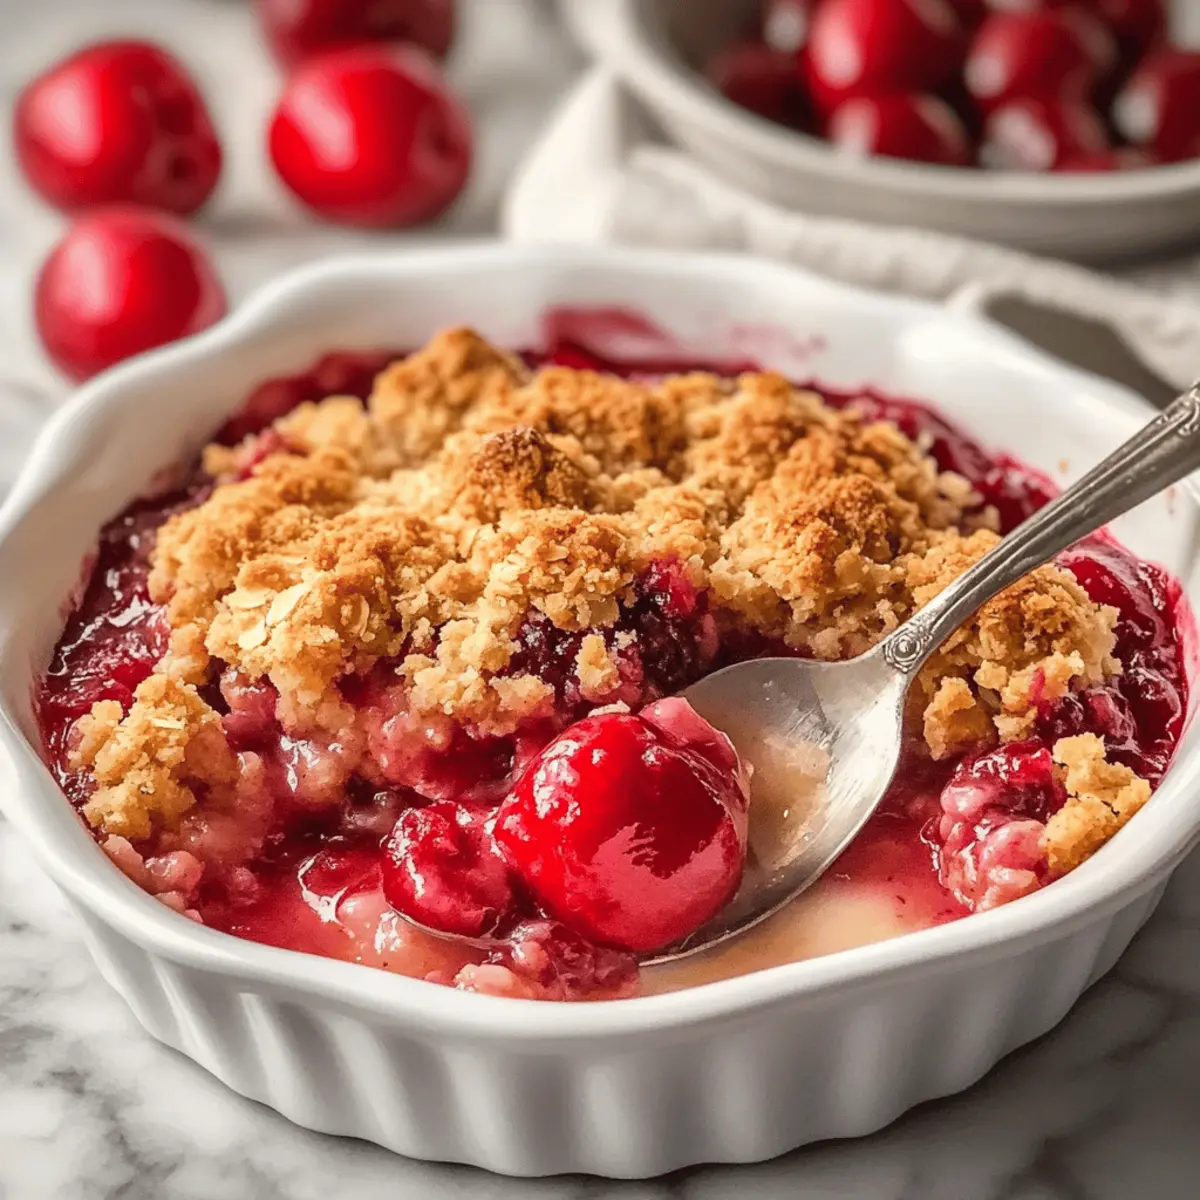
The aroma of cherries mingled with warm spices wafted through my kitchen as I rummaged through my pantry—a sweet reminder that simple ingredients can create something truly delightful. This Homemade Cherry Crumble is not just any dessert; it’s a versatile gem that transforms both fresh and canned cherries into a comforting, nostalgic treat. With just 20 minutes of prep time, this easy-to-make recipe ensures you don’t have to spend hours in the kitchen yet still impress your loved ones with a rich, buttery topping that perfectly contrasts the juicy fruit beneath. Whether you’re looking to savor it warm with a scoop of vanilla ice cream or prefer it cold for a refreshing bite, you’ll find this crumble is the ideal answer to your dessert cravings. Ready to discover how to whip up this delicious creation? Let’s dive in!
Why is Homemade Cherry Crumble So Special?
Ease of Preparation: This recipe requires just 20 minutes of hands-on time, making it perfect for busy weeknights or last-minute gatherings.
Versatile Flavor: Enjoy fresh or canned cherries, or switch it up with blueberries, peaches, or apples for a unique twist.
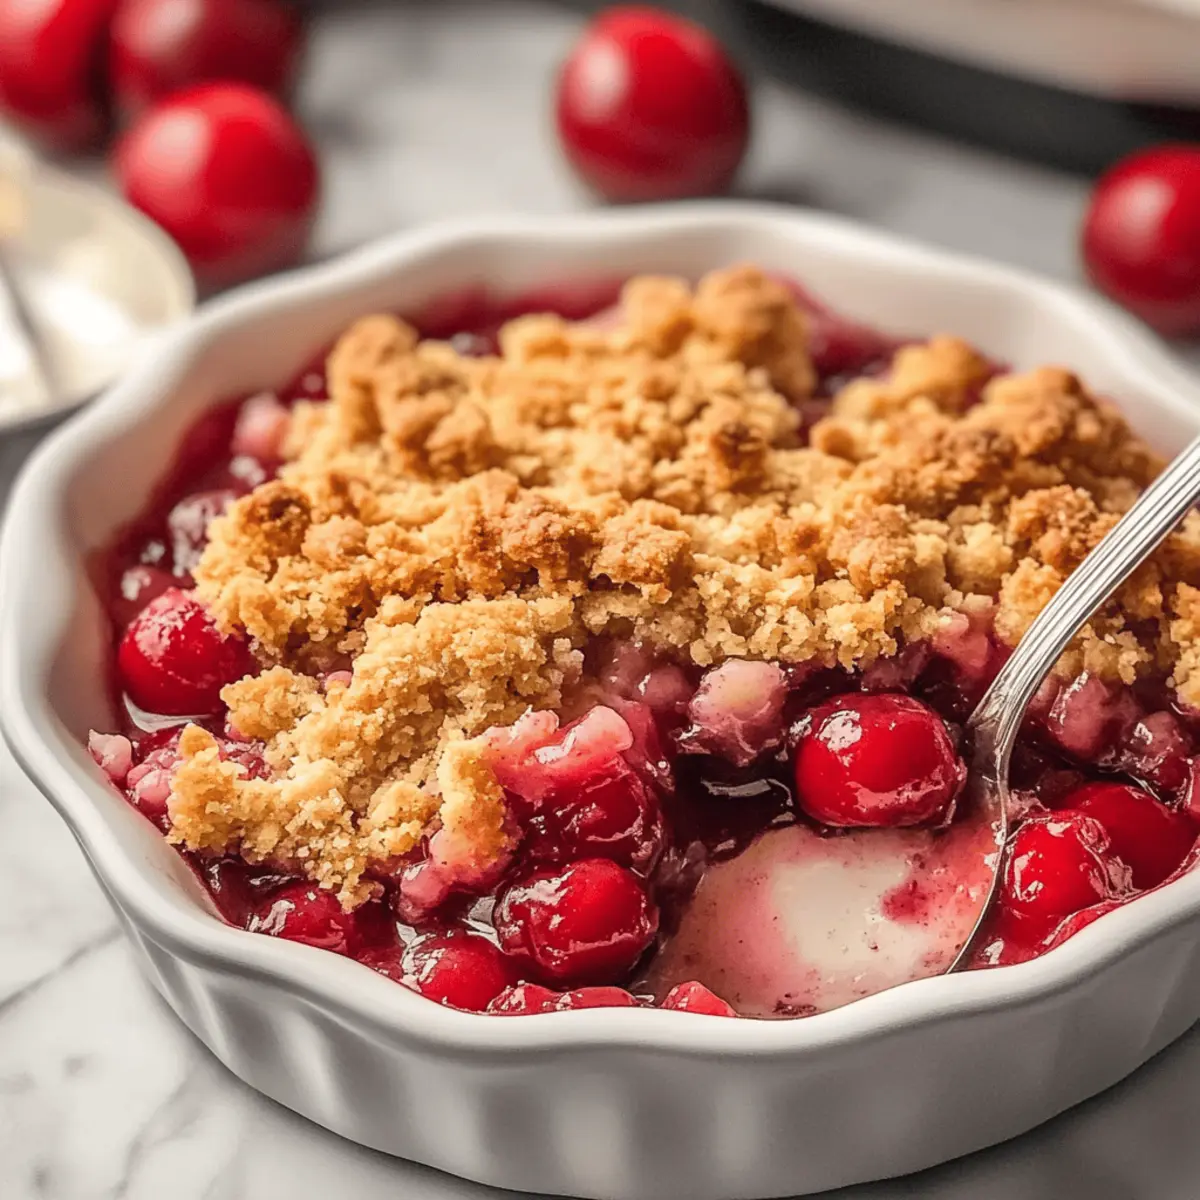
Texture Perfection: Experience the delightful contrast of soft fruit and a crunchy, buttery topping that’ll have everyone coming back for seconds.
Crowd-Pleasing Delight: Serve warm with vanilla ice cream or cold—you can’t go wrong! It’s sure to impress family and friends at any gathering.
Gluten-Free Option: Easily adapt this recipe with a gluten-free flour blend, making it accessible for those with dietary restrictions.
Discover other easy recipes like our Homemade Starbucks Sugar for delightful desserts that never disappoint!
Homemade Cherry Crumble Ingredients
For the Filling
• Cherry Pie Filling – Use fresh cherries for a burst of flavor; adjust sugar based on sweetness preference.
• Granulated Sugar – Adds sweetness; tweak it according to the tartness of the cherries.
• Cornstarch – Acts as a thickening agent to achieve the perfect filling consistency.
• Lemon Juice – Brightens the flavor and balances sweetness; lime is a great substitute.
• Vanilla Extract – Enhances flavor; opt for pure vanilla for a richer taste.
For the Topping
• All-purpose Flour – Provides structure to the crumble topping; swap with gluten-free flour blend for a gluten-free option.
• Rolled Oats – Delivers texture and chewiness; quick oats work too but will slightly change the texture.
• Brown Sugar – Adds sweetness and richness; can be replaced with white sugar if desired.
• Cinnamon – Offers warmth and spice; nutmeg can be an alternative for different flavor notes.
• Salt – Enhances flavor; sea salt or kosher salt are excellent choices.
• Cold Butter – Essential for crumbly texture; vegan butter can be used for a dairy-free alternative.
This Homemade Cherry Crumble, with its balanced combination of ingredients, is a dessert that will not only satisfy your cravings but will become a staple in your collection!
Step‑by‑Step Instructions for Homemade Cherry Crumble
Step 1: Preheat the Oven
Begin by preheating your oven to 375°F (190°C). This ensures an even cooking temperature for your Homemade Cherry Crumble. Lightly grease a 9×9-inch baking dish or another suitable pan with cooking spray or butter, preparing it for the delicious filling and topping that’s to come.
Step 2: Prepare the Cherry Filling
In a mixing bowl, combine the cherry pie filling, granulated sugar, cornstarch, lemon juice, and vanilla extract. Stir gently until all ingredients are well integrated, and the mixture is glossy. This should take about 2-3 minutes. Once combined, pour the cherry mixture into the greased baking dish, making sure it’s evenly distributed across the bottom.
Step 3: Make the Crumble Topping
In another bowl, mix the all-purpose flour, rolled oats, brown sugar, cinnamon, and salt. Use a fork or pastry cutter to incorporate cold, cubed butter into the dry mixture. Continue mixing until you achieve a coarse crumb texture, with pieces of butter resembling small peas. This will take about 5 minutes and is key for that delightful topping texture of your Homemade Cherry Crumble.
Step 4: Assemble the Crumble
Sprinkle the crumble topping evenly over the cherry filling in the baking dish. Make sure to cover the cherries completely with the topping, allowing some bits to be thicker for added texture. This creates a delicious contrast between the juicy cherries and the crunchy crust as it bakes.
Step 5: Bake to Perfection
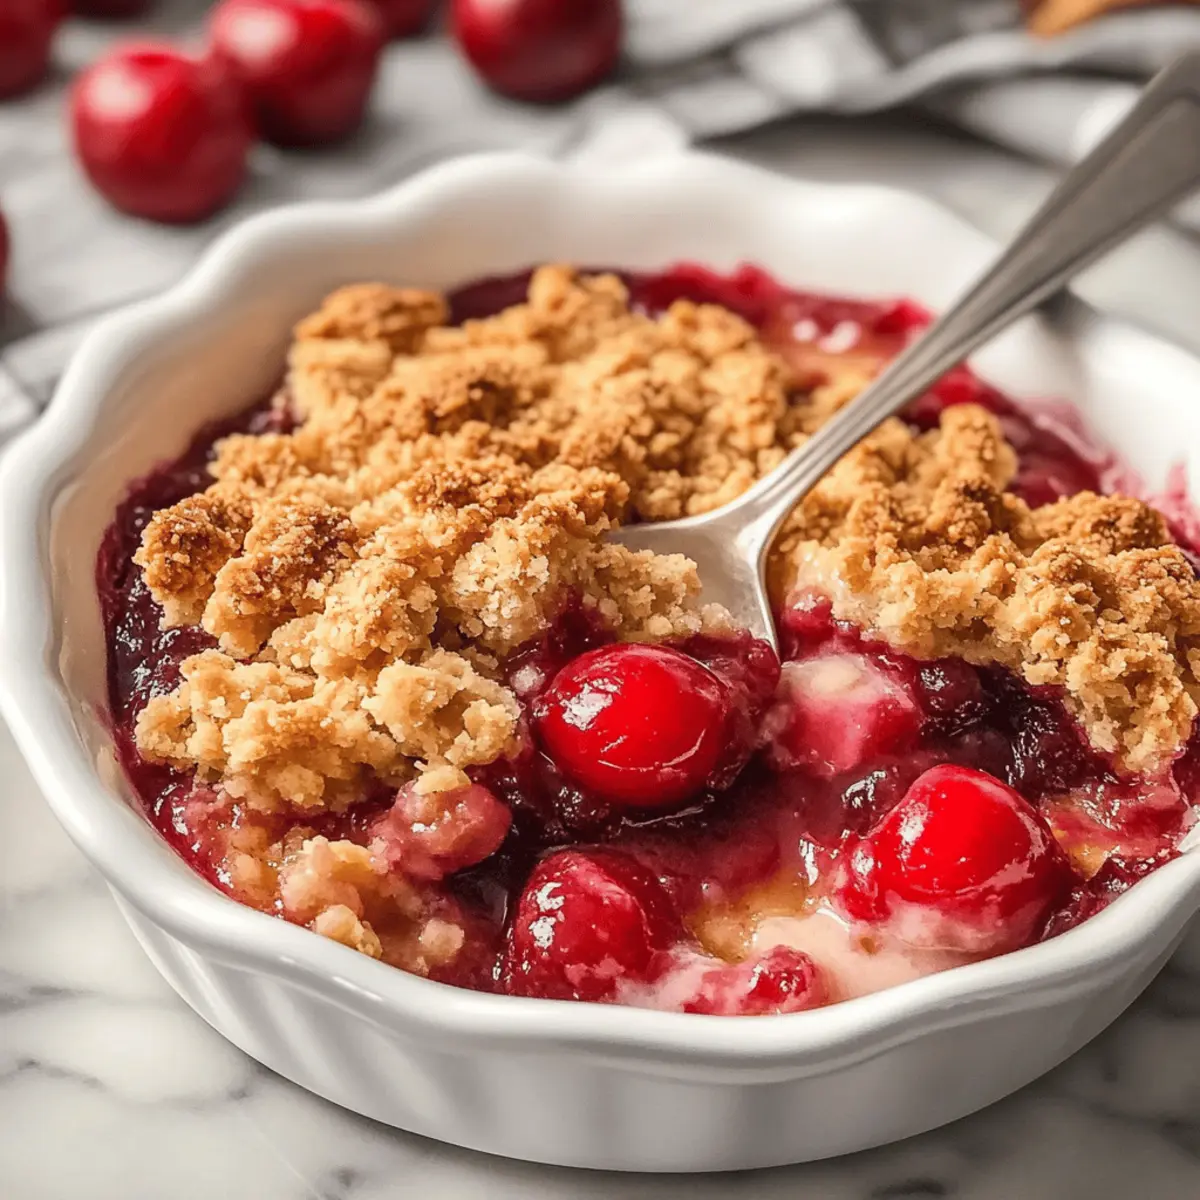
Place the baking dish in the preheated oven and bake for 50-60 minutes. Keep an eye on it, watching for the topping to turn a beautiful golden brown and the cherry filling to bubble around the edges. This bubbling is a fantastic indicator that your Homemade Cherry Crumble is almost ready.
Step 6: Cool and Serve
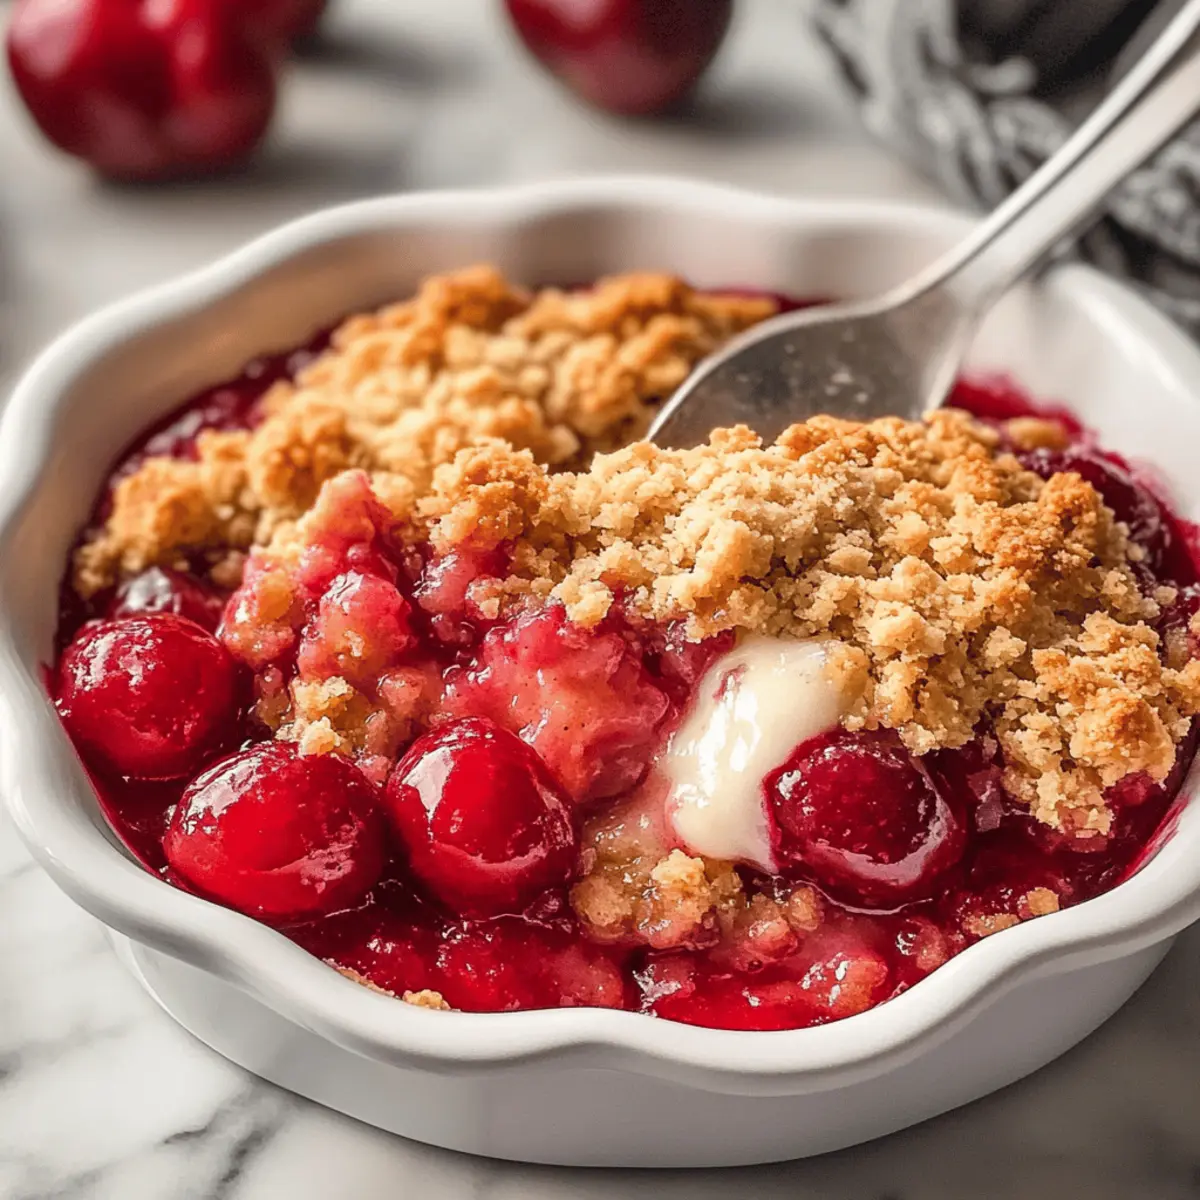
Once baked, remove the crumble from the oven and let it cool for about 10 minutes. This cooling period makes it easier to serve. Enjoy your Homemade Cherry Crumble warm, ideally with a scoop of vanilla ice cream or a dollop of whipped cream, for that perfect finishing touch!
Storage Tips for Homemade Cherry Crumble
Room Temperature: Allow your Homemade Cherry Crumble to cool completely, then cover it loosely with a clean kitchen towel. It can stay at room temperature for up to 1 day.
Fridge: Store any leftovers in an airtight container in the refrigerator for up to 3 days. This helps keep the crumble topping from getting too soggy.
Freezer: If you want to keep it longer, wrap individual portions of the crumble tightly in plastic wrap and then in aluminum foil before placing them in the freezer. They’ll maintain quality for up to 3 months.
Reheating: Reheat slices in the oven at 350°F (175°C) for about 15-20 minutes until warmed throughout. Enjoy your Homemade Cherry Crumble with a fresh scoop of vanilla ice cream for a delightful experience!
Make Ahead Options
These Homemade Cherry Crumble preparations are a game-changer for busy weeknights! You can prepare the cherry filling up to 24 hours in advance, simply refrigerate it after mixing (this helps meld the flavors). For the topping, mix and store it separately in the fridge for up to 3 days to maintain that delightful crumble texture. When you’re ready to bake, just pour the cherry mixture into your greased baking dish, sprinkle the topping on top, and pop it in the oven. This way, you’ll have a delicious dessert ready with minimal effort, ensuring it’s just as scrumptious as if you had made it fresh that day!
Expert Tips for Homemade Cherry Crumble
-
Butter Temperature Matters: Ensure your butter is cold to achieve a flaky, crumbly topping. Overmixing can lead to a dense texture, which we want to avoid!
-
Watch for Bubbles: Keep an eye on the edges of the filling. When you see bubbling, it’s a sign that your Homemade Cherry Crumble is nearly ready.
-
Adjust Sweetness: If using fresh cherries, you might need to tweak the sugar amount. Taste as you go and find the perfect balance for your palate!
-
Crust Thickness: Don’t be shy with the crumble topping! A few thicker chunks scattered across the cherry filling will provide delightful crunchy bites.
-
Experiment with Fruit: While cherries are fantastic, feel free to swap in other fruits like blueberries or peaches for a delightful twist on this classic recipe!
Homemade Cherry Crumble Variations
Feel free to get creative with this Homemade Cherry Crumble by incorporating fun twists and swaps that cater to your taste!
-
Berry Blast: Use blueberries or raspberries for a vibrant mix of flavors that adds a burst of tanginess.
The combination of juicy berries paired with the crunchy topping creates a delightfully colorful dessert. -
Peachy Keen: Substitute cherries for fresh or canned peaches to create a juicy, summer-inspired crumble.
The sweet and fragrant peaches will give your crumble a lovely, aromatic touch that’s simply irresistible. -
Nutty Crunch: Add chopped nuts like walnuts or pecans to the topping for extra crunch and flavor.
This added texture elevates the crumble, making each bite a delightful nutty surprise! -
Spiced It Up: Boost the flavor profile by adding a pinch of nutmeg or ginger to your crumble topping.
These warm spices will add depth and a cozy aroma that fills your kitchen as it bakes. -
Gluten-Free Delight: Swap out all-purpose flour for a gluten-free flour blend to accommodate dietary restrictions.
No one will miss the gluten, and it ensures everyone can enjoy this comforting dessert! -
Fruity Fusion: Combine different fruits like a mix of apples and pears for a delightful twist on the classic cherry crumble.
This variation allows for endless creativity while utilizing whatever fruit you have on hand. -
Chocolate Touch: For a decadent treat, add chocolate chips to the crumble topping or sprinkle on top before baking.
The gooey, melty chocolate enhances the whole experience, perfect for chocolate lovers! -
Cinnamon Roll Crumble: Add a swirl of cinnamon and brown sugar to the filling for a generous flavor boost reminiscent of cinnamon rolls.
It’ll create a warm aroma that’s sure to captivate all who enter your kitchen!
By embracing these variations, you can transform the Homemade Cherry Crumble into something uniquely yours! And if you’re looking to pair your crumble with a delightful drink, consider trying out our Vanilla Creamer Homemade for coffee lovers in your family or friends!
What to Serve with Homemade Cherry Crumble
Indulge in a delicious homemade meal that beautifully accompanies the comforting flavors of your cherry crumble, enhancing your dessert experience.
-
Vanilla Ice Cream: The creamy, cold texture of vanilla ice cream melts into the warm crumble, creating a blissful contrast and enriching each bite.
-
Whipped Cream: Light and airy, whipped cream adds an extra layer of sweetness and freshness, perfectly balancing the rich goodness of the crumble.
-
Coffee: A cup of freshly brewed coffee pairs wonderfully, its robust flavors enhancing the sweetness of the cherry filling and offering a warm finish to your dessert.
-
Fresh Berries: A mix of tangy raspberries or blueberries provides a refreshing burst of acidity that complements the richness of the crumble.
-
Almonds or Pecans: Toasted nuts over the top add crunch and nuttiness, creating a satisfying texture contrast while enhancing the overall flavor profile.
-
Chai Tea: A warm cup of chai infused with spices mirrors the cinnamon in your crumble, making for a delightful, comforting drink choice.
-
Chocolate Sauce: Drizzling warm chocolate sauce over your crumble brings richness and luxuriously decadent notes to every bite.
-
Lemon Sorbet: A scoop of lemon sorbet offers a bright and refreshing palate cleanser, cutting through the sweetness and delivering a zesty finish.
-
Coconut Cream: A dollop of coconut cream introduces a tropical twist, enhancing the overall flavor with the perfect creamy consistency.
Homemade Cherry Crumble Recipe FAQs
How do I select the best cherries for my Homemade Cherry Crumble?
Absolutely! If you’re using fresh cherries, aim for firm, plump ones without any dark spots or blemishes. These are indicators of quality and sweetness. If fresh cherries aren’t available, canned cherries are a great alternative—just ensure they are packed in juice rather than syrup for a healthier option.
How should I store my Homemade Cherry Crumble?
To keep your cherry crumble fresh, allow it to cool completely and then store it in an airtight container in the refrigerator for up to 3 days. If you plan to keep it longer, you can freeze individual slices. Wrap them tightly in plastic wrap, then in aluminum foil, and place in the freezer for up to 3 months.
Can I freeze Homemade Cherry Crumble?
Yes, you can! For best results, I recommend freezing it after it’s baked. Allow the crumble to cool completely, then wrap it tightly in plastic wrap followed by aluminum foil. It can stay in the freezer for up to 3 months. When you’re ready to enjoy it, just reheat in the oven at 350°F (175°C) for about 15-20 minutes until warmed through.
What should I do if my cherry filling is too runny?
No worries! If your filling is too liquid after baking, it may need more cornstarch next time, or you could let it bake a little longer. To fix it after baking, you can also sprinkle a bit more cornstarch over the filling while it’s still warm, then return it to the oven for about 5-10 minutes to help thicken it up.
Is this recipe suitable for those with gluten allergies?
Very! This Homemade Cherry Crumble can easily be adapted for gluten-free diets by substituting the all-purpose flour with a gluten-free flour blend. Make sure to double-check that your oats are certified gluten-free as well for a worry-free dessert!
Can my dog eat cherries used in Homemade Cherry Crumble?
While cherries are safe in small amounts for dogs, be cautious! Always remove the pit and limit quantity, as too many can cause digestive upset. To be safe, I’d recommend sticking to dog-friendly treats instead while you enjoy your scrumptious cherry crumble!
Irresistible Homemade Cherry Crumble to Delight Your Senses
Ingredients
Equipment
Method
- Preheat your oven to 375°F (190°C) and lightly grease a 9x9-inch baking dish.
- In a mixing bowl, combine cherry pie filling, granulated sugar, cornstarch, lemon juice, and vanilla extract. Stir gently until glossy.
- Pour the cherry mixture into the greased baking dish and evenly distribute.
- In another bowl, mix all-purpose flour, rolled oats, brown sugar, cinnamon, and salt. Incorporate cold, cubed butter until you achieve a coarse crumb texture.
- Sprinkle the crumble topping evenly over the cherry filling, making sure to cover completely.
- Bake for 50-60 minutes or until the topping is golden brown and the cherry filling is bubbling.
- Let it cool for about 10 minutes before serving warm with vanilla ice cream or whipped cream.
")


