
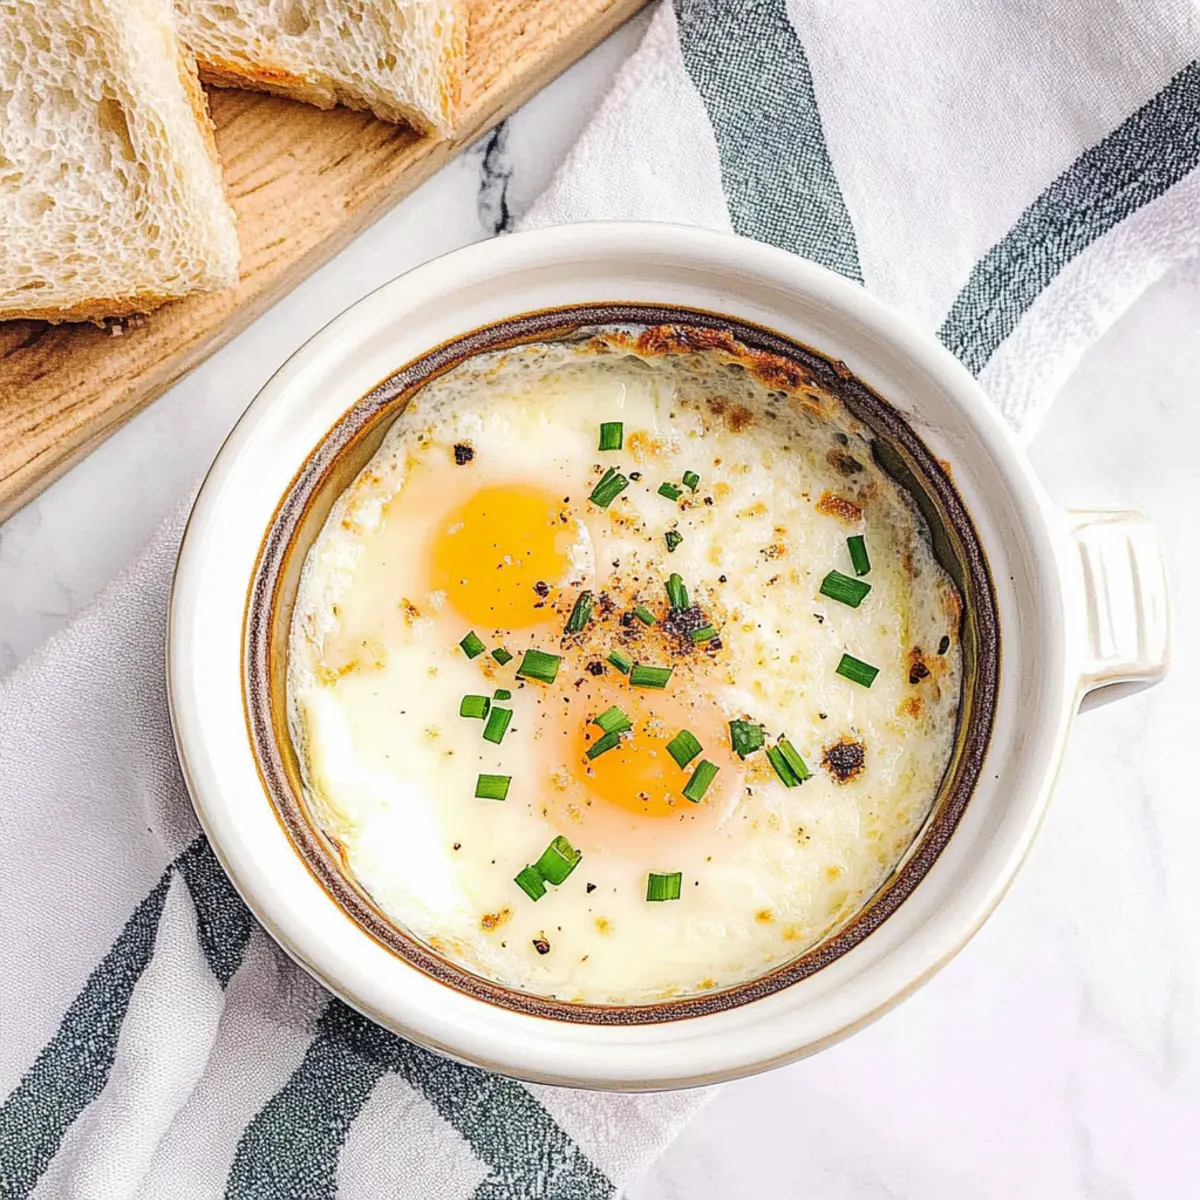
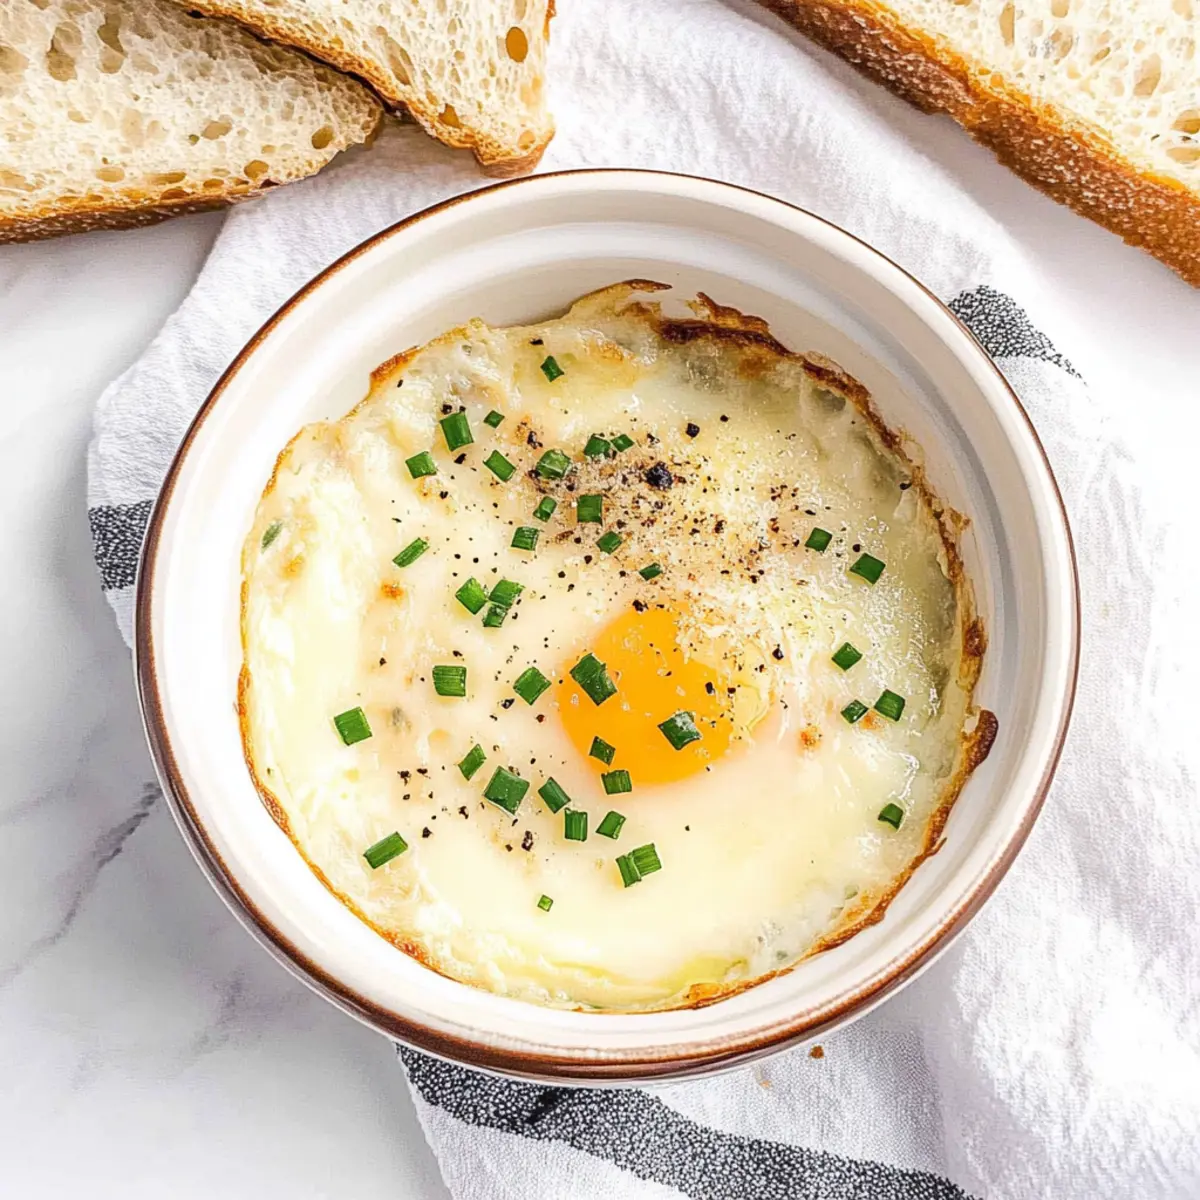
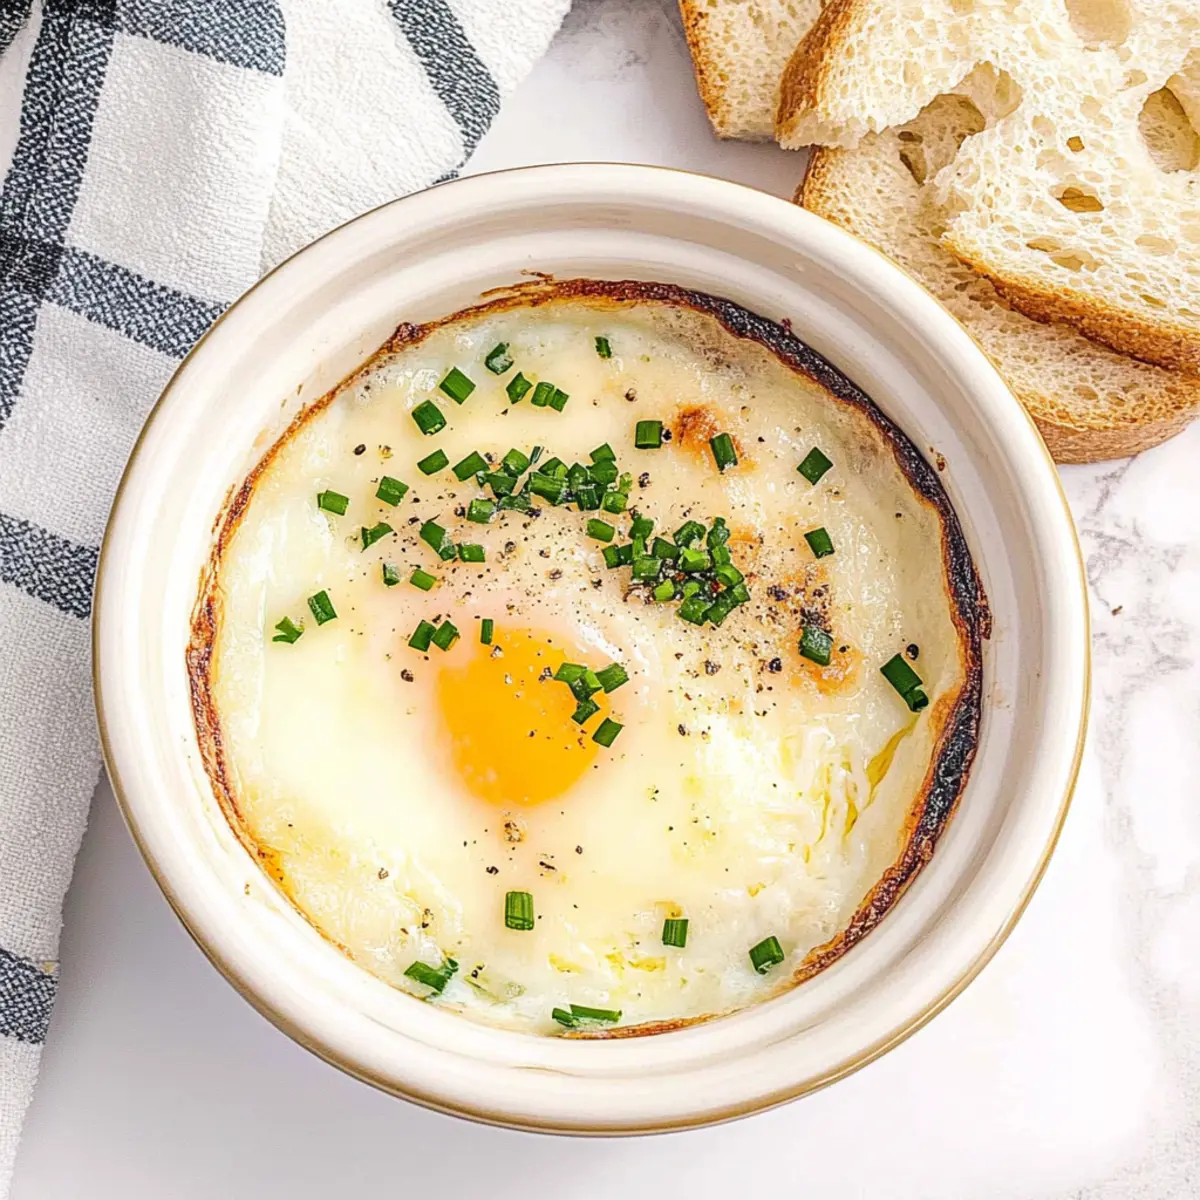
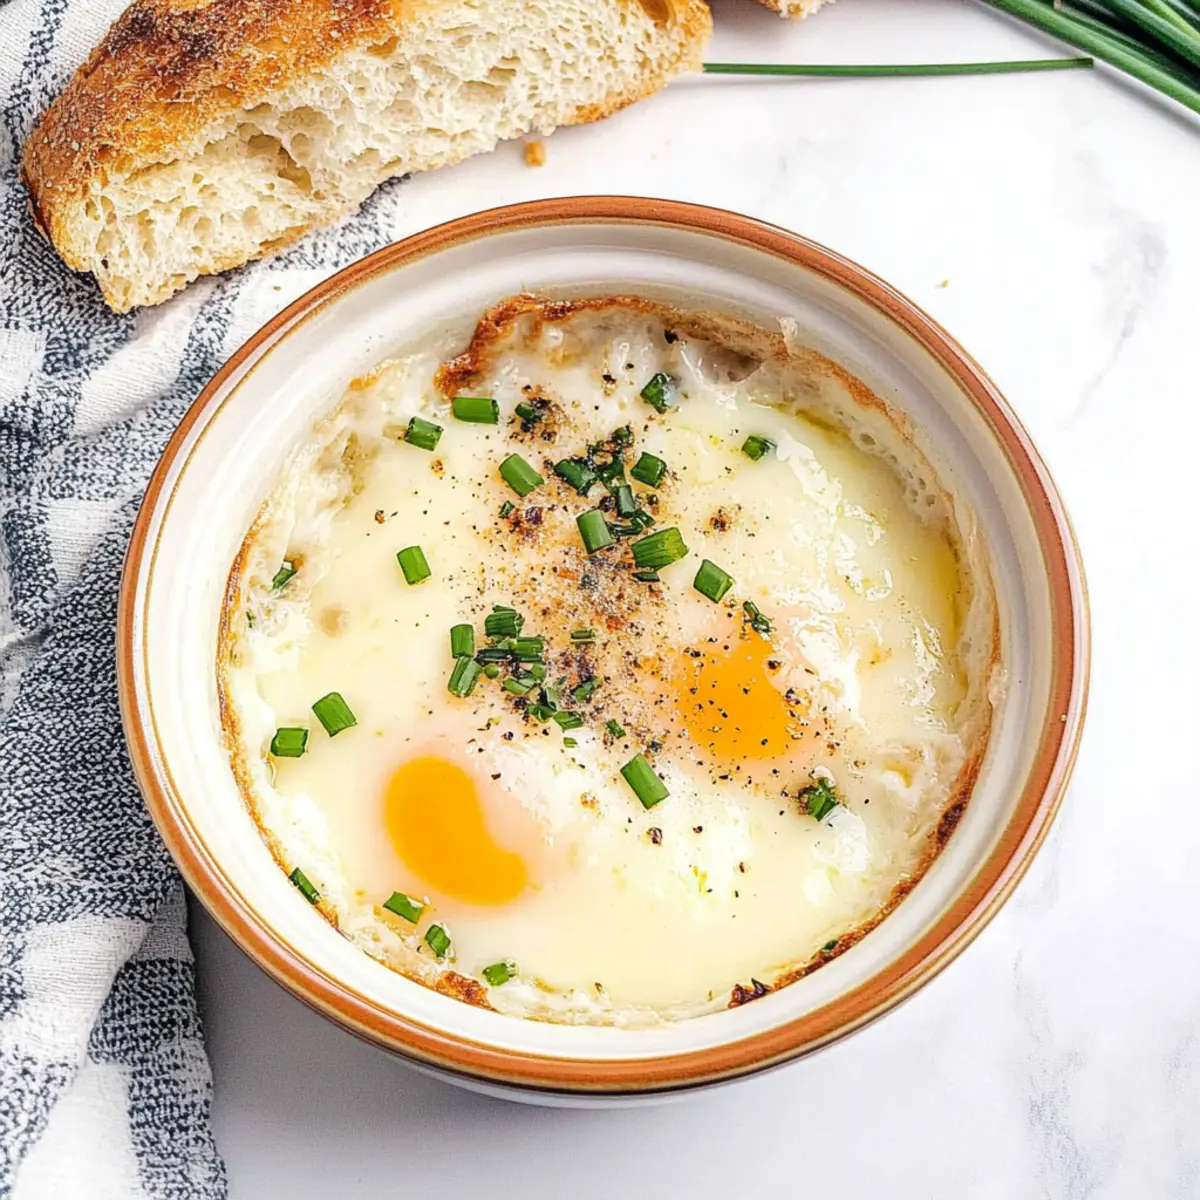
As I stood in my kitchen, debating what to whip up for brunch, I remembered the secret elegance of Shirred Eggs. With rich, runny yolks and silky whites, this delightful dish is essentially baked eggs elevated to perfection. The beauty of this classic version lies not only in its simplicity but also in its versatility—whether you’re seeking a dairy-free option or a hearty breakfast, you’re covered! In just 20 minutes, you can serve a protein-packed meal that adds a touch of sophistication to your morning routine. Picture dipping crusty toast into these creamy, cheesy delights as you savor each bite. Ready to transform your brunch game? Let’s dive into this lovely recipe and make your kitchen taste like a fancy café!
Why Shirred Eggs Are a Must-Try?
Simplicity at Its Best: The ease of preparing Shirred Eggs means you’ll impress family and friends without stress.
Creamy Goodness: The rich combination of buttery cream and eggs results in a velvety texture that’s hard to resist.
Dairy-Free Delight: With the option to substitute heavy cream and cheese, everyone can enjoy this brunch dish—no matter their dietary preferences!
Quick & Convenient: Whip up this meal in just 20 minutes, making it ideal for busy mornings.
Crowd-Pleasing Charm: Perfect for gatherings, Shirred Eggs can serve as a centerpiece or a delightful side that compliments any meal. Discover more about adding the perfect toast with our Air-Fryer Toast recipe.
Shirred Eggs Ingredients
For the Base
• Unsalted Butter – Adds richness and prevents sticking; substitute with vegan butter for a dairy-free option.
• Heavy Cream – Provides creaminess to the dish; high-fat oat milk or cashew cream work well for dairy-free variants.
• Large Eggs – The star ingredient, ensuring protein and nutrients; opt for farm-fresh eggs for the best flavor.
For Seasoning
• Salt – Enhances overall flavor; adjust to your taste preferences.
• Freshly Ground Black Pepper – Adds a hint of spice; use white pepper if you prefer a milder taste.
For Garnish
• Minced Fresh Chives – Contributes a mild onion flavor and fresh color; green onions can also be a delightful substitute.
• Grated Parmesan Cheese – Offers nuttiness and depth; switch to a vegan cheese for the dairy-free version.
Step‑by‑Step Instructions for Shirred Eggs
Step 1: Preheat the Oven
Begin by preheating your oven to 375°F (190°C). This temperature is ideal for gently baking the eggs while achieving that perfect runny yolk. While the oven warms up, gather your ramekin or any small oven-safe dish, ensuring you’re ready to create these delightful shirred eggs.
Step 2: Prepare the Ramekin
Next, generously grease a 6-ounce ramekin using unsalted butter, which will both add flavor and prevent the eggs from sticking. Alternatively, a non-stick cooking spray or vegan butter works well if you’re opting for a dairy-free version. Ensure every corner is coated for a smooth release.
Step 3: Add Cream
Pour a splash of heavy cream into the greased ramekin, allowing it to cover the bottom evenly. This creamy layer not only enriches the shirred eggs but also creates that luxurious texture. If you’re going dairy-free, feel free to swap in high-fat oat milk or cashew cream for a delightful alternative.
Step 4: Crack the Eggs
Carefully crack your large eggs into the ramekin, one at a time. Take care to place them gently to avoid breaking the creamy yolks. The eggs should nestle perfectly above the cream, creating a beautiful layer that signals deliciousness ahead.
Step 5: Season the Dish
Sprinkle a pinch of salt and freshly ground black pepper over the eggs to enhance their flavor. Next, add a generous sprinkle of minced fresh chives and grated Parmesan cheese on top. This finishing touch will add a lovely freshness and depth while accentuating the classic shirred eggs’ charm.
Step 6: Bake to Perfection
Place the ramekin on a baking sheet for stability and transfer it into the preheated oven. Bake for 12 to 15 minutes, keeping a close eye on the eggs. You’ll know they’re ready when the whites are set but the yolks remain delightfully runny, creating a perfect contrast in texture.
Step 7: Rest Before Serving
Once out of the oven, allow the shirred eggs to rest for a couple of minutes. This brief pause helps the dish cool slightly and makes it easier to serve. It also allows the flavors to meld beautifully, enhancing the overall dining experience of this elegant brunch treat.
Expert Tips for Perfect Shirred Eggs
-
Quality Ingredients: Always choose fresh, high-quality eggs for unmatched flavor. This ensures your shirred eggs are both rich and satisfying.
-
Watch the Time: Be mindful of the baking time—overcooking can lead to rubbery whites and dry yolks, defeating the dish’s creamy appeal.
-
Use Ramekins: Stick with ramekins or small oven-safe dishes for even cooking. If using larger dishes, adjust your baking time accordingly.
-
Season Thoughtfully: Don’t skimp on salt and pepper; these simple seasonings elevate your shirred eggs and bring out their delightful taste.
-
Customization: Feel free to experiment! Add veggies, different herbs, or substitute cheeses to craft your own twist on this classic shirred eggs recipe.
Make Ahead Options
Preparing Shirred Eggs in advance is a fantastic way to save time on busy mornings! You can prep the base by greasing your ramekins and pouring the heavy cream up to 24 hours ahead. Simply cover them with plastic wrap and refrigerate to maintain freshness. When you’re ready to bake, crack the eggs into the prepared ramekins and season as desired. Bake them directly from the fridge for the best results—there’s no need to adjust the cooking time unless they are too cold. This method allows you to enjoy that luxurious, creamy dish with minimal effort, ensuring your brunch is just as delicious and elegant as if you’d made it from scratch that morning!
How to Store and Freeze Shirred Eggs
Best Enjoyed Fresh: Shirred eggs are best served immediately after baking for optimal texture and flavor. Enjoy them straight out of the oven!
Fridge: If you have leftovers, store in an airtight container in the refrigerator for up to 2 days. The texture may change, so reheat gently.
Freezer: It’s not recommended to freeze shirred eggs as the quality can deteriorate, leading to rubbery whites upon thawing. Aim to consume fresh!
Reheating: When reheating, cover with foil and warm in a low oven (about 300°F) for 10-15 minutes until heated through, but be cautious to avoid overcooking.
What to Serve with Classic Shirred Eggs?
Experience the joy of crafting a delightful brunch by pairing your shirred eggs with simple yet delicious accompaniments.
- Crunchy Air-Fryer Toast: Perfectly crisped and golden, this toast provides an ideal vessel for dipping into the rich yolks.
- Savory Breakfast Potatoes: Seasoned and roasted, these textures add heartiness and warmth, balancing the creamy eggs beautifully.
- Fresh Garden Salad: A light and zesty side, bursting with freshness to contrast the richness of the shirred eggs.
- Sautéed Spinach: This nutrient-packed green adds a vibrant color and earthiness, enhancing the overall flavor profile.
- Crispy Bacon Strips: For a classic brunch touch, the smoky crunch of bacon perfectly complements the silky eggs.
- Seasoned Avocado Slices: Creamy avocado elevates the dish with healthy fats, providing a satisfying contrast to the eggs.
- Chilled Fresh Fruit: Juicy berries or citrus fruits cleanse the palate, leaving a refreshing finish after each savory bite.
- Mimosas or Fresh Juice: These sparkling beverages add a celebratory touch, enhancing the brunch experience with a hint of sweetness.
- Chocolate Croissants: Indulge your sweet tooth with flaky pastries, bringing a delightful contrast to the savory dish.
Elevate your brunch table with these thoughtful pairings that celebrate both flavor and texture!
Shirred Eggs Variations & Substitutions
Feel free to personalize these silky Shirred Eggs to meet your taste and dietary preferences!
- Dairy-Free: Substitute heavy cream with high-fat oat milk or cashew cream for a luscious, dairy-free alternative. Don’t miss out on the creamy delight!
- Veggie-Loaded: Enhance flavor and nutrition by adding sautéed spinach, bell peppers, or mushrooms before cracking the eggs. A colorful twist brings vibrancy to your brunch table.
- Herb Swap: If chives aren’t on hand, use fresh parsley or basil instead. Each herb provides a unique flavor profile, allowing you to explore different taste sensations.
- Cheese Variation: Experiment with crumbly feta or tangy goat cheese in place of Parmesan for an exciting flavor boost. Each cheese brings a delightful new twist to this classic dish.
- Spicy Kick: Add a dash of red pepper flakes or a few slices of jalapeños for those who enjoy their eggs with a bit of heat. Spicy shirred eggs are a great way to wake up your palate!
- Hearty Additions: For a more filling option, toss in diced cooked bacon or sausage before adding the eggs. These savory elements create a brunch dish that satisfies cravings.
- Switch Up the Base: Instead of using butter, a non-stick cooking spray or vegan butter keeps it rich while adhering to dairy-free needs. Enjoy great texture without compromising flavor!
- Creative Toppings: Top your finished shirred eggs with a dollop of salsa or a sprinkle of smoked paprika for an elegant finish that elevates the dish even further.
As you embark on these variations, you might find the perfect combination to delight your family and friends, ensuring that each bite feels special!
Shirred Eggs Recipe FAQs
What kind of eggs should I use for shirred eggs?
Absolutely! I recommend using farm-fresh large eggs for the best flavor and quality. Fresh eggs make a noticeable difference in taste and contribute to that rich, creamy texture that shirred eggs are known for.
How should I store leftover shirred eggs?
If you have leftovers, store them in an airtight container in the refrigerator for up to 2 days. Keep in mind that the texture might not be as delightful upon reheating, but you can still enjoy them warm if needed.
Can I freeze shirred eggs?
Unfortunately, it’s not recommended to freeze shirred eggs. Freezing can lead to a rubbery texture when thawed, which detracts from the silky quality of the dish. It’s best to savor them fresh right out of the oven!
What can I do if my shirred eggs cook too quickly?
The key here is to keep an eye on your baking time. If you notice that the whites are cooking too fast and the yolks aren’t to your liking, turn down the oven temperature to 350°F and check every couple of minutes. You want the whites set and the yolks still runny for that perfect contrast.
Is there a dairy-free substitute I can use in this recipe?
Very! You can easily make shirred eggs dairy-free by substituting heavy cream with high-fat oat milk or cashew cream. For the cheese, choose a vegan cheese that melts well to maintain that creamy and cheesy element. This way, everyone can enjoy this deliciously silky dish!
What if I don’t have chives available?
No worries at all! You can substitute minced fresh chives with green onions or even parsley for a fresh pop of flavor. Experimenting with different herbs can bring a unique twist to your shirred eggs that suits your taste!
Deliciously Silky Shirred Eggs for Your Perfect Brunch
Ingredients
Equipment
Method
- Preheat your oven to 375°F (190°C).
- Generously grease a 6-ounce ramekin with unsalted butter.
- Pour a splash of heavy cream into the greased ramekin.
- Crack the large eggs gently into the ramekin.
- Sprinkle salt and pepper over the eggs, then add minced chives and grated Parmesan.
- Bake in the oven for 12 to 15 minutes until whites are set and yolks are runny.
- Allow the shirred eggs to rest for a couple of minutes before serving.