")
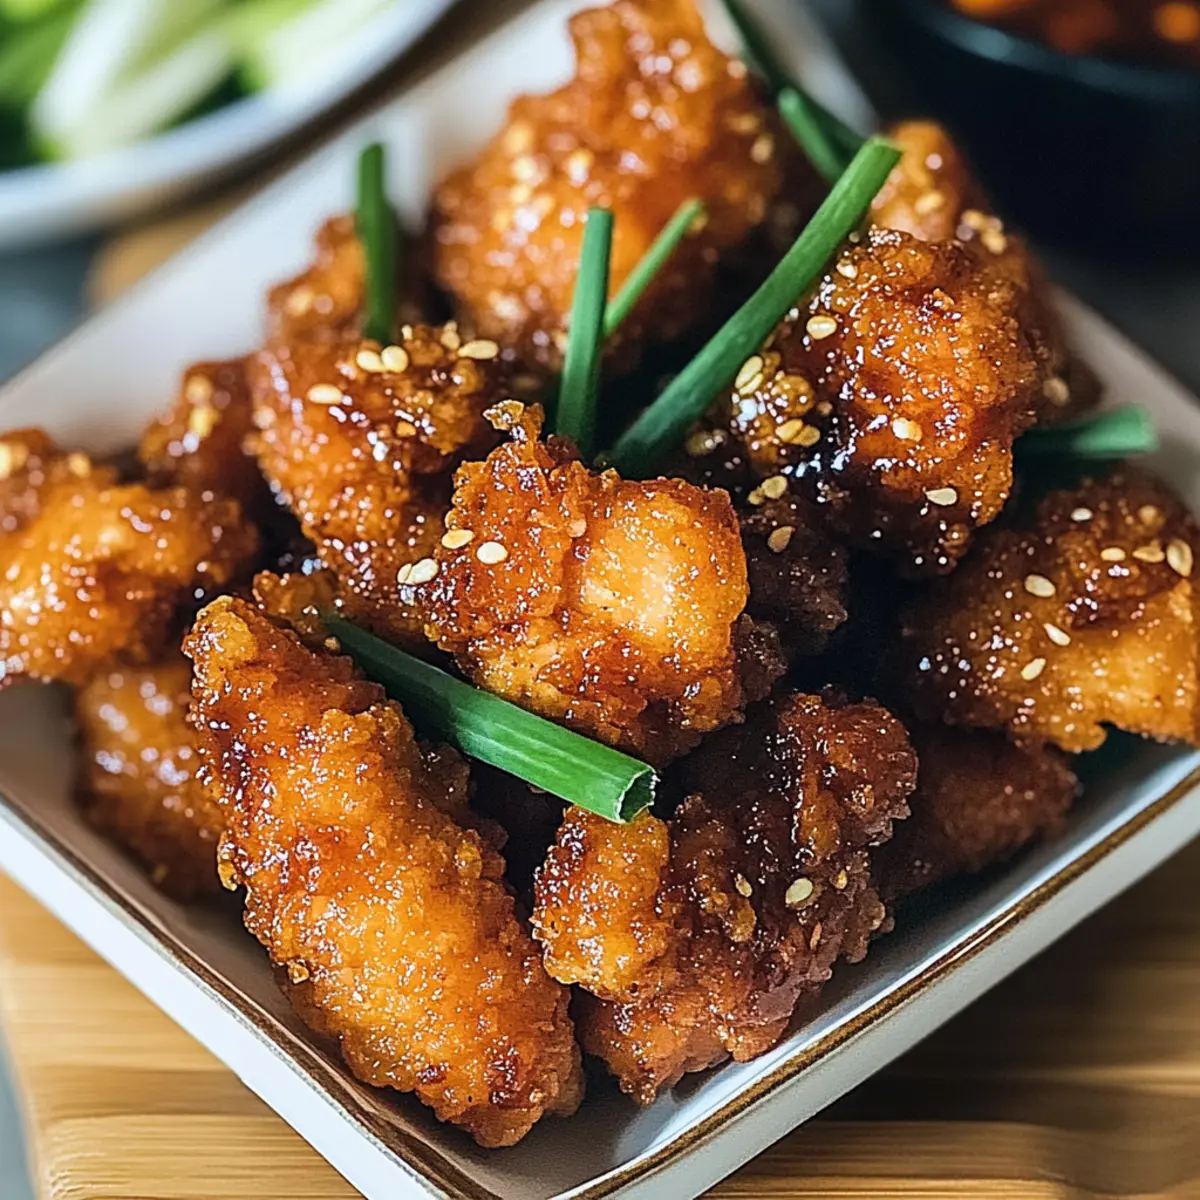
The mouthwatering aroma of garlic sizzling in hot oil transports me straight to a sunny Hawaiian beach with each bite of this Crispy Hawaiian Fried Garlic Chicken. In just 30 minutes, you can create a dish that’s not only incredibly quick to whip up, but also makes for the perfect showstopper at any gathering. This flavorful recipe captures the essence of island cooking with its golden, crunchy exterior and tender juicy meat enveloped in a sticky garlic sauce. With customizable options like a gluten-free twist or plant-based shrimp in place of chicken, it’s easy to adapt this recipe to suit everyone’s tastes. What culinary adventures will this tropical delight inspire in your kitchen tonight?
Why is Hawaiian Fried Garlic Chicken a must-try?
Simplicity at Its Best: This dish comes together in just 30 minutes, making it perfect for weeknight dinners or impromptu gatherings.
Flavor Explosion: The combination of garlic, soy sauce, and brown sugar creates a delightful sweet and savory glaze that elevates every bite.
Customizable: Feel free to substitute chicken with tofu for a plant-based option or play with spice levels for personalized heat that everyone will enjoy.
Crowd-Pleaser: Whether for a family dinner or a dinner party, this dish is guaranteed to impress your guests, much like other favorites such as Marry Chicken Pasta or Alice Springs Chicken.
Versatile Side Options: Pair it with jasmine rice, grilled pineapple, or an Asian slaw for a complete meal that looks and tastes gourmet!
Hawaiian Fried Garlic Chicken Ingredients
• Get ready to create a tropical delight!
For the Chicken
- Chicken – 2 pounds cut into cubes; this is the star ingredient that brings the dish together.
- Cornstarch – 1 tablespoon; helps keep the chicken juicy and enhances that crispy texture when frying.
- Vegetable Oil – 1 tablespoon; crucial for marinating to ensure your chicken remains moist during cooking.
For the Sauce
- Soy Sauce – 3/4 cup; adds an essential umami flavor—use gluten-free soy sauce for a gluten-free version.
- Sugar – 3/4 cup (brown sugar recommended); balances the saltiness and provides sweetness to the sauce.
- Garlic – 1/2 cup, crushed; it’s the bold flavor powerhouse of this recipe.
- Green Onion – 1/4 cup, chopped; adds a fresh, vibrant touch to your dish.
- Sesame Oil – 1 tablespoon; brings a rich, nutty aroma—feel free to substitute with regular oil if needed.
- Red Chili Flakes – 1 teaspoon, or to taste; perfect for adding a kick of heat to the sauce.
- White Pepper – 1/2 teaspoon; offers a mild peppery flavor, can substitute with black pepper if necessary.
For the Coating
- Flour – 1 1/2 cups; forms the crispy outer layer—swap with gluten-free flour for a gluten-free option.
- Salt – 1/2 teaspoon; to enhance the flavor of the coating.
Dive into this delightful experience of Hawaiian Fried Garlic Chicken, where every ingredient adds its own special touch, making this a heartwarming meal for family and friends!
Step‑by‑Step Instructions for Hawaiian Fried Garlic Chicken
Step 1: Prepare the Garlic Sauce
In a saucepan, mix together the soy sauce and brown sugar over medium heat. Bring the mixture to a gentle boil, stirring occasionally until the sugar dissolves completely. Once boiling, add the crushed garlic, chopped green onion, sesame oil, red chili flakes, and white pepper; reduce the heat and let it simmer for 3-5 minutes, allowing the flavors to meld. Set aside to cool.
Step 2: Marinate Chicken
In a large mixing bowl, combine the cubed chicken, the cooled garlic sauce, cornstarch, and vegetable oil for marinating. Toss everything together until the chicken pieces are evenly coated in the mixture. Cover the bowl with plastic wrap and let it marinate at room temperature for at least 30 minutes, or refrigerate for several hours to deepen the flavor.
Step 3: Prepare Coating
While the chicken is marinating, take another large bowl and whisk together the flour, remaining cornstarch, and salt. To ensure the coating adheres well, add a few tablespoons of the reserved garlic sauce and mix until a thick paste forms. This will help create that irresistible crispy texture for your Hawaiian Fried Garlic Chicken.
Step 4: Heat Oil
In a deep frying pan or Dutch oven, pour in enough vegetable oil to reach a depth of about 2 inches. Heat the oil over medium-high heat until it reaches 350°F to 375°F (175°C to 190°C). To test the temperature, drop a small piece of the coating mixture into the oil; it should sizzle and rise to the surface immediately, indicating it’s ready for frying.
Step 5: Coat and Fry Chicken
Take each piece of marinated chicken and dredge it generously in the prepared coating, pressing firmly to ensure it sticks. Carefully place the coated chicken pieces into the hot oil, frying them in batches for about 3-4 minutes, or until they turn golden brown and crispy. Remove the chicken from the oil and let it drain on paper towels to absorb excess oil.
Step 6: Finish with Sauce
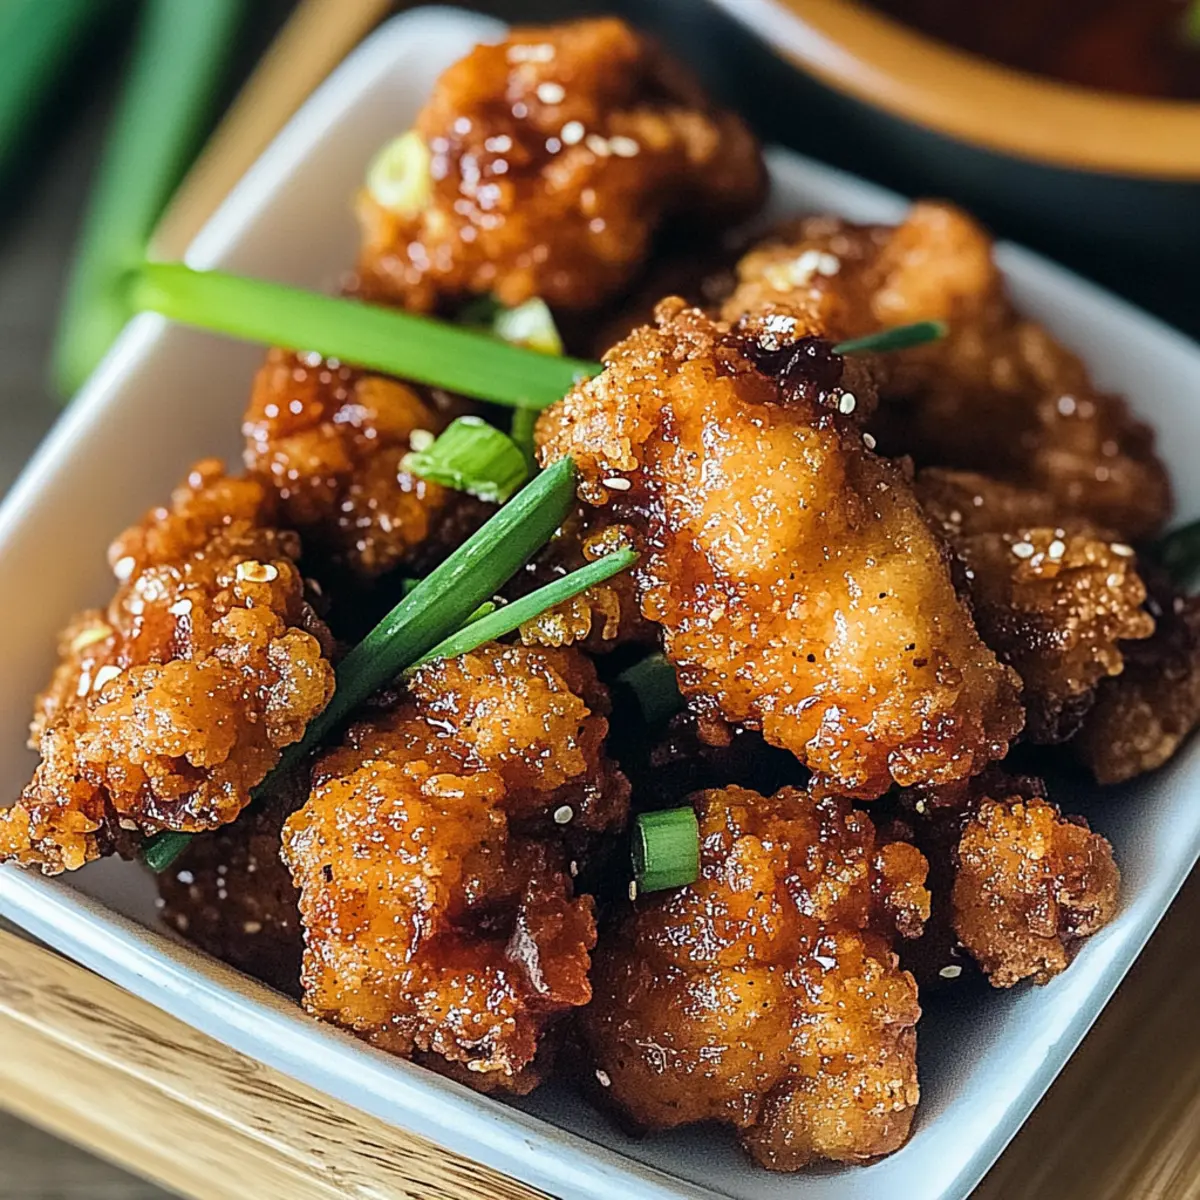
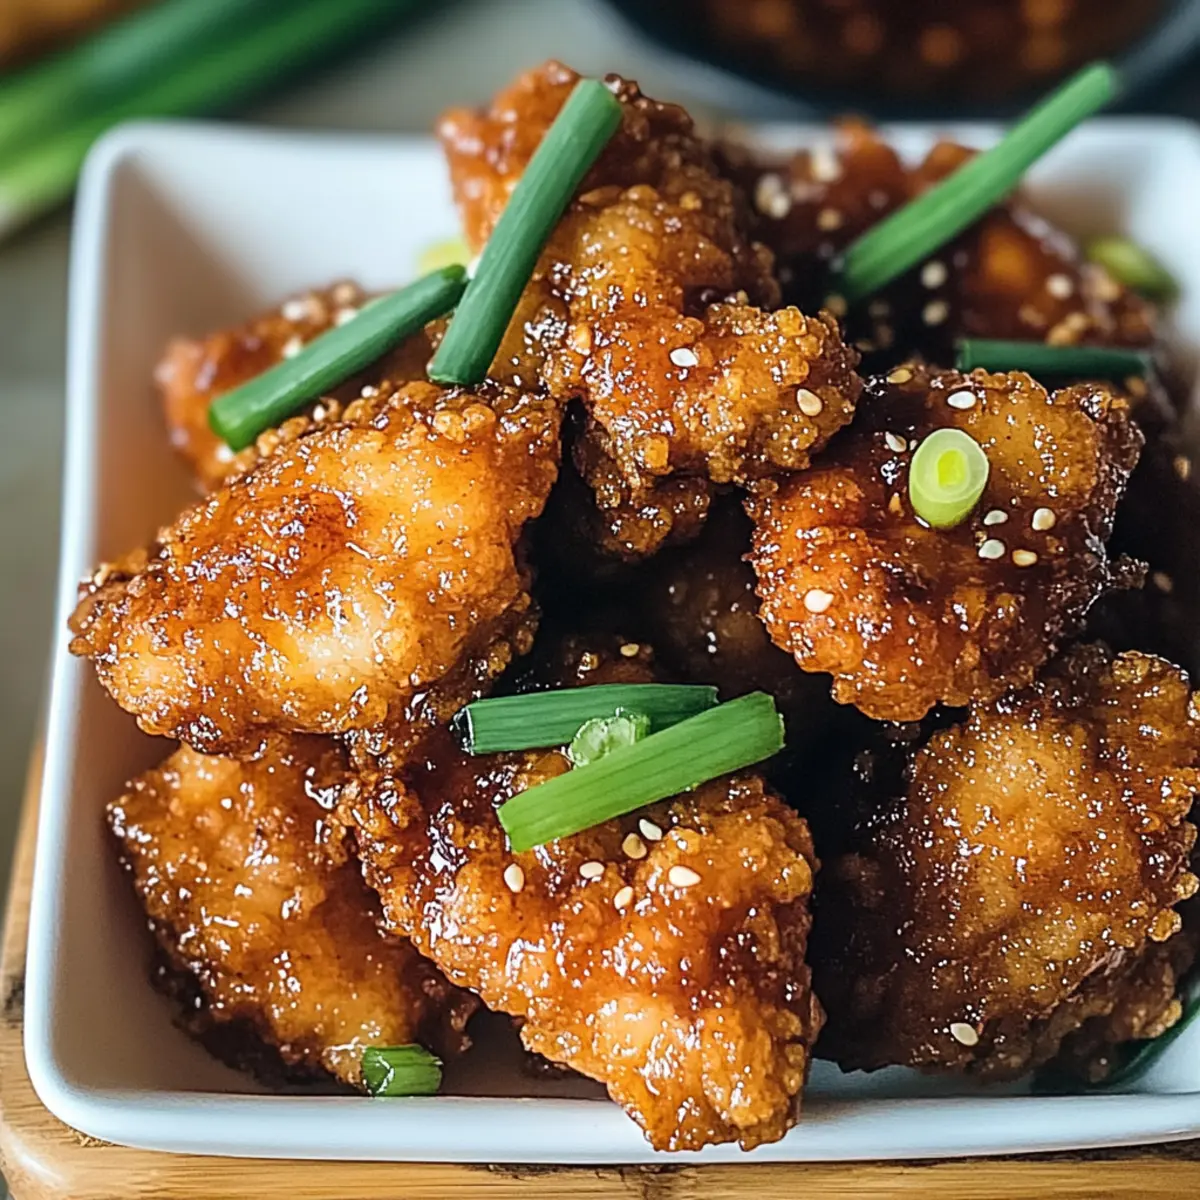
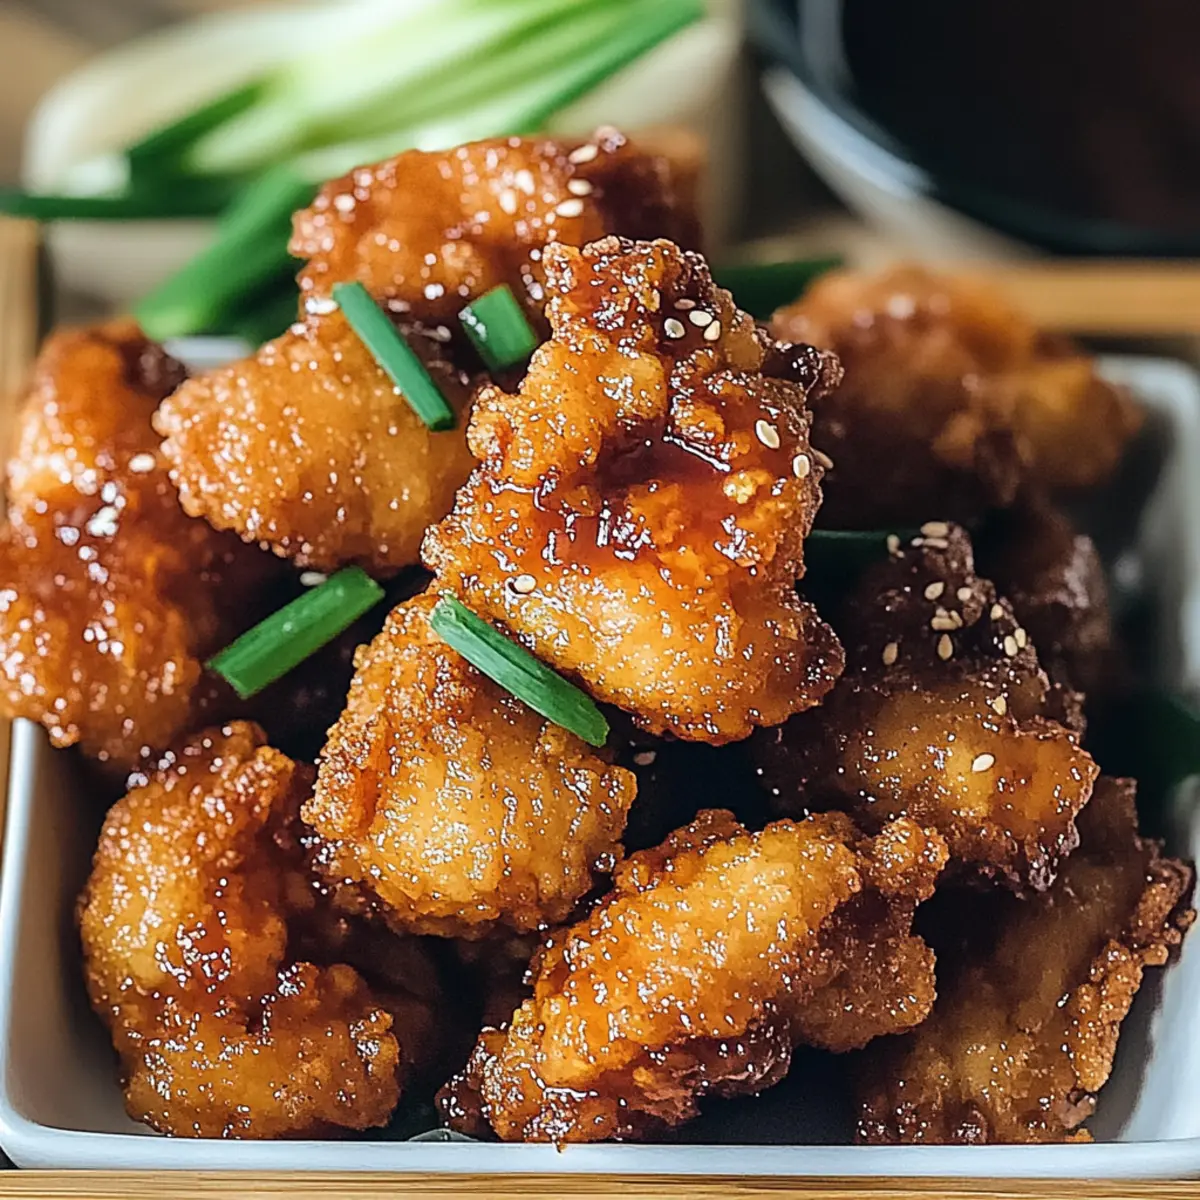
Once all the chicken is fried, toss the golden, crispy pieces in the warm remaining garlic sauce for a delicious glaze, or serve the sauce on the side for dipping. The process yields the perfect balance of sweet and savory flavors, encapsulating the essence of Hawaiian Fried Garlic Chicken in every delectable bite.
Make Ahead Options
These Crispy Hawaiian Fried Garlic Chicken pieces are a fantastic choice for busy home cooks looking to save time and streamline mealtime! You can marinate the chicken cubes up to 24 hours in advance, letting the flavors deepen overnight in the refrigerator. Additionally, you can prepare the garlic sauce ahead of time and refrigerate it for up to 3 days. When ready to enjoy, simply dredge the marinated, cold chicken in the coating mixture and fry as instructed. To maintain that crispy texture, ensure your oil is hot enough before frying, and avoid overcrowding the pan. With these make-ahead options, you’ll have restaurant-quality results with minimal effort!
Storage Tips for Hawaiian Fried Garlic Chicken
-
Fridge: Store leftover Hawaiian Fried Garlic Chicken in an airtight container for up to 3 days. This will keep it fresh while allowing the flavors to develop even more.
-
Freezer: For longer storage, freeze your chicken for up to 3 months. Place it in a freezer-safe container or heavy-duty freezer bag, removing as much air as possible to prevent freezer burn.
-
Reheating: When you’re ready to enjoy leftovers, reheat the chicken in the oven at 350°F (175°C) for about 10-15 minutes or until warmed through, helping to maintain its crispy texture. Avoid microwaving, as it may make the coating soggy.
-
Make-Ahead: Feel free to prepare the chicken ahead of time. Marinate it and store it in the fridge overnight before frying, enhancing the flavor and saving you time on busy days.
Expert Tips for Hawaiian Fried Garlic Chicken
-
Perfect Oil Temperature: Keep the oil between 350°F to 375°F to ensure the chicken cooks evenly and achieves that crispy texture while avoiding sogginess.
-
Marination Time Matters: For best results, marinate the chicken for at least 30 minutes, but overnight in the fridge is even better for enhanced flavor and tenderness.
-
Coat Firmly: When coating the chicken, press the flour mixture onto each piece firmly to maximize adherence, ensuring a crispy finish on your Hawaiian Fried Garlic Chicken.
-
Don’t Overcrowd the Pan: Fry chicken in batches to prevent lowering the oil temperature, which can lead to uneven cooking and less crispiness.
-
Use a Wire Rack: After frying, place your chicken on a wire rack instead of paper towels to drain excess oil while keeping the crispy texture intact.
Hawaiian Fried Garlic Chicken Variations
Feel free to unleash your creativity with these delectable twists to elevate your Hawaiian Fried Garlic Chicken experience!
-
Tofu Alternative: Substitute the chicken with firm tofu, marinating and frying it the same way. You’ll enjoy a delicious plant-based version that’s just as tempting.
-
Different Cuts: Use chicken thighs or drumsticks for a juicier bite. Both options offer more flavor and are perfect for those who love rich textures.
-
Spicy Kick: For heat lovers, increase the red chili flakes or add sliced jalapeños. Don’t be shy; the more, the merrier!
-
Fresh Herbs: Stir in fresh basil or cilantro into the sauce to brighten the flavor profile. This adds a vibrant twist that echoes the essence of fresh island ingredients.
-
Coconut Milk Glaze: Incorporate a splash of coconut milk into the garlic sauce for a wonderfully creamy and tropical twist. The sweetness pairs beautifully with the garlic.
-
Gluten-Free: Use gluten-free soy sauce and flour to make this dish suitable for gluten-sensitive friends. Everyone deserves to enjoy this crowd-pleaser!
-
Crispy Onions: Top the finished dish with crispy fried onions for an irresistible crunch. This adds a delightful layer of texture and flavor.
-
Citrus Vibes: Squeeze some fresh lime or pineapple juice into the sauce for a zesty finish. This brightens the dish and enhances the overall tropical experience.
When exploring these variations, consider pairing your meal with something extraordinary, like a refreshing tropical fruit punch or some fragrant jasmine rice. You might even want to explore serving it alongside other favorites like Buffalo Chicken Bombs for a tasting experience your family will rave about!
What to Serve with Crispy Hawaiian Fried Garlic Chicken
Discover delightful side dishes and drinks that will elevate your Hawaiian feast to a tropical getaway experience.
- Jasmine Rice: This fragrant rice absorbs the sweet garlic sauce beautifully, making it a classic choice to balance flavors.
- Grilled Pineapple: The caramelized sweetness complements the savory chicken, infusing your meal with bright tropical notes.
- Asian Slaw: A crisp, tangy slaw provides a refreshing crunch, contrasting nicely with the rich and sticky chicken.
- Garlic Noodles: These savory, buttery noodles are a delectable pairing, enhancing the overall garlic experience of the meal.
- Coconut Chutney: This mildly sweet chutney offers a creamy texture that deliciously offsets salty and spicy elements of the dish.
- Cold Beer or Tropical Punch: A light lager or a fruity punch can elevate the meal experience, quenching your thirst in an oh-so-refreshing way.
With these delightful accompaniments, your dinner transcends mere sustenance to become a joyful culinary voyage to the islands!
Hawaiian Fried Garlic Chicken Recipe FAQs
How do I select the best chicken for Hawaiian Fried Garlic Chicken?
Absolutely! When choosing chicken for this recipe, look for fresh, plump, and evenly colored pieces. If using chicken breasts, opt for those that are about the same size for even cooking. Thighs can add extra juiciness, while drumsticks offer a fun, hands-on experience. Selecting high-quality chicken ensures a tender and flavorful dish that everyone will love!
How should I store leftover Hawaiian Fried Garlic Chicken?
Very good question! Store your leftover Hawaiian Fried Garlic Chicken in an airtight container in the fridge for up to 3 days. This will keep the chicken fresh while allowing the flavors to meld even more. If you want to keep it longer, you can freeze it for up to 3 months. Just ensure you let it cool before placing it in a freezer-safe container or bag, removing as much air as possible to prevent freezer burn.
Can I freeze Hawaiian Fried Garlic Chicken and how do I reheat it?
Certainly! To freeze Hawaiian Fried Garlic Chicken, let it cool completely first. Then, place the pieces in a single layer on a baking sheet and freeze until solid. After that, transfer the chicken to a freezer-safe bag or container. When ready to reheat, preheat your oven to 350°F (175°C) and bake the chicken for about 10-15 minutes until warmed through. This method helps preserve the crispiness, keeping that delightful texture intact!
What can I do if the coating is not sticking during frying?
Ah, a common concern! If you find that the coating isn’t sticking as well as you’d like, try marinating the chicken for a longer period—ideally at least 30 minutes or overnight. Additionally, when coating, press the flour mixture firmly onto each piece of chicken to ensure it adheres properly. If needed, a little splash of the garlic sauce in your coating mix can enhance adherence, creating a wonderfully crispy exterior.
Are there any dietary substitutions for those allergic to soy or gluten?
Absolutely! For those with soy allergies, you can substitute the soy sauce with coconut aminos, which maintains a similar flavor profile without the soy. For gluten-free options, use gluten-free soy sauce and substitute regular flour with gluten-free flour in the coating. These adjustments ensure that everyone can enjoy your delicious Hawaiian Fried Garlic Chicken without worry!
Hawaiian Fried Garlic Chicken: Crispy Island Flavor Bliss
Ingredients
Equipment
Method
- In a saucepan, mix the soy sauce and brown sugar over medium heat until boiling. Add garlic, green onion, sesame oil, red chili flakes, and white pepper; simmer for 3-5 minutes.
- Combine cubed chicken, cooled garlic sauce, cornstarch, and vegetable oil in a large bowl. Toss to coat, cover, and marinate for 30 minutes.
- Mix flour, remaining cornstarch, and salt in another bowl. Add reserved garlic sauce to form a thick paste for coating.
- Heat vegetable oil in a frying pan to 350°F to 375°F. Test with coating mixture; it should sizzle.
- Coat each marinated chicken piece in the flour mixture and fry in batches for 3-4 minutes until golden brown.
- Toss fried chicken in the remaining garlic sauce or serve sauce on the side.
")