
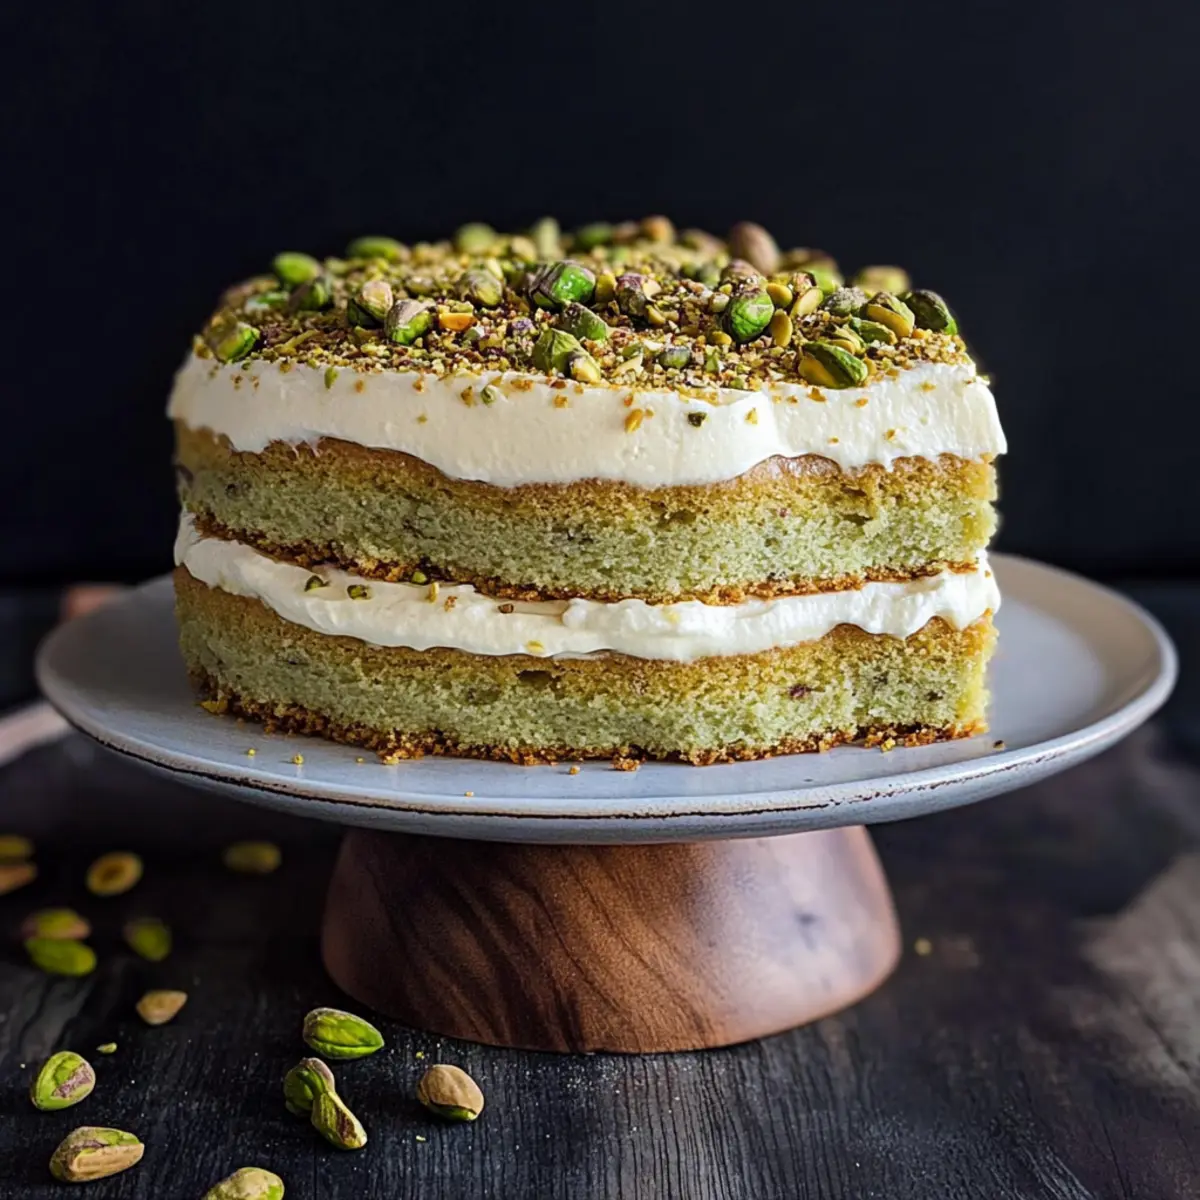
As I stood in my kitchen, the air filled with the enticing scent of crushed pistachios, I couldn’t help but think of the joy this Homemade Pistachio Tiramisu would bring to my next gathering. This no-bake Italian delight is not just a dessert; it’s an experience that melds a rich, creamy pistachio filling with the luxurious smoothness of mascarpone. The best part? You can whip it up in no time, whether you opt for a fluffy homemade Sponge Cake or take a shortcut with store-bought Lady Fingers. It’s a perfect treat that’s bound to impress guests or satisfy a late-night craving. Ready to learn how to create this stunning dessert with a modern twist? Let’s dive in!
Why is Homemade Pistachio Tiramisu a Must-Try?
Elevate Your Desserts: This Pistachio Tiramisu transforms a classic dessert into a nutty extravaganza that your guests won’t forget.
Effortless Elegance: With a no-bake approach, you can create a stunning dessert in minutes, whether using homemade Sponge Cake or store-bought Lady Fingers.
Flavor Fusion: The creamy mascarpone pairs beautifully with the distinctive pistachio, creating a deliciously rich experience.
Versatile Variations: Feel free to personalize this recipe. Try adding amaretto or cocoa powder for a creative twist!
Crowd-Pleasing Treat: Perfect for gatherings, this dessert appeals to both the adventurous and traditional palates. Serve it chilled for a delightful end to any meal!
For more delicious ideas, don’t miss out on this Homemade Starbucks Sugar or try making a creamy French Vanilla Creamer to complement your dessert!
Homemade Pistachio Tiramisu Ingredients
For the Base
• Sponge Cake or Lady Fingers – Choose Sponge Cake for a fluffier texture or Lady Fingers for a classic approach; store-bought is a time-saver!
For the Filling
• Pistachio Cream (1 cup) – This key ingredient gives your Homemade Pistachio Tiramisu its signature nutty flavor; consider Nutella or almond cream as substitutes.
• Milk (8-10 tablespoons) – Drizzle this over your base to moisten the layers; using espresso adds a delightful coffee twist.
• Large Egg (1) – Provides richness to the mascarpone filling, but feel free to skip it for an egg-free version; powdered sugar is a good alternative.
• Granulated Sugar (2 tablespoons) – Sweetens the mascarpone layer, enhancing the overall flavor.
• Whole/Whipping/Heavy Cream (1 ½ cups) – The key to achieving a light, airy texture; opt for cream with at least 30% fat content.
• Mascarpone (1 ½ cups) – Rich and smooth, this Italian cheese is crucial for creating that luscious tiramisu experience.
For Garnish
• Chopped Pistachios – Sprinkle these on top for a crunchy finish and extra flavor; they accentuate the pistachio theme beautifully.
With these ingredients on hand, you’re just moments away from creating an unforgettable Homemade Pistachio Tiramisu that will delight everyone at your table!
Step‑by‑Step Instructions for Homemade Pistachio Tiramisu
Step 1: Prepare the Base
Start by choosing your base for the Homemade Pistachio Tiramisu. If you opt for a Sponge Cake, bake it in a preheated oven at 350°F (175°C) for about 25–30 minutes, or until a toothpick comes out clean. Allow it to cool completely before slicing it into two equal layers. Alternatively, you can use store-bought Lady Fingers for a quicker option; simply have them ready for assembly.
Step 2: Cool and Slice the Cake
Once your cake is completely cooled, carefully slice it into two layers if using the Sponge Cake. If you’re using Lady Fingers, simply line the bottom of your serving dish with them. Ensure your layers are uniform to provide a solid structure for your Homemade Pistachio Tiramisu as you build it.
Step 3: Blend the Pistachio Cream
In a mixing bowl, combine the pistachio cream with a small portion of milk. Use a hand blender or a whisk to blend until you achieve a smooth and creamy consistency. This mixture will be your flavorful filling and should not be too runny; if it is, adjust by adding a bit more milk as needed. Set aside when done.
Step 4: Layer with Milk and Pistachio Cream
Drizzle the first layer of your cooled Sponge Cake or Lady Fingers generously with milk to moisten them. Then gently spread a layer of the blended pistachio cream over the soaked base, ensuring it covers all the way to the edges. Place the dish in the refrigerator to set for 15–30 minutes, allowing the flavors to meld.
Step 5: Prepare the Mascarpone Filling
In a separate mixing bowl, beat the egg and granulated sugar together until frothy, about 3 minutes. If you prefer an egg-free version, you can skip this step and mix powdered sugar directly with the mascarpone. Gradually fold in the heavy cream and mascarpone cheese, mixing until the filling is thick and creamy.
Step 6: Assemble the Layers
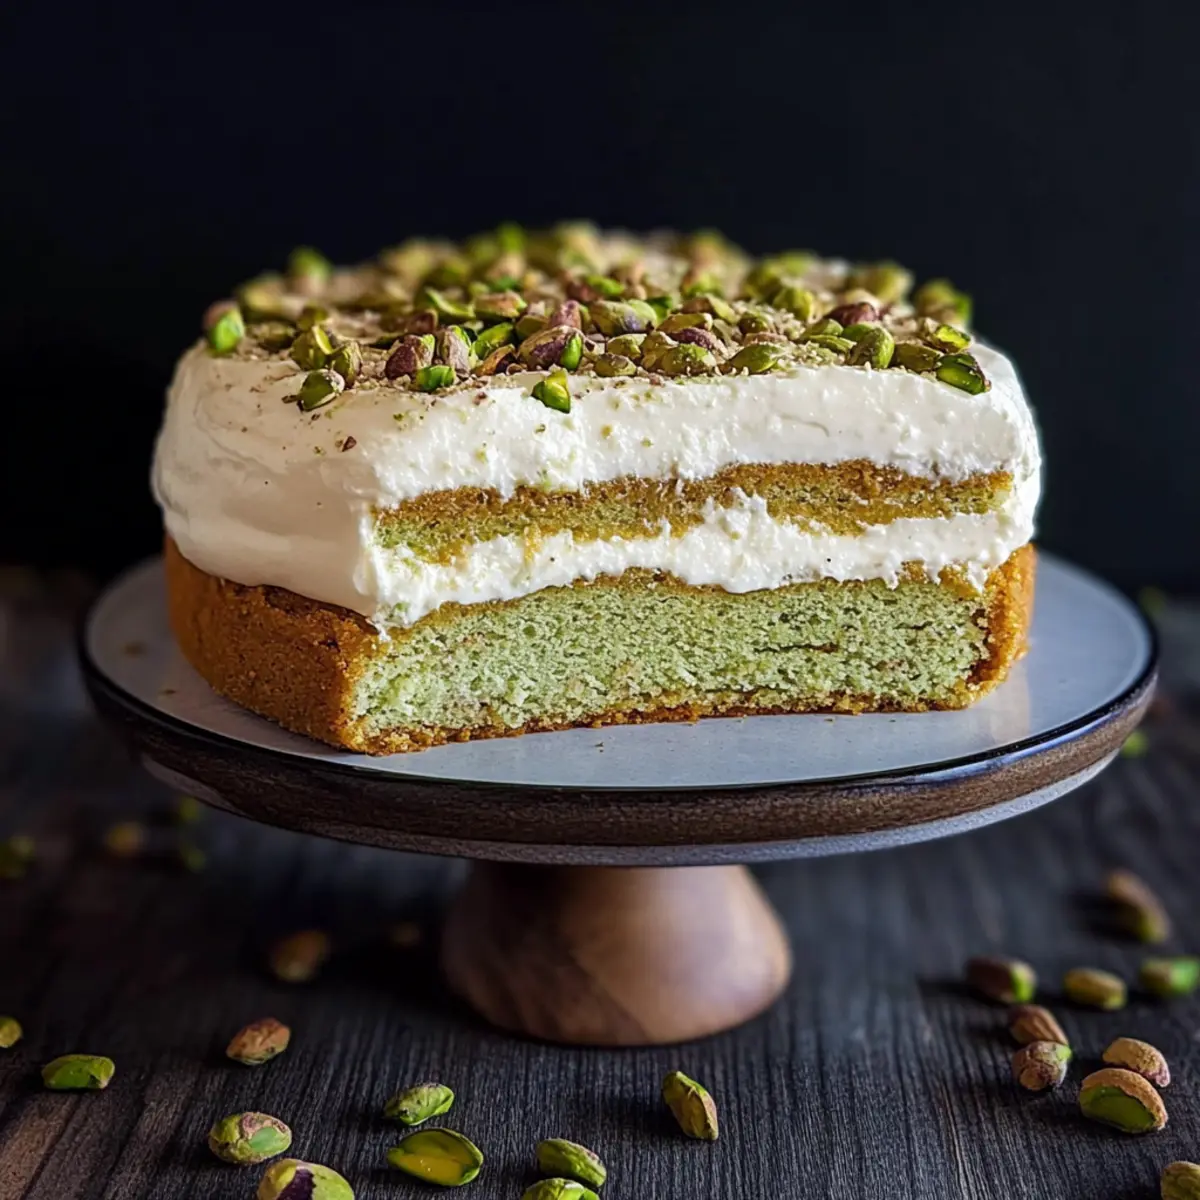
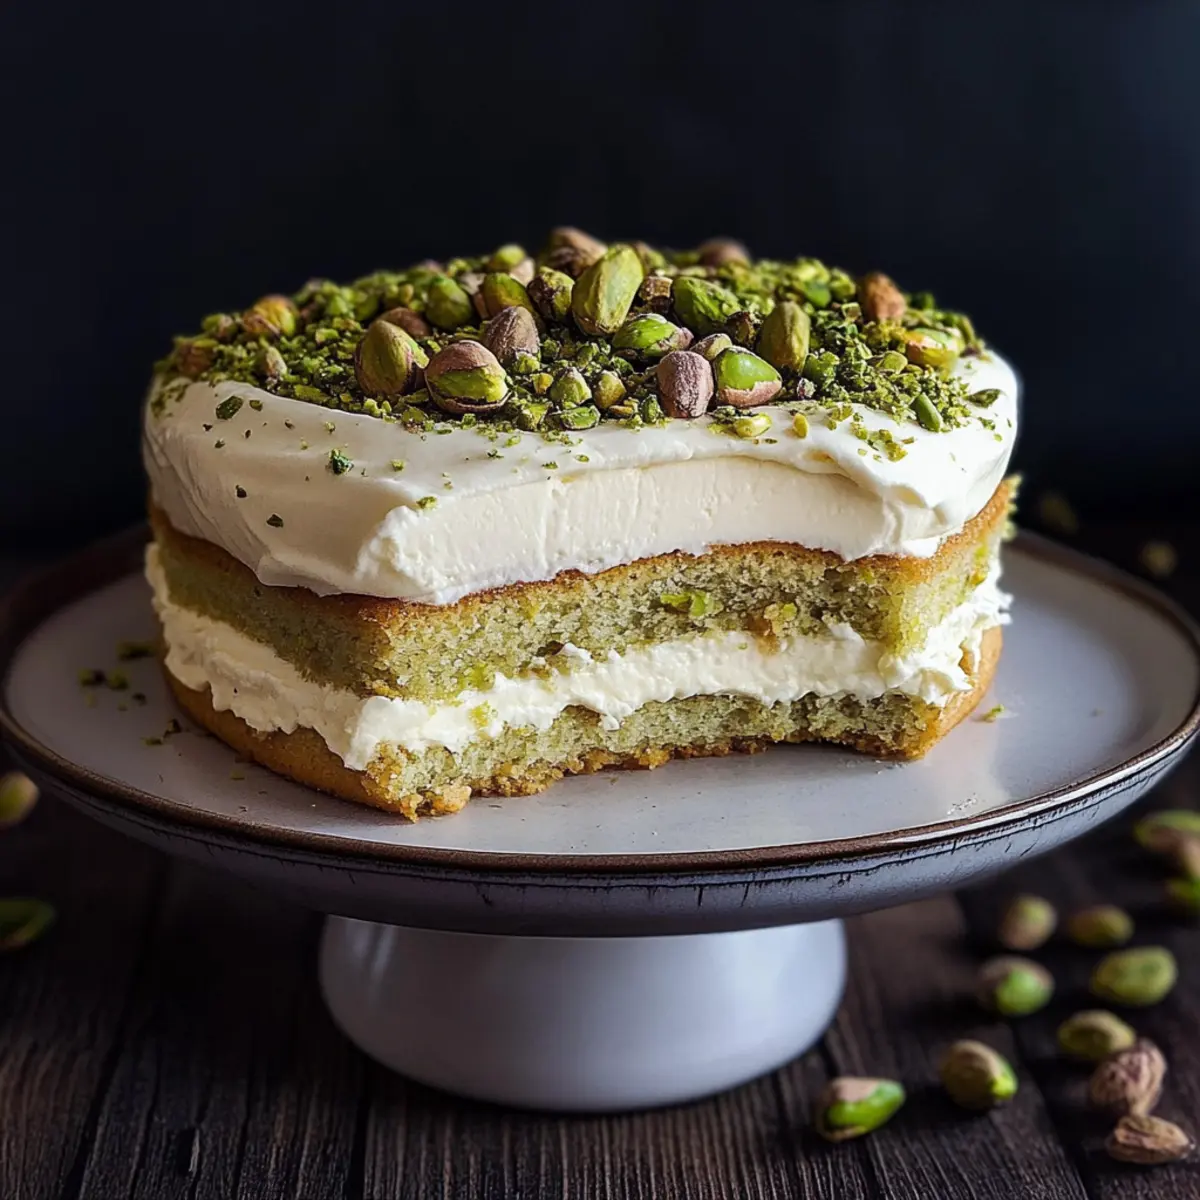
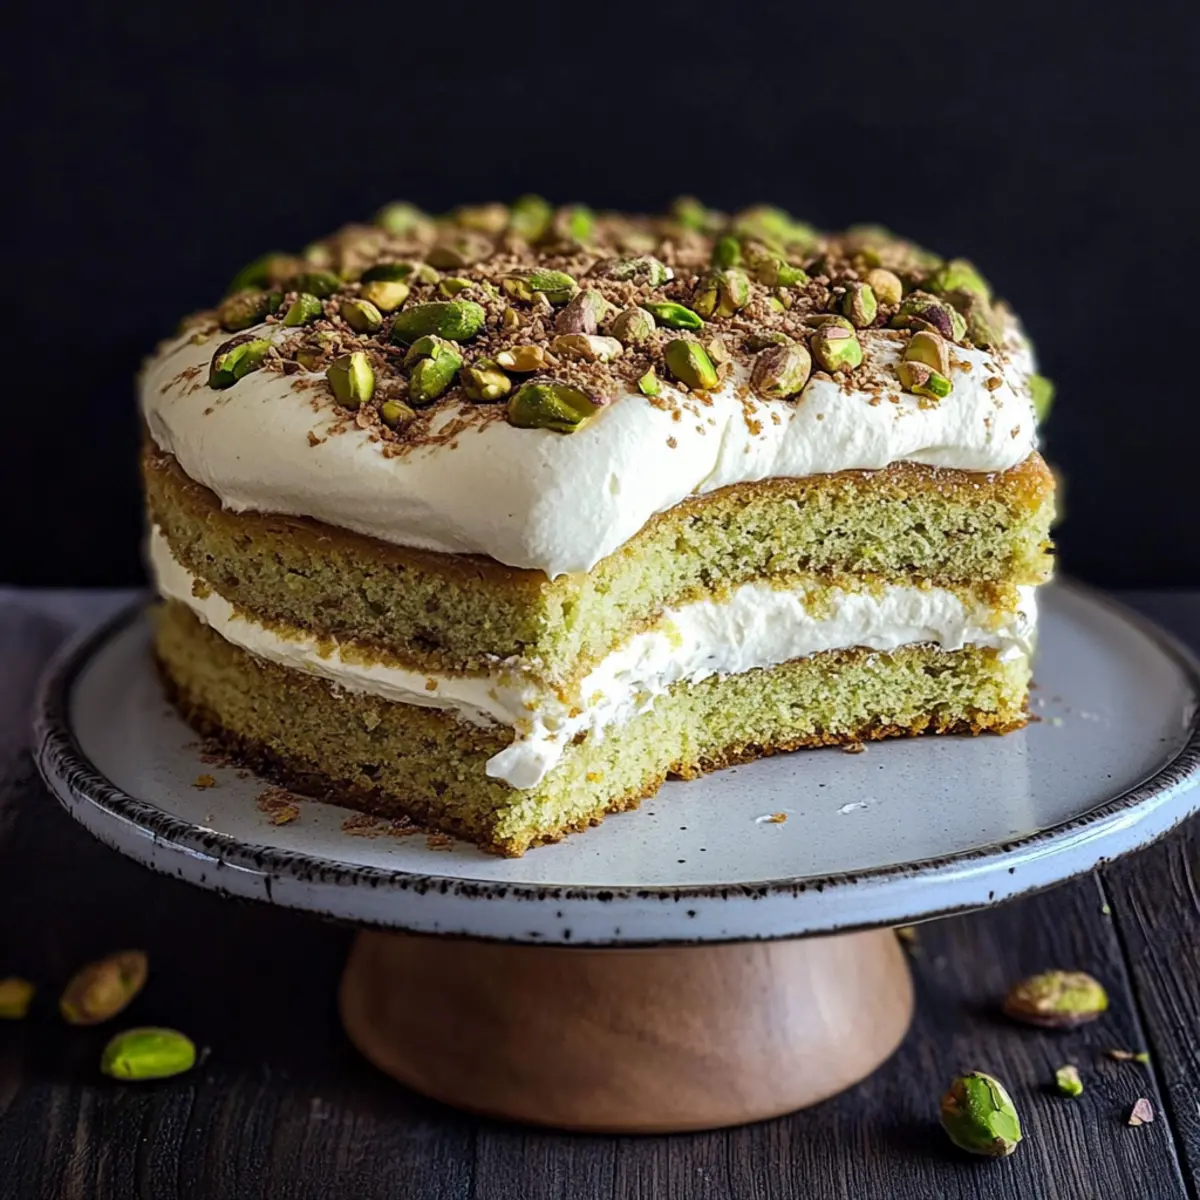
Remove your dish from the refrigerator and carefully spread half of the mascarpone filling over the pistachio cream layer. Add the second layer of your Sponge Cake or Lady Fingers on top, drizzle with milk once more, and use the remaining mascarpone filling to top the dessert. Smooth it out with a spatula for an elegant finish.
Step 7: Chill and Garnish
Cover your dish with plastic wrap and refrigerate the Homemade Pistachio Tiramisu for at least 3 hours, but overnight is best for richer flavor development. Once ready to serve, take it out and sprinkle generously with chopped pistachios as a crunchy garnish. This adds vibrant color and delightful texture to your dessert.
Expert Tips for Homemade Pistachio Tiramisu
- Perfect Peaks: Whip the cream until it forms stiff peaks to achieve a firmer filling and a delightful texture in your Homemade Pistachio Tiramisu.
- Quick Dips: If using Lady Fingers, dip them swiftly in milk to avoid sogginess; a quick dip is enough to keep them deliciously soft yet sturdy.
- Chill Time: Allow the tiramisu to set overnight for maximum flavor; this extra time lets the ingredients meld beautifully for indulgent bites.
- Layering Technique: Ensure your layers are even; this creates a balanced look and ensures that every slice of your Homemade Pistachio Tiramisu is equally delicious.
- Egg-Free Option: If you’re making an egg-free version, simply use powdered sugar instead of granulated sugar in the mascarpone filling for sweetness without the egg.
What to Serve with Homemade Pistachio Tiramisu?
Treating your loved ones to this creamy dessert could inspire a delightful spread for your next meal!
- Espresso: The rich, bold flavor of freshly brewed espresso elegantly balances the sweetness of the tiramisu, creating a perfect end to your meal.
- Chocolate-Dipped Strawberries: The luscious sweetness and acidity of strawberries create a delightful contrast to the rich layers of the tiramisu, making them a tempting addition.
- Whipped Cream: A dollop of freshly whipped cream complements the creaminess of the tiramisu while adding a fluffy texture that enhances every bite.
- Savory Bruschetta: Crisp, toasted bread topped with fresh tomatoes and basil provides a refreshing counterpart, cleansing the palate and enhancing the overall dining experience.
- Limoncello: This zesty lemon liqueur adds a refreshing zing that brilliantly contrasts the nutty richness of the tiramisu, making it a light and invigorating option.
- Pistachio Biscotti: These crunchy treats echo the dessert’s flavors and add a delightful crunch, making them a perfect accompaniment for dipping in espresso.
- Mixed Green Salad: A light salad with citrus vinaigrette provides freshness and balances the richness of the tiramisu, enhancing the overall meal.
- Dark Chocolate Shavings: Sprinkling chocolate over the tiramisu adds a touch of indulgence and brings out the nutty flavors, elevating your dessert experience.
Make Ahead Options
These Homemade Pistachio Tiramisu layers are ideal for make-ahead preparations, perfect for busy home cooks! You can prepare the pistachio cream and mascarpone filling up to 24 hours in advance; just store them separately in airtight containers in the refrigerator to maintain their creamy consistency. Additionally, you can assemble the entire dessert up to 3 days ahead of your gathering. To do this, layer the cake or Lady Fingers, pistachio cream, and mascarpone filling as directed, but hold off on garnishing with pistachios until just before serving to keep them crunchy. This way, your Homemade Pistachio Tiramisu will be just as delightful, saving you valuable time when it matters most!
Homemade Pistachio Tiramisu Variations
Feel free to let your creativity shine as you customize this recipe for a delightful twist on traditional flavors!
- Gluten-Free: Substitute standard lady fingers with gluten-free varieties to accommodate dietary needs without sacrificing taste.
- Nut-Free: Use sunflower seed butter or vanilla pudding instead of pistachio cream for those with nut allergies.
- Flavor Boost: Add a splash of amaretto or coffee liqueur to the pistachio mix for an extra layer of depth and warmth.
- Chocolate Lover’s: Top the finished dessert with shaved dark chocolate or cocoa powder for a delightful contrast to the creamy filling.
- Citrus Zest: Incorporate lemon or orange zest in the mascarpone mixture for a bright, zesty vibe that contrasts beautifully with the pistachios.
- Vegan: Swap the cream, mascarpone, and egg with coconut or cashew cream, and use a plant-based alternative for the lady fingers.
- Coffee Infusion: Drizzle espresso over the layers instead of milk for a rich coffee flavor that enhances the sweetness of the dessert.
- Berry Topping: Before serving, layer fresh raspberries or strawberries on top for a pop of color and a fruity counterpoint to the rich creaminess.
For more delightful ideas to complement your dessert experience, don’t miss the chance to create your own Homemade Starbucks Sugar for a sweet touch, or whip up some smooth French Vanilla Creamer for that perfect coffee pairing!
Storage Tips for Homemade Pistachio Tiramisu
- Fridge: Store your Homemade Pistachio Tiramisu in an airtight container for up to 2-3 days, keeping it chilled to maintain its creamy texture and freshness.
- Freezer: For longer storage, you can freeze it for up to two weeks. Wrap it tightly in plastic wrap before placing it in an airtight container, ensuring it’s well protected.
- Thawing: When you’re ready to enjoy, simply thaw it overnight in the fridge. This will help preserve the delicate flavors and textures of the tiramisu.
- Reheating: There’s no need to reheat this dessert; serve it chilled, topped with freshly chopped pistachios for a refreshing finish!
Homemade Pistachio Tiramisu Recipe FAQs
What type of pistachios should I use for the cream?
Absolutely! For the best flavor, use high-quality, shelled, and unsalted pistachios. If possible, opt for roasted ones to enhance the nutty taste. You can also use pre-packaged pistachio cream, which makes the process easier.
How should I store the Homemade Pistachio Tiramisu?
You can store your Homemade Pistachio Tiramisu in an airtight container in the refrigerator for 2-3 days. Keeping it chilled preserves its creamy texture and prevents it from drying out. If you want to make it ahead of time, it’s also freezer-friendly for up to two weeks!
Can I freeze the Pistachio Tiramisu? What’s the best way?
Yes, you can freeze your Homemade Pistachio Tiramisu! To do this, wrap it tightly in plastic wrap after it has set completely. Then, place it in an airtight container for extra protection against freezer burn. When you’re ready to enjoy, let it thaw overnight in the refrigerator for the best results.
What should I do if the layers of my tiramisu are too soggy?
Very! If your layers end up too soggy, it’s often due to soaking them for too long in milk. To prevent this, quickly dip your Lady Fingers or drizzle milk over the Sponge Cake—just enough to moisten them without soaking. If you find your tiramisu is soggy after assembling, you can gently drain excessive moisture before serving.
Is this recipe safe for those with egg allergies?
Definitely! You can easily make an egg-free version of this Homemade Pistachio Tiramisu. Simply skip the egg in the mascarpone filling and use powdered sugar instead of granulated sugar for sweetness. This way, everyone can enjoy this delicious dessert without worry.
Homemade Pistachio Tiramisu: A Creamy Delight Awaits You
Ingredients
Equipment
Method
- Choose your base; bake Sponge Cake at 350°F (175°C) for 25-30 minutes or use store-bought Lady Fingers.
- Once cooled, slice the Sponge Cake into two layers, or line a serving dish with Lady Fingers.
- In a mixing bowl, blend pistachio cream with a portion of milk until smooth.
- Drizzle your base with milk and spread pistachio cream over it; refrigerate for 15-30 minutes.
- In a separate bowl, beat egg and sugar until frothy; fold in cream and mascarpone until creamy.
- Spread half of the mascarpone filling over pistachio cream, add another layer of base, then top with remaining filling.
- Cover and refrigerate for at least 3 hours; garnish with chopped pistachios before serving.